Yes, you CAN easily make a pillow!
Project level: Beginner
***If you don’t sew, and have no desire to, but love the idea of updating your house with new pillows, skip to the bottom for a few suggestions of where you can buy some great ones!***
If you are someone who thinks they can’t sew, but would like to learn, have no fear. This is the perfect project for any beginner. This is also a very affordable way to make a quick update in any room and the entire project should take you an hour or less. If you own a sewing machine or have access to one, own an iron, and can sew a straight line, you can do this!
In terms of fabric choice, I do think stripes and geometric patterns are the easiest for beginners because you can typically line things up and cut them easily.
First, you will need to measure your pillow. Use a tape measure across the center and measure from seam to seam. Some pillows are marked on the tag. My pillow is 14″ x 14″. Be sure to iron your fabric before cutting this out.
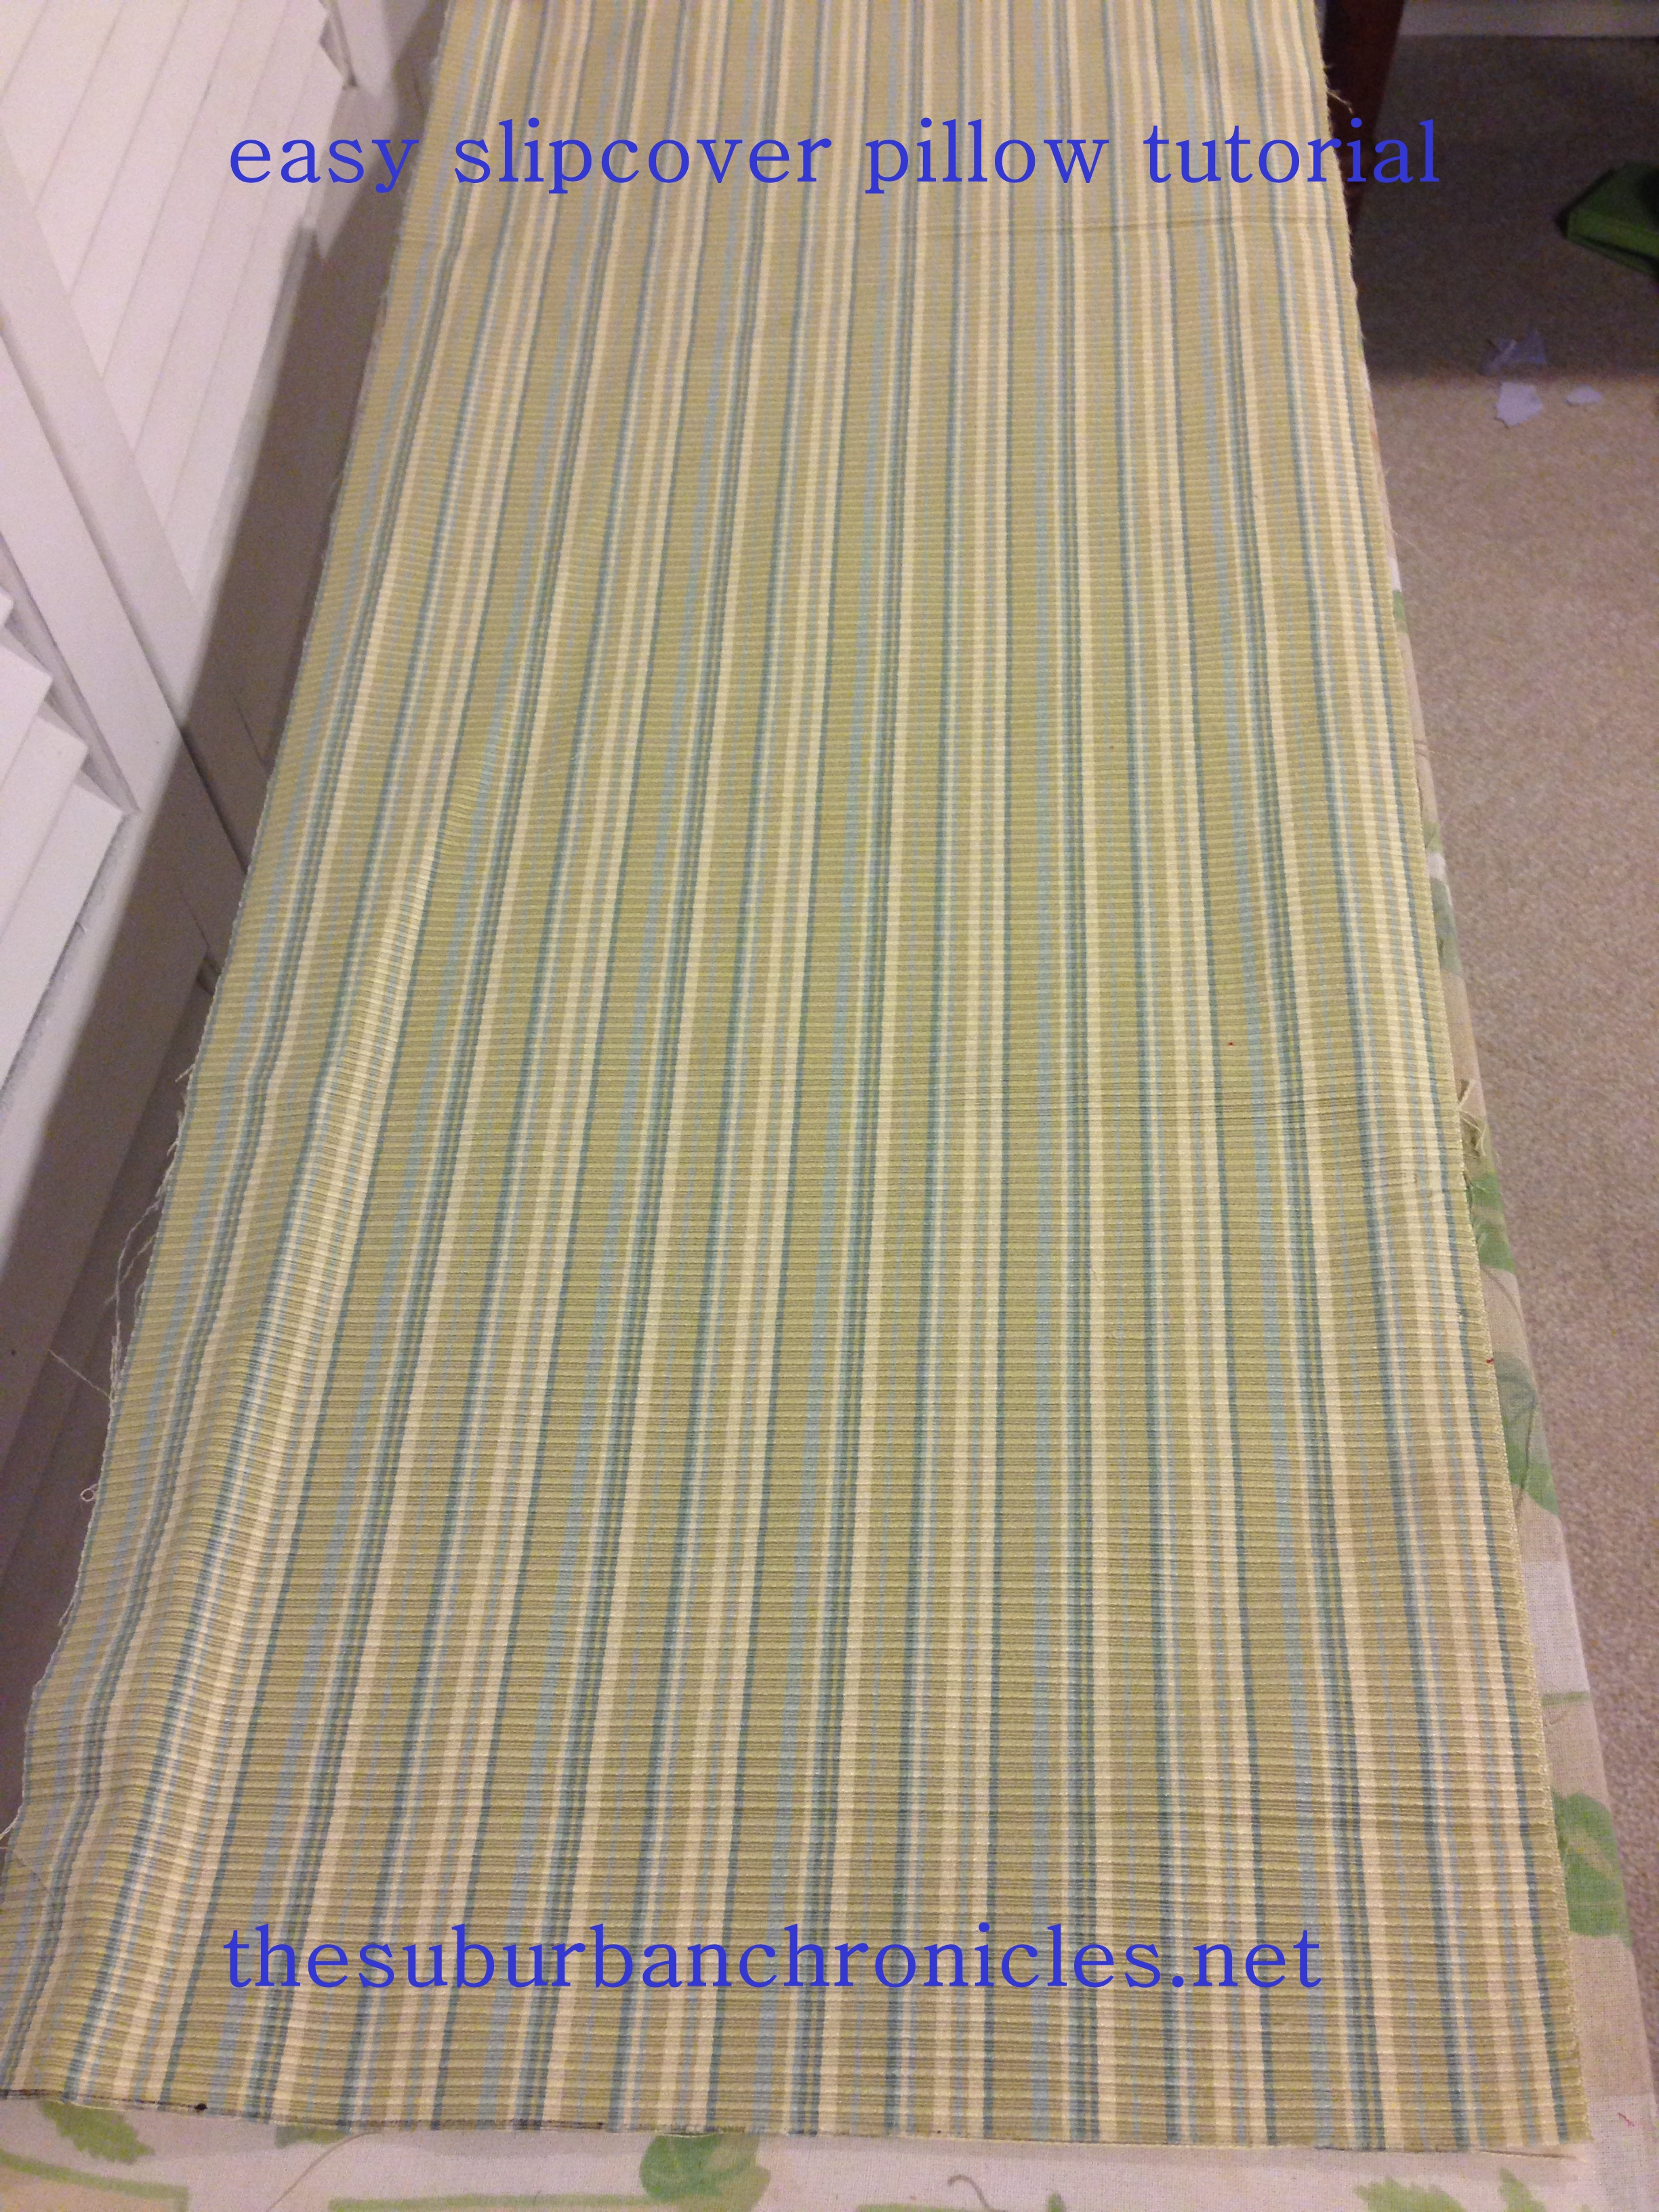
Next, figure out how much fabric your pillow will require. Your first measurement will be the length of the short side, so 14 inches in my case. The other measurement is calculated by multiplying the length of the long side by 2 (for both the front and back) and adding 4″ (for the seam allowances and overlap). So in my case, I cut my fabric 14″ by (14″ x 2 + 4″), which comes out to 16 x 32. Here is my rectangle, all cut out:
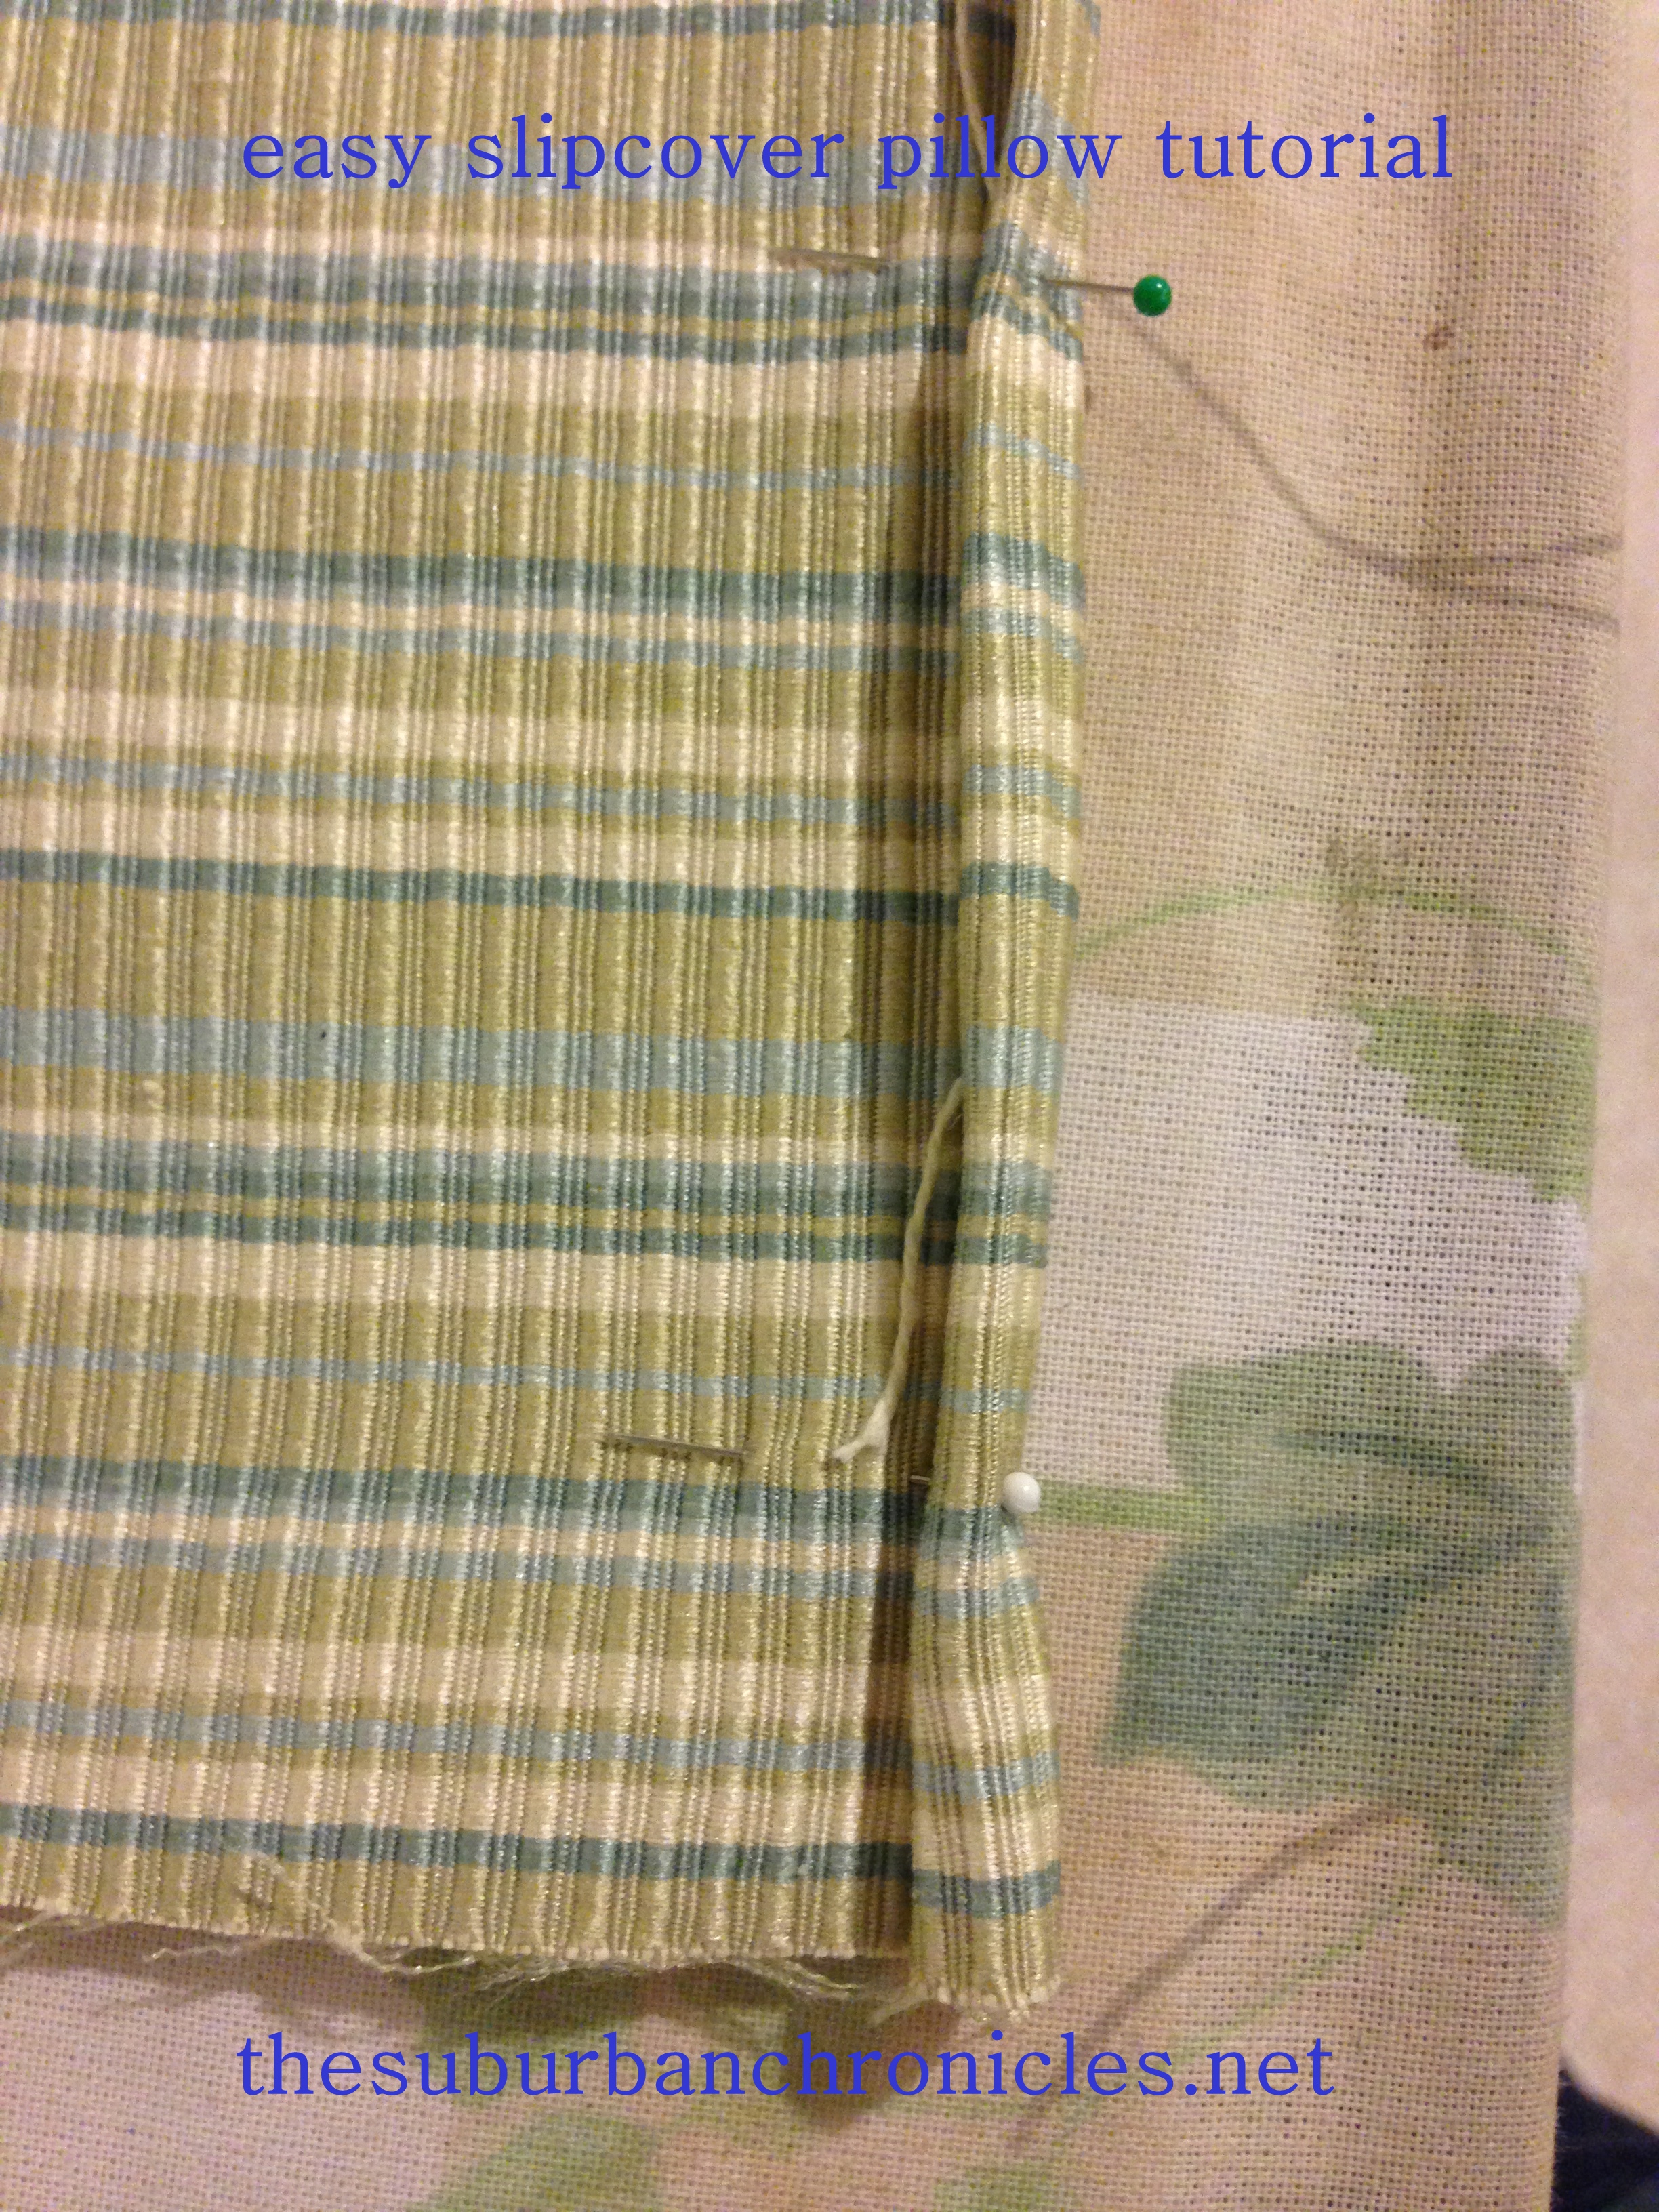
OK, now press & hem your two short sides. These will eventually become your flap in the back. Place fabric right side down with a short side towards you. For my pillow this meant the 14″ sides. Fold and iron a 1/4″ hem on both sides. Then, fold each side over another 1/4″ (to hide your unfinished edges), iron edges flat, then pin and sew both hems. It should look like this:
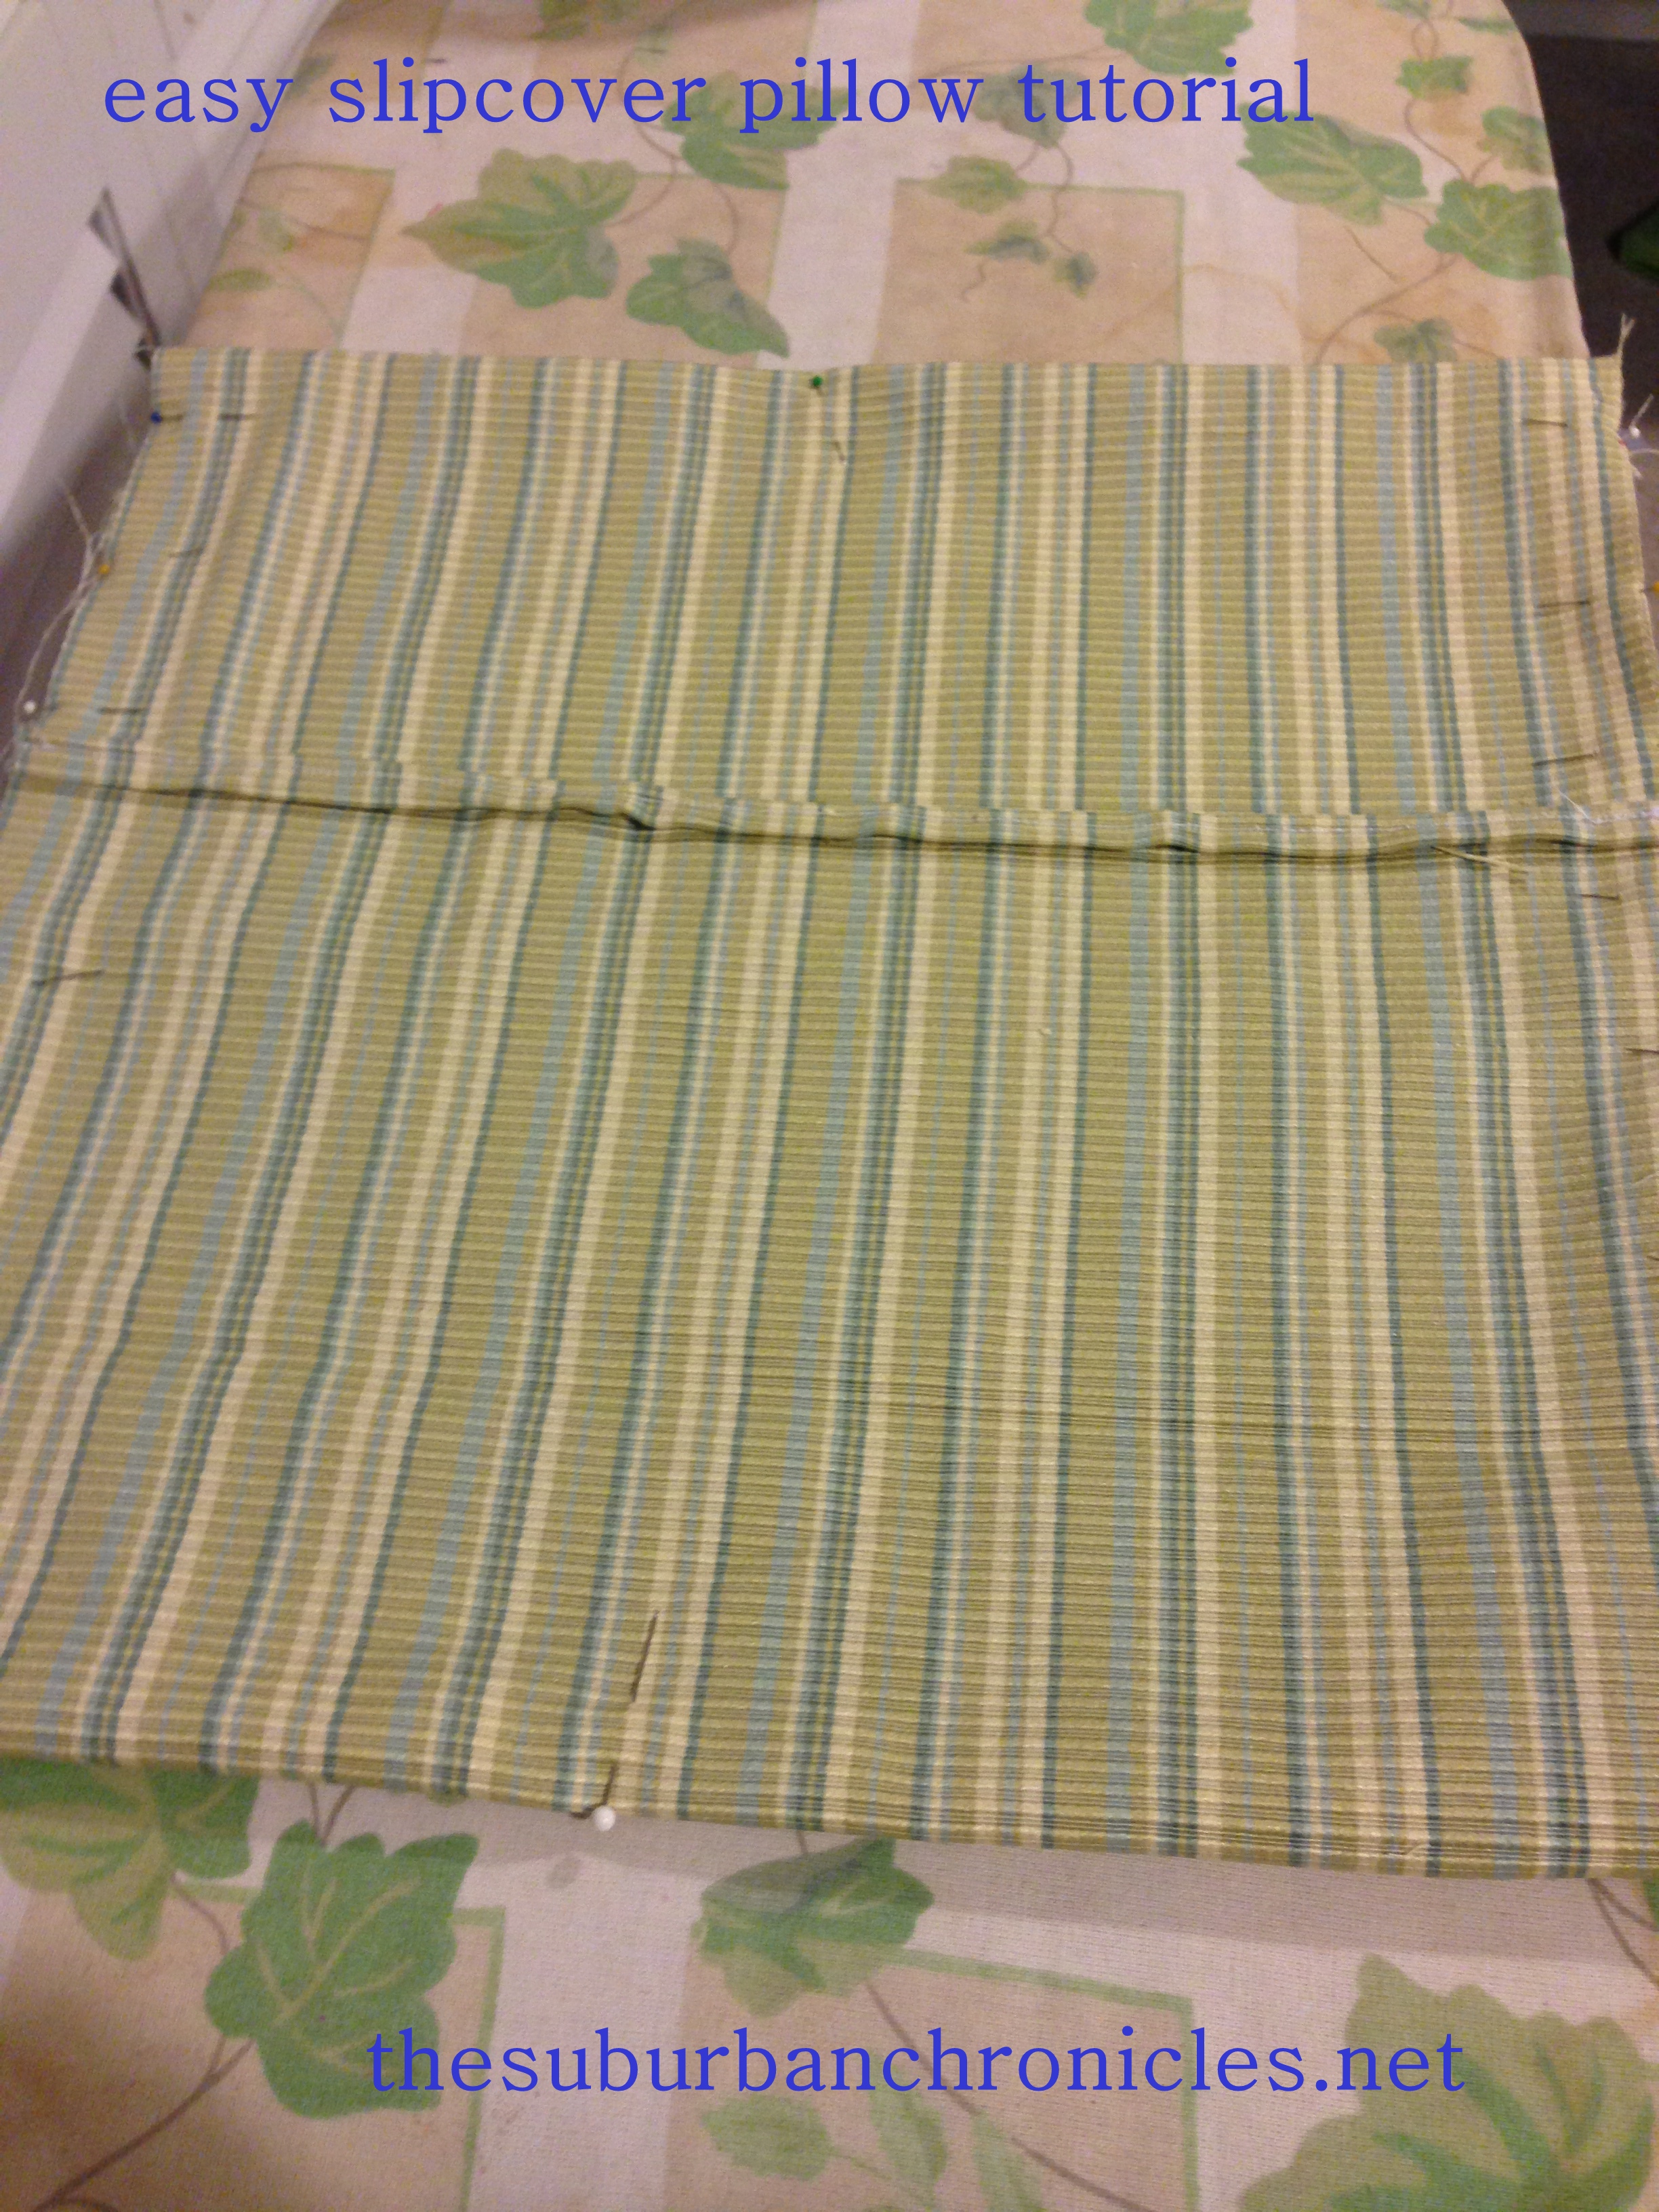
STEP 4: Next, sew your side two seams. Now place fabric right side up with the long side towards you. First, fold one side with the 1/4″ hem over a bit more than half-way. Fold the other side over so it overlaps the first side. I folded one side of mine 8 inches and the other 6 inches, which gave it a 2 inch overlap. I then put my pillow on top, to make sure it all measured evenly and would fit.. Pin each of the side seams, and sew with a 3/8″ seam allowance. Be sure to trim the seam allowances at each corner. This will ensure your 4 corners stand out nicely.
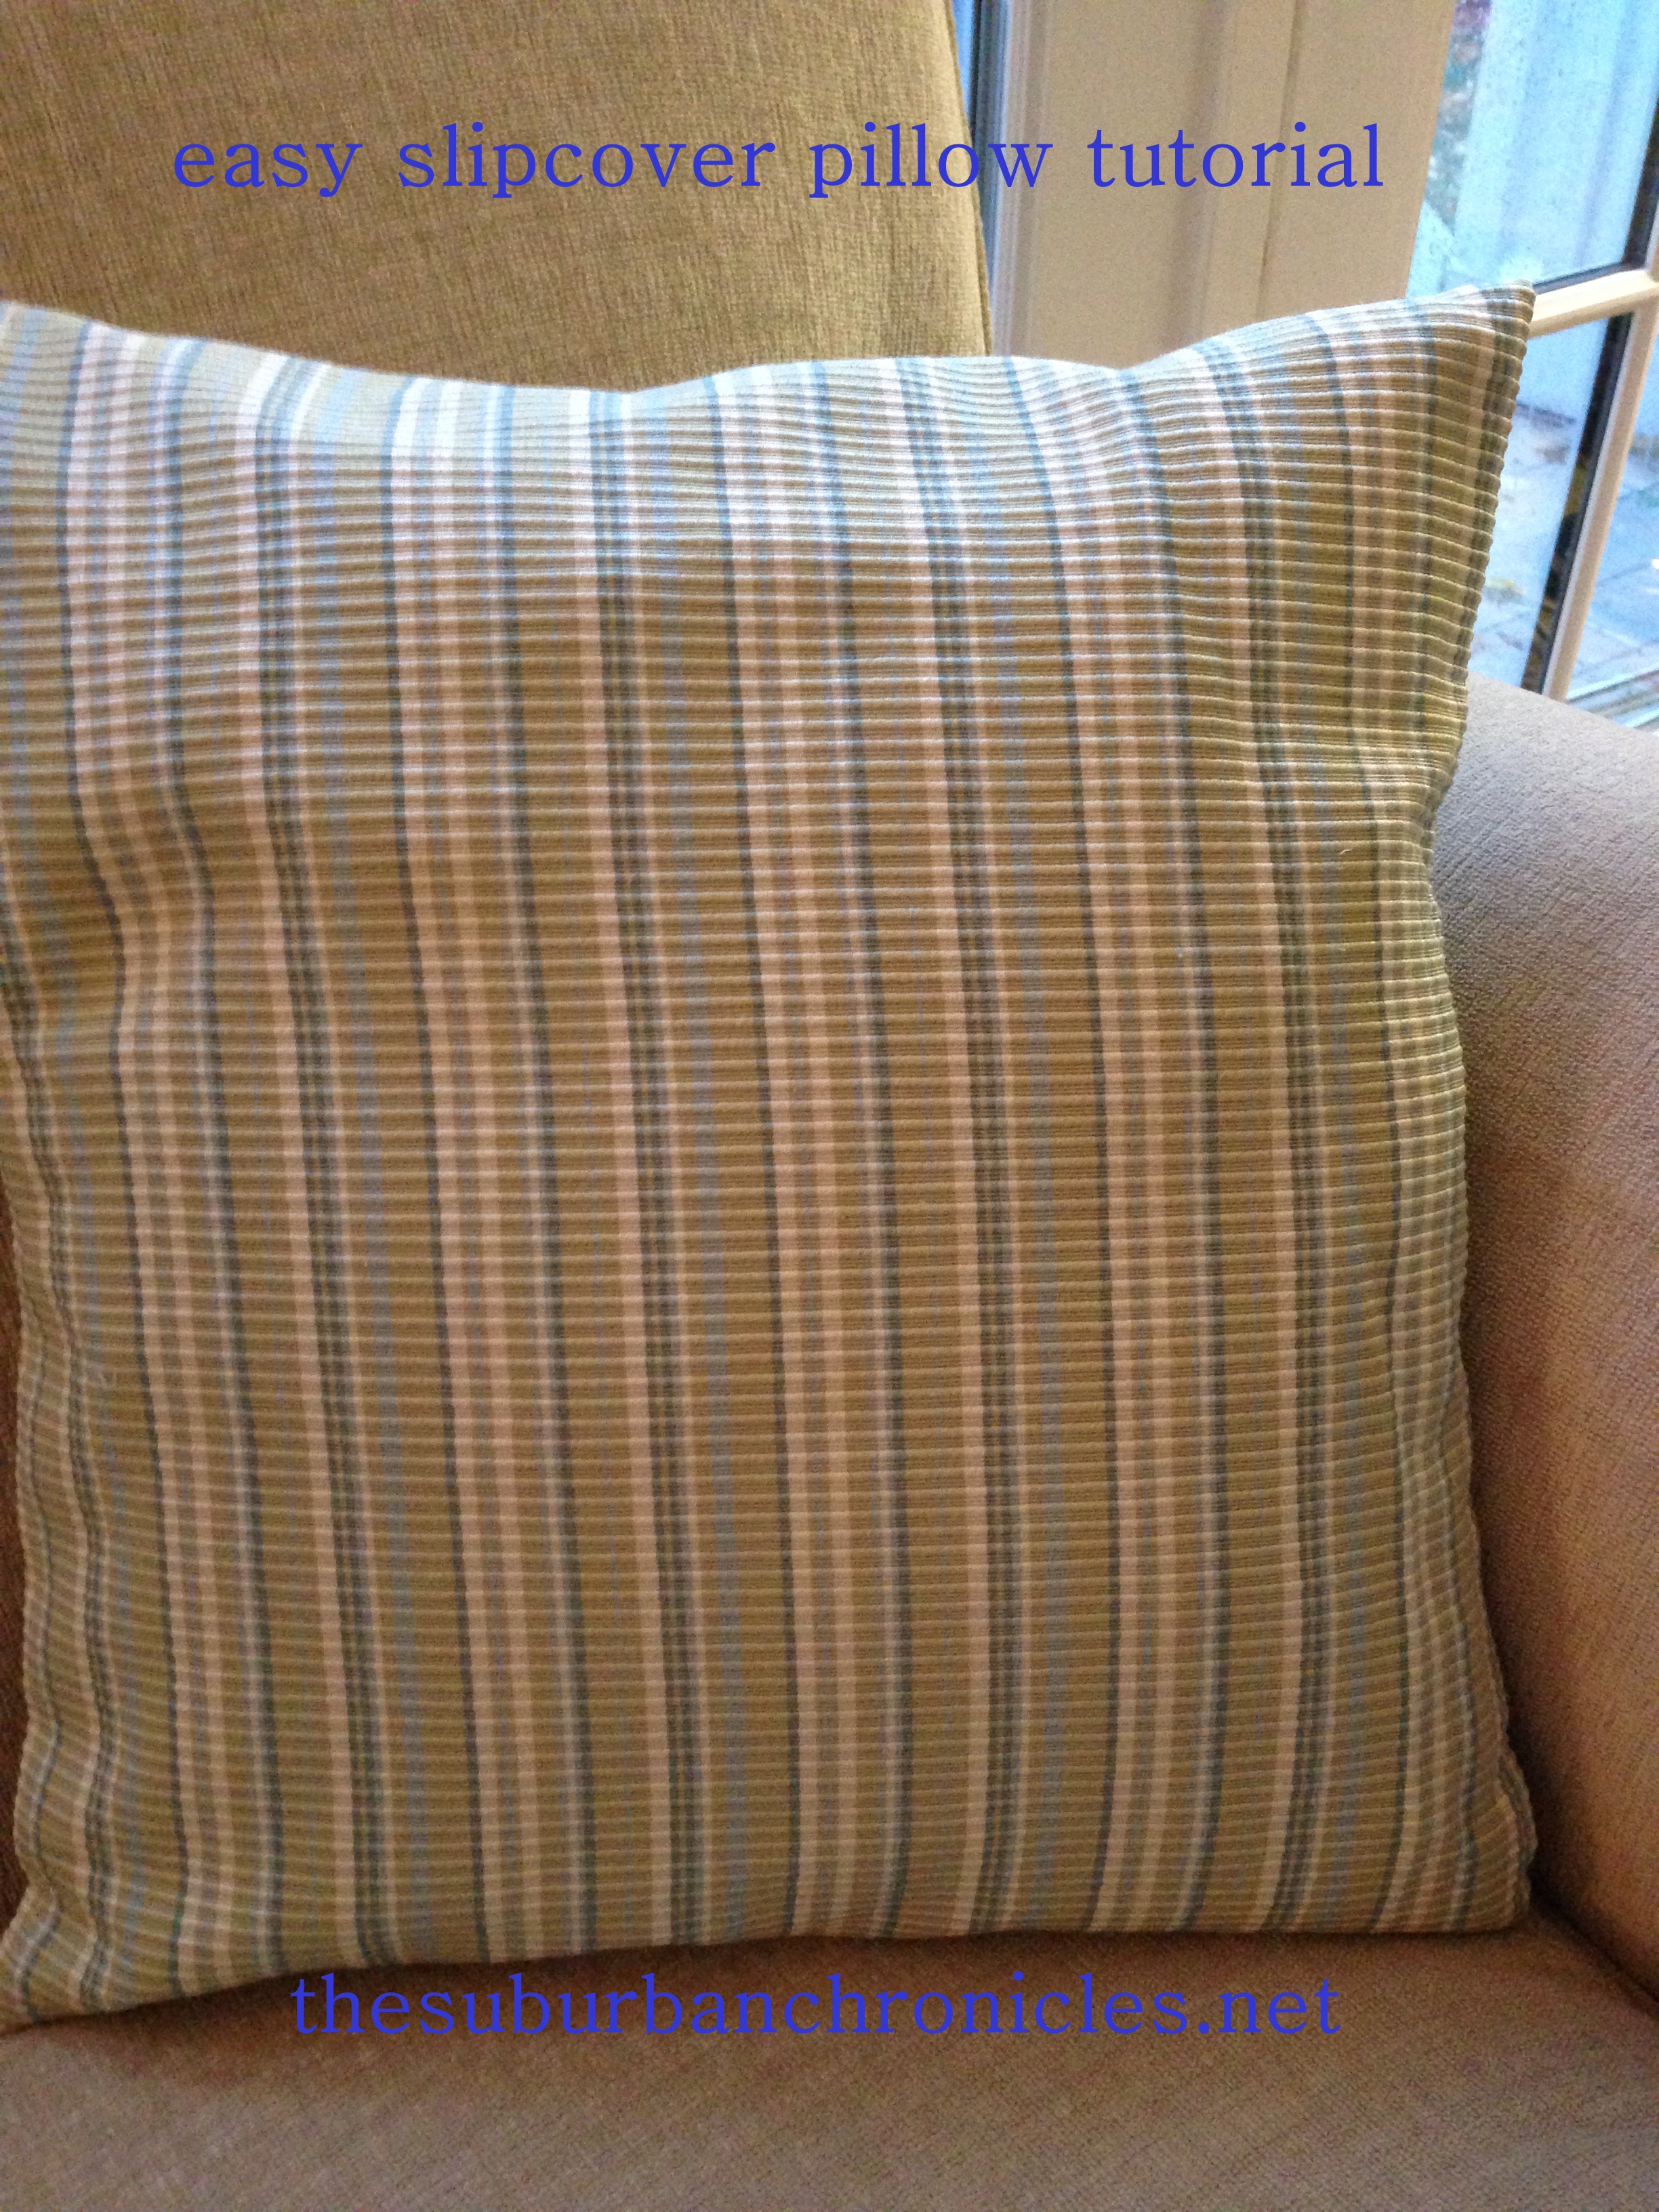
You’re almost there: This is my favorite part of sewing…I call it your “reveal” because it usually involves turning something inside out to see your finished product! So, turn each side right side out and stuff your pillow inside. I prefer using down pillows a bit smaller than the pillow case. As for where to buy pillows, there are lots of options such as Joann’s or onlinefabricstore.net. If you’re in the Boston area, they have great pillow forms in the basement of Zimman’s.
Voila!
No desire to sew? Check out these great Etsy shops to buy yourself some cute new pillows:
https://www.etsy.com/shop/PopOColor
https://www.etsy.com/shop/ElemenOPillows?ref=pr_faveshops
https://www.etsy.com/shop/thebluebirdshop
Enjoy your new pillow!


