Recently, I made a cute chevron sign to hang in the room over my garage where I am re-doing the window. (Read more about the window here:(http://thesuburbanchronicles.wordpress.com/2013/03/04/diy-window/).
Chevron is very “in” right now, and as a suburban mom, I’m forever searching for ways to be more en vogue!
This was easy and fun, and the possibilities are endless.
Here is what you will need:
-Pencil
-Canvas of any size (I bought a two-pack at Michael’s- very reasonable). Of course you could use wood as well.
-Paint brush
-Acrylic paint
-Masking tape
-Razor blade
-Ruler
-Letter stickers, stencils, or the ability to paint free hand
By far, the most complicated part of doing this is getting it all ready to paint. There is some measuring and eye-balling to be sure you get the zig-zag exactly as desired. Be patient! I am sure as I do more of these it will be easier. I searched the internet (just type in “chevron sign” to get a sense of how I wanted mine to look.
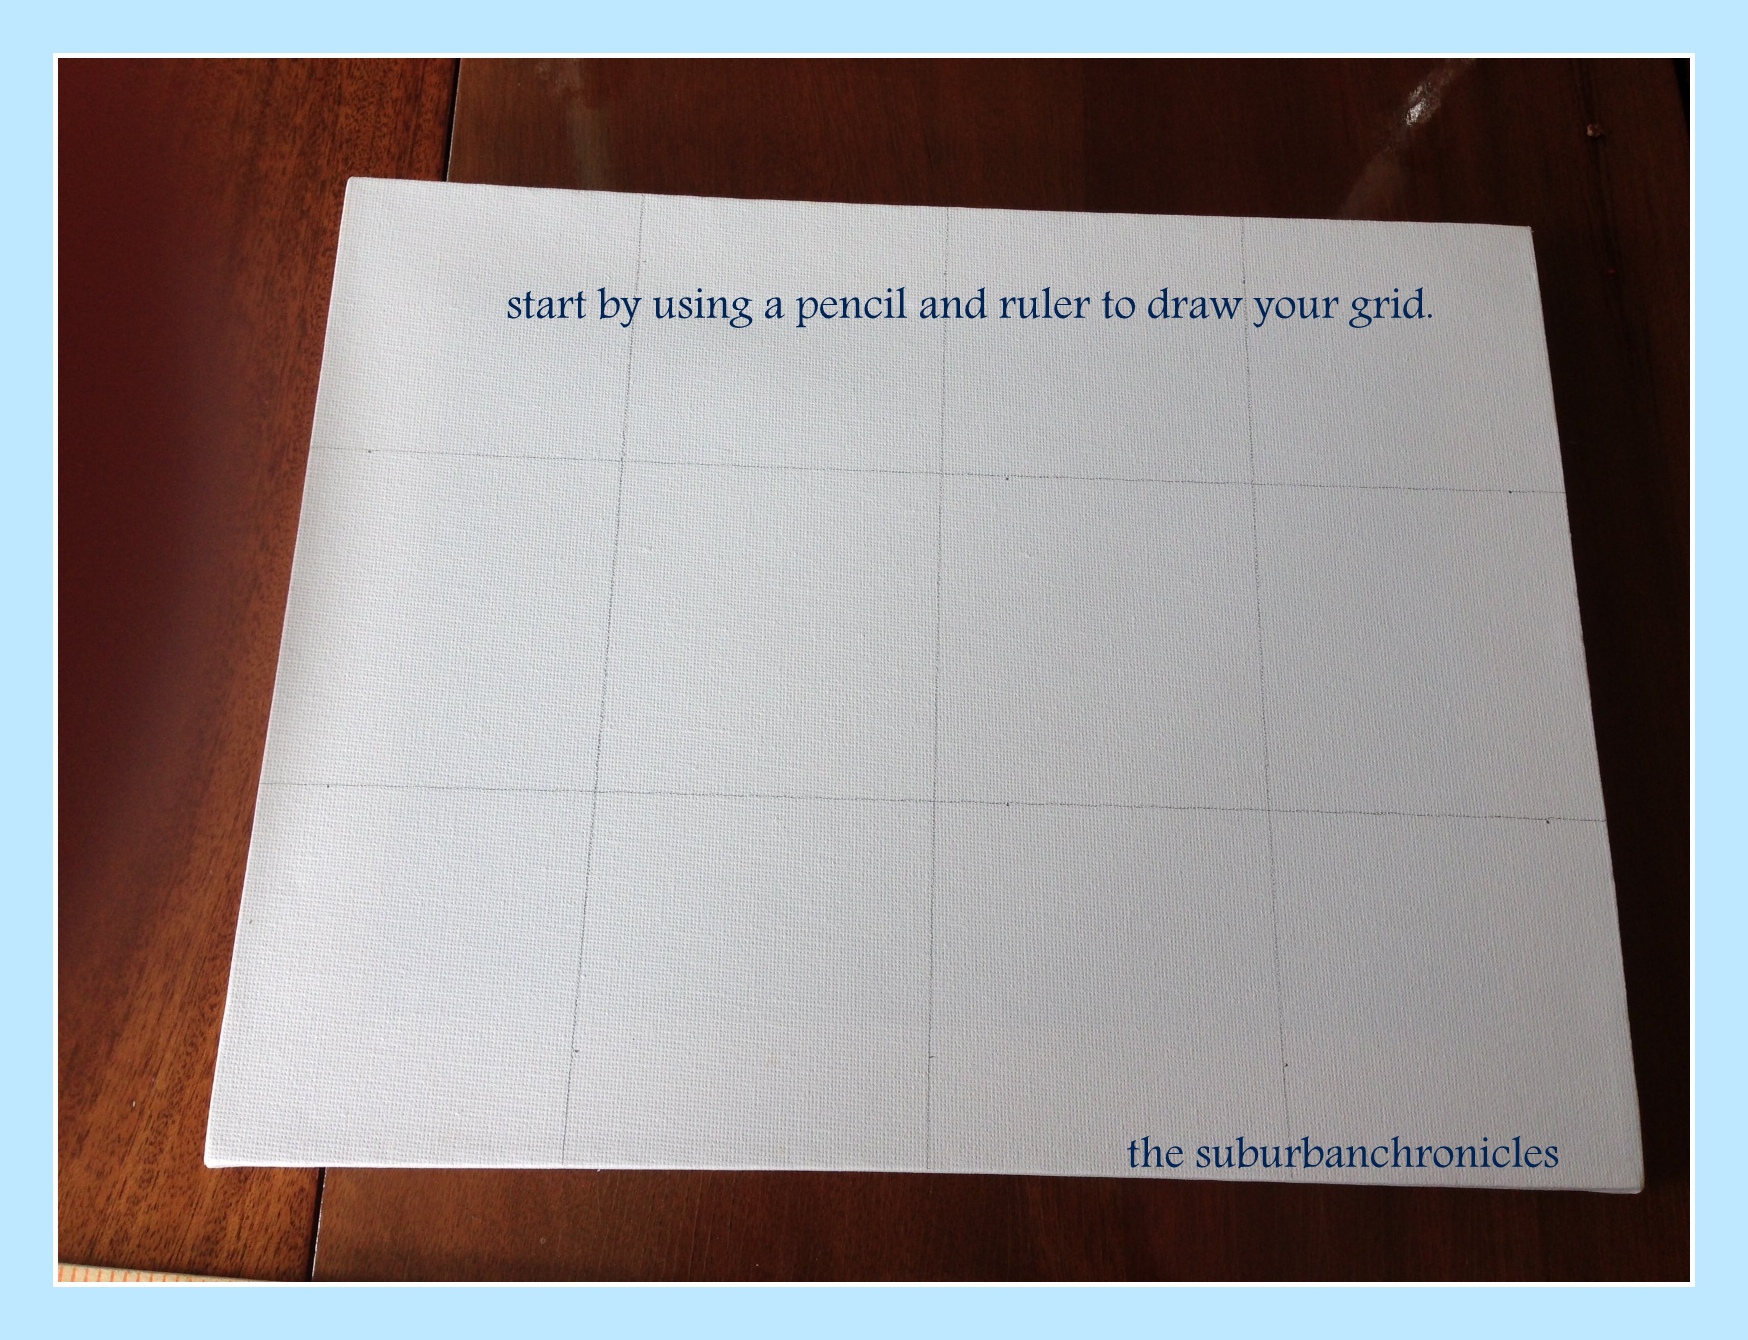
First I used my pencil and ruler to get the grid set up. The number of peaks you want to show will help you decide how many boxes you will need. Ultimately, each box needs to have the same proportions or your design will look funny and be hard to line up.
Don’t worry, you’ll just erase those marks later on!
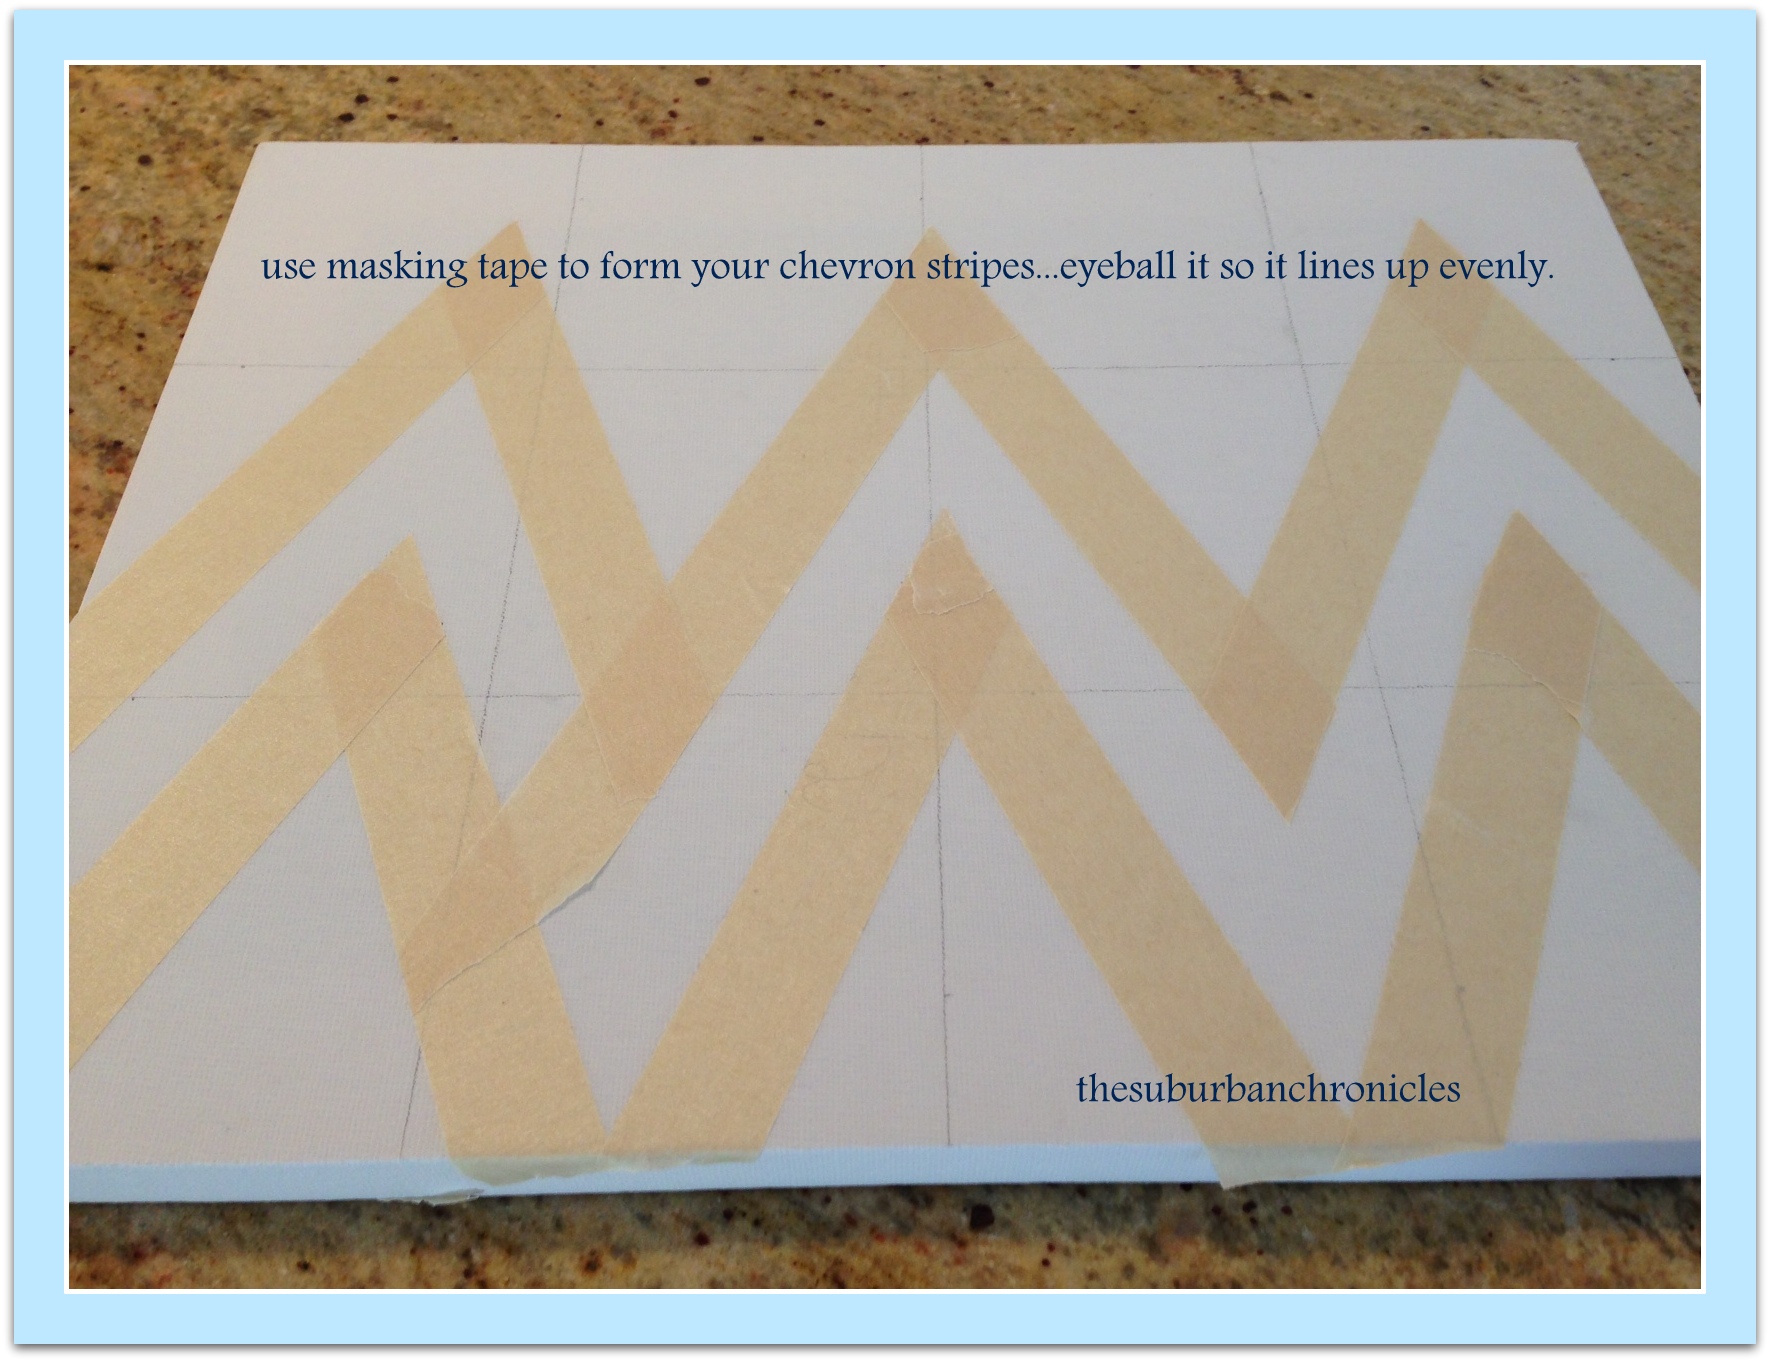
Then I started with the tape. I went through a bunch of tape as I made several mistakes.
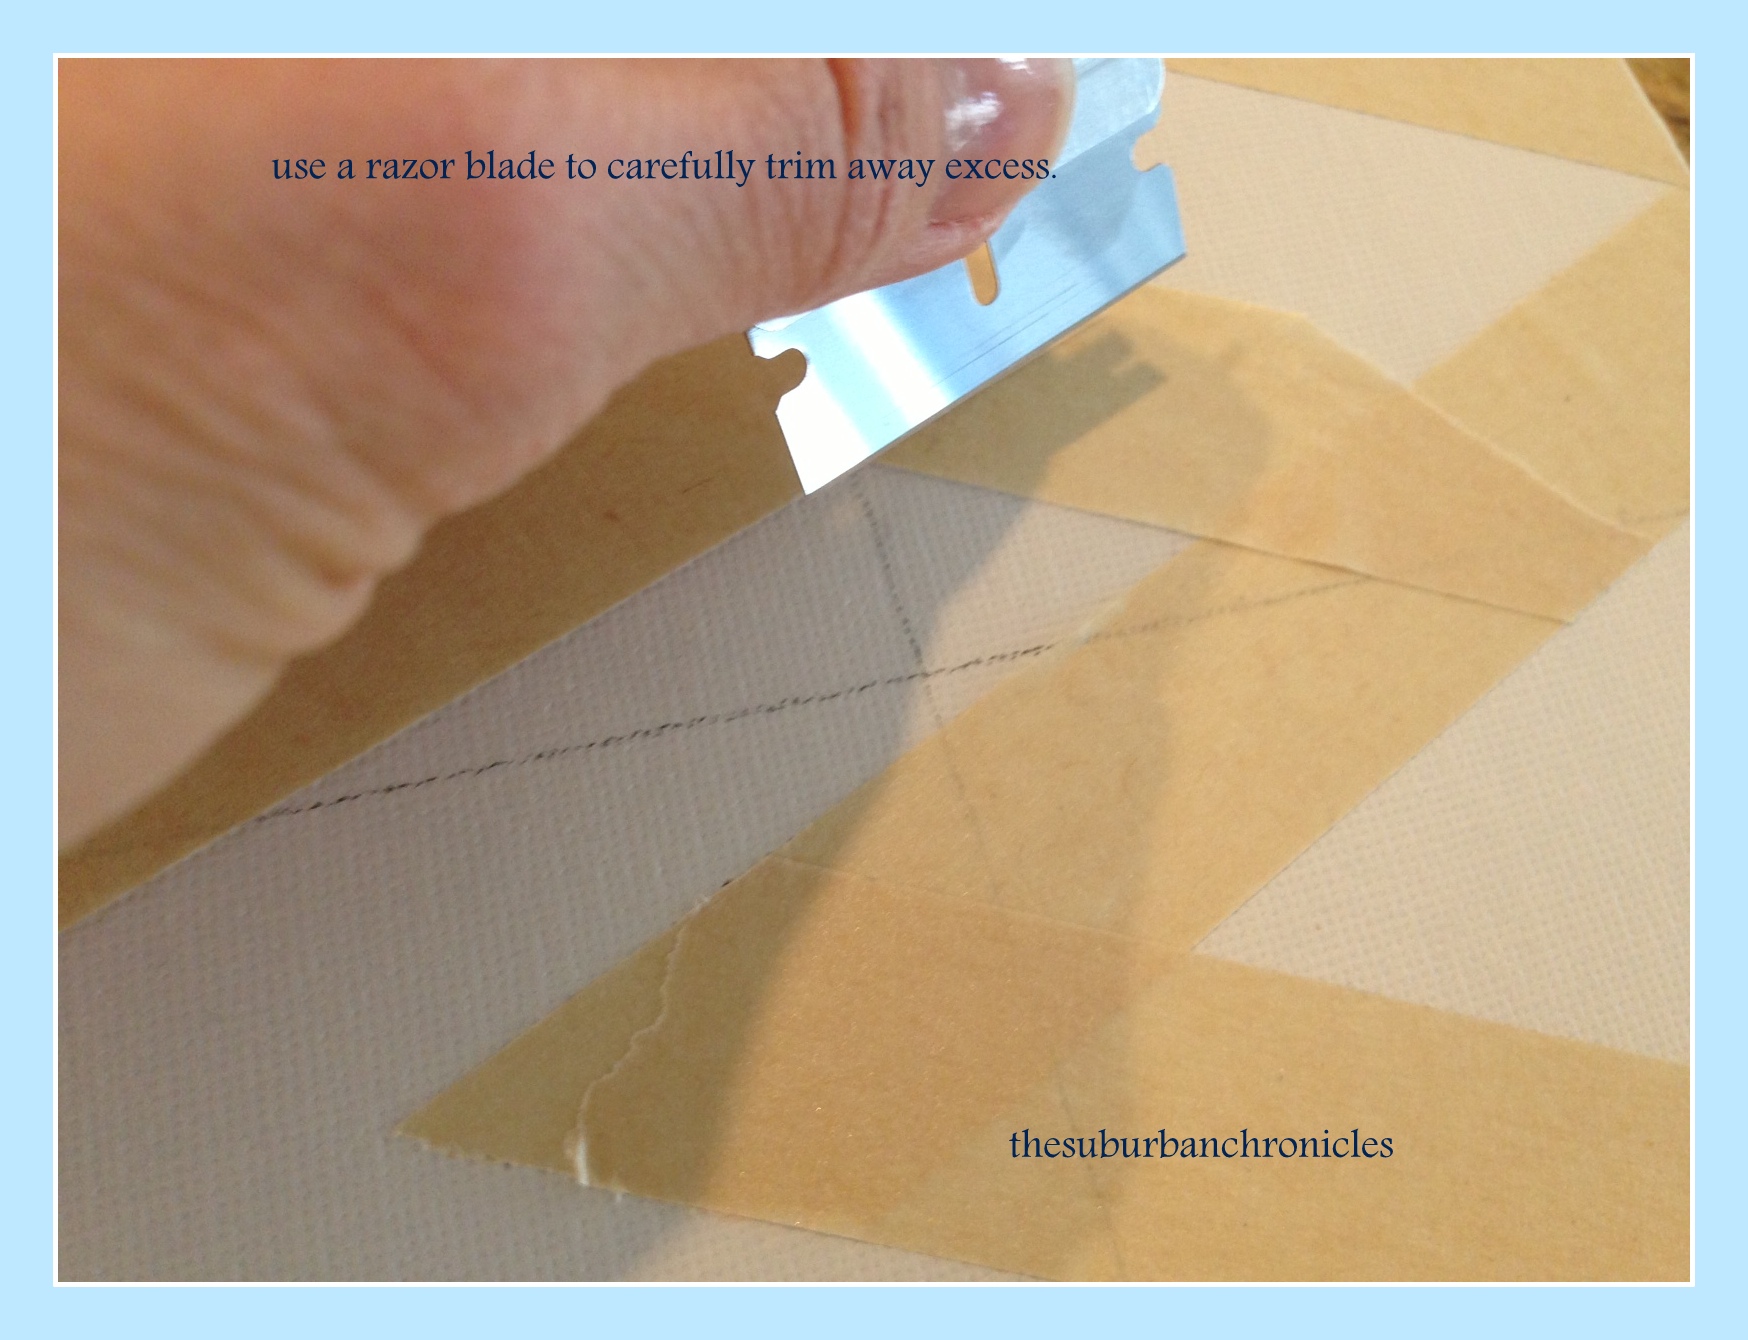
As you can see, there is excess tape on the lower left. Use your razor and carefully trim it up.
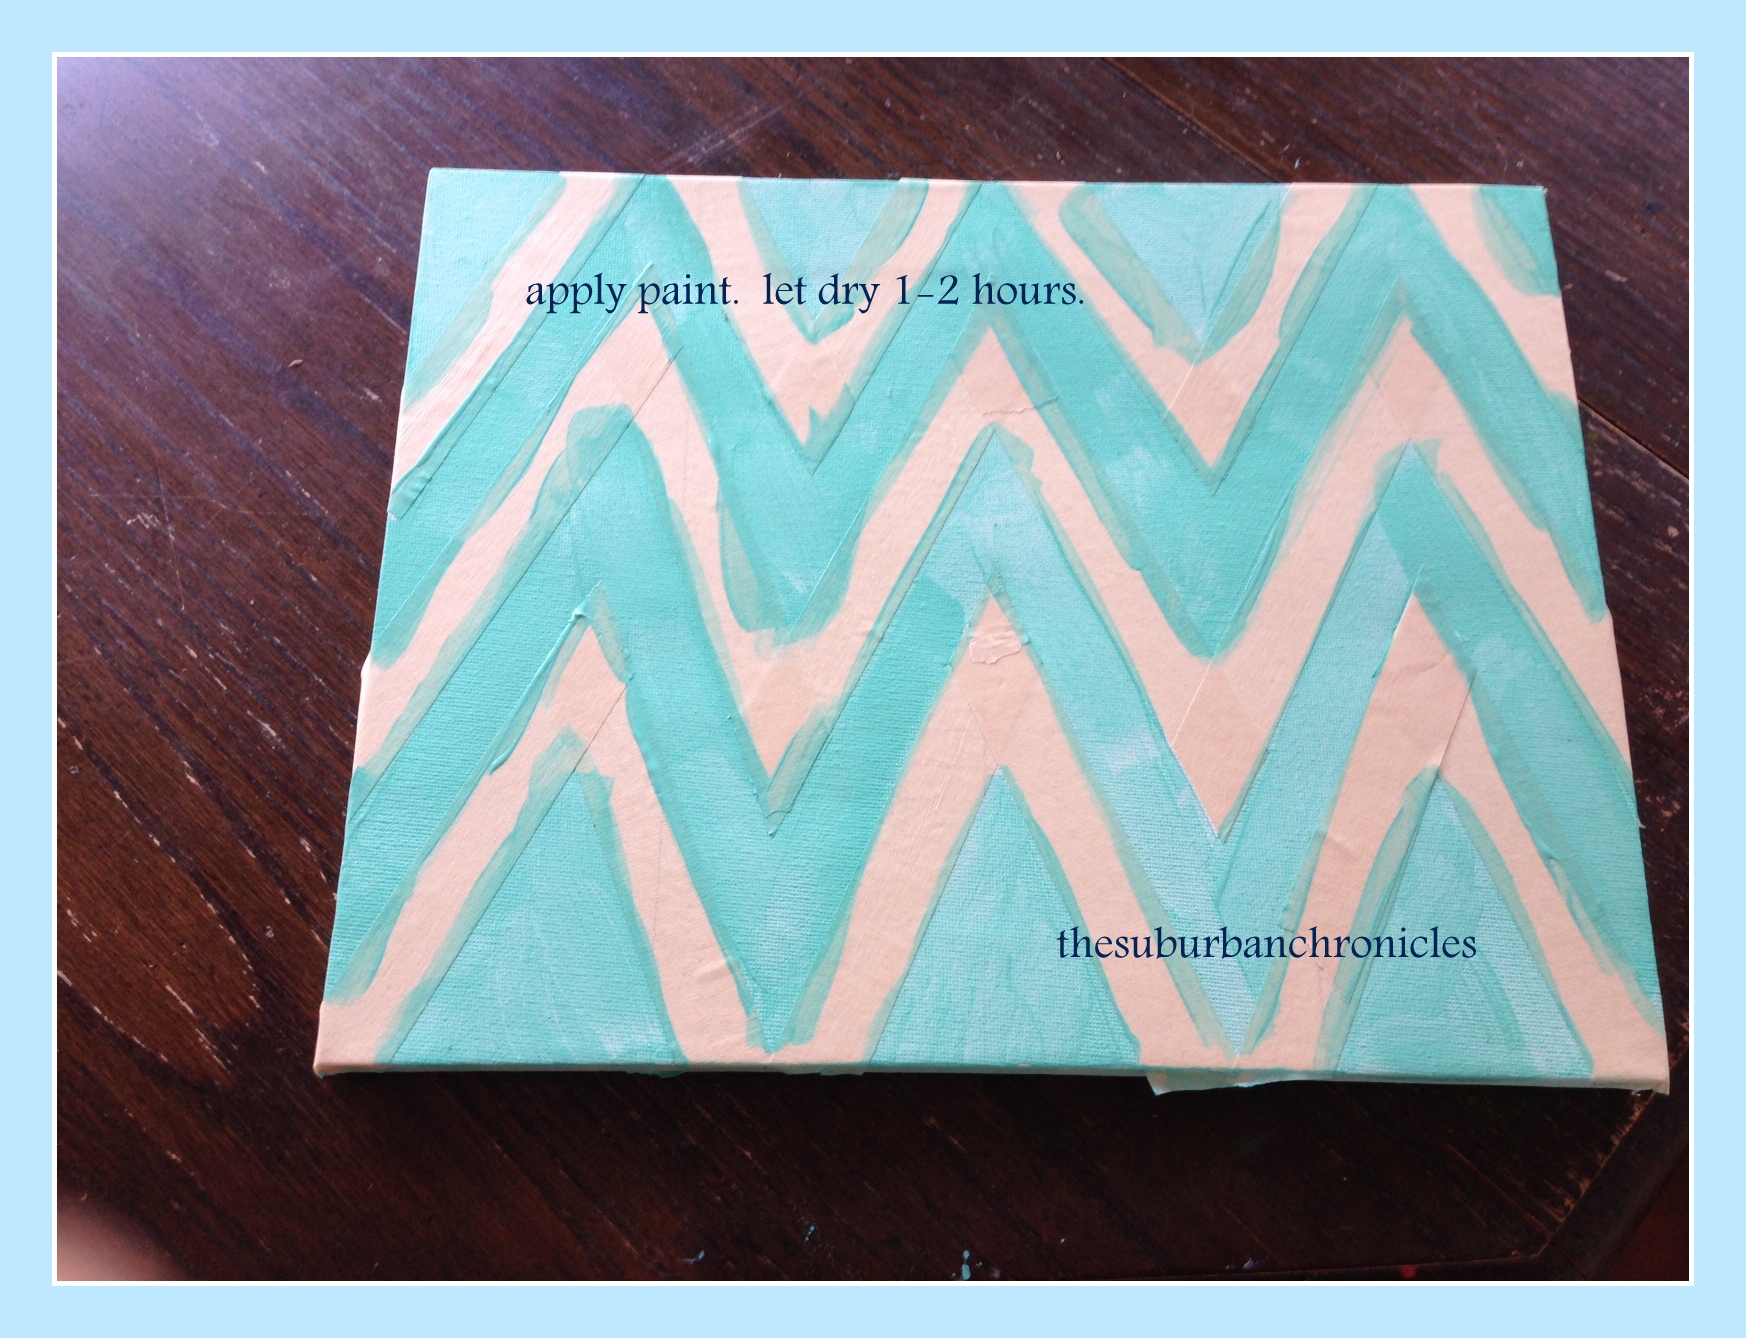
Once you have the design lined up, you are ready to paint.
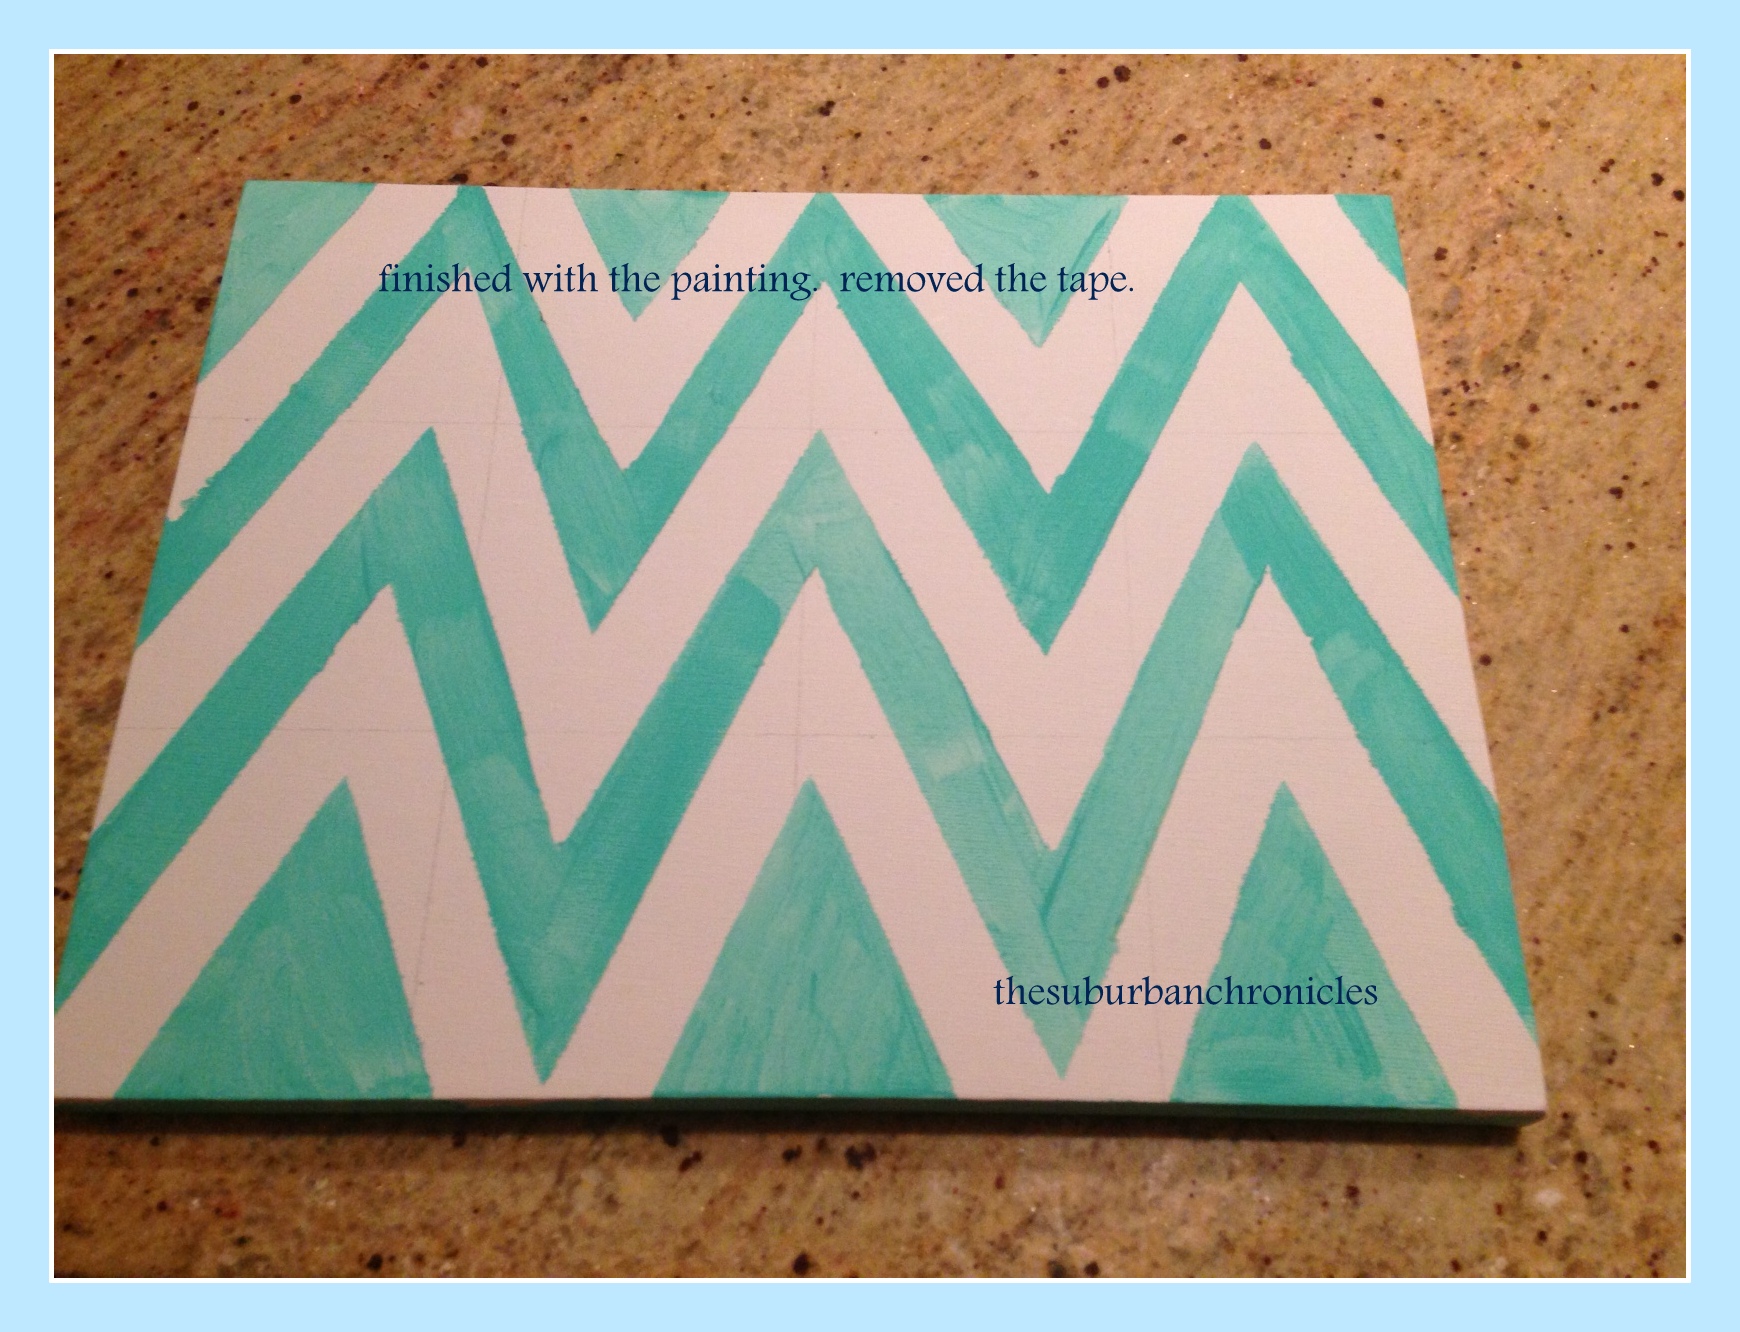
Here is what it will look like:
I know I wrote 1-2 hours on the photo. An hour should be plenty of time. I’m sure you’re like me, rushing around trying to get things done! After it was dry, I pulled off the tape.
This is where I erased the pencil lines that I could still see. Truthfully, you don’t have to make the marks so dark to begin with. I just wanted you to be able to see.
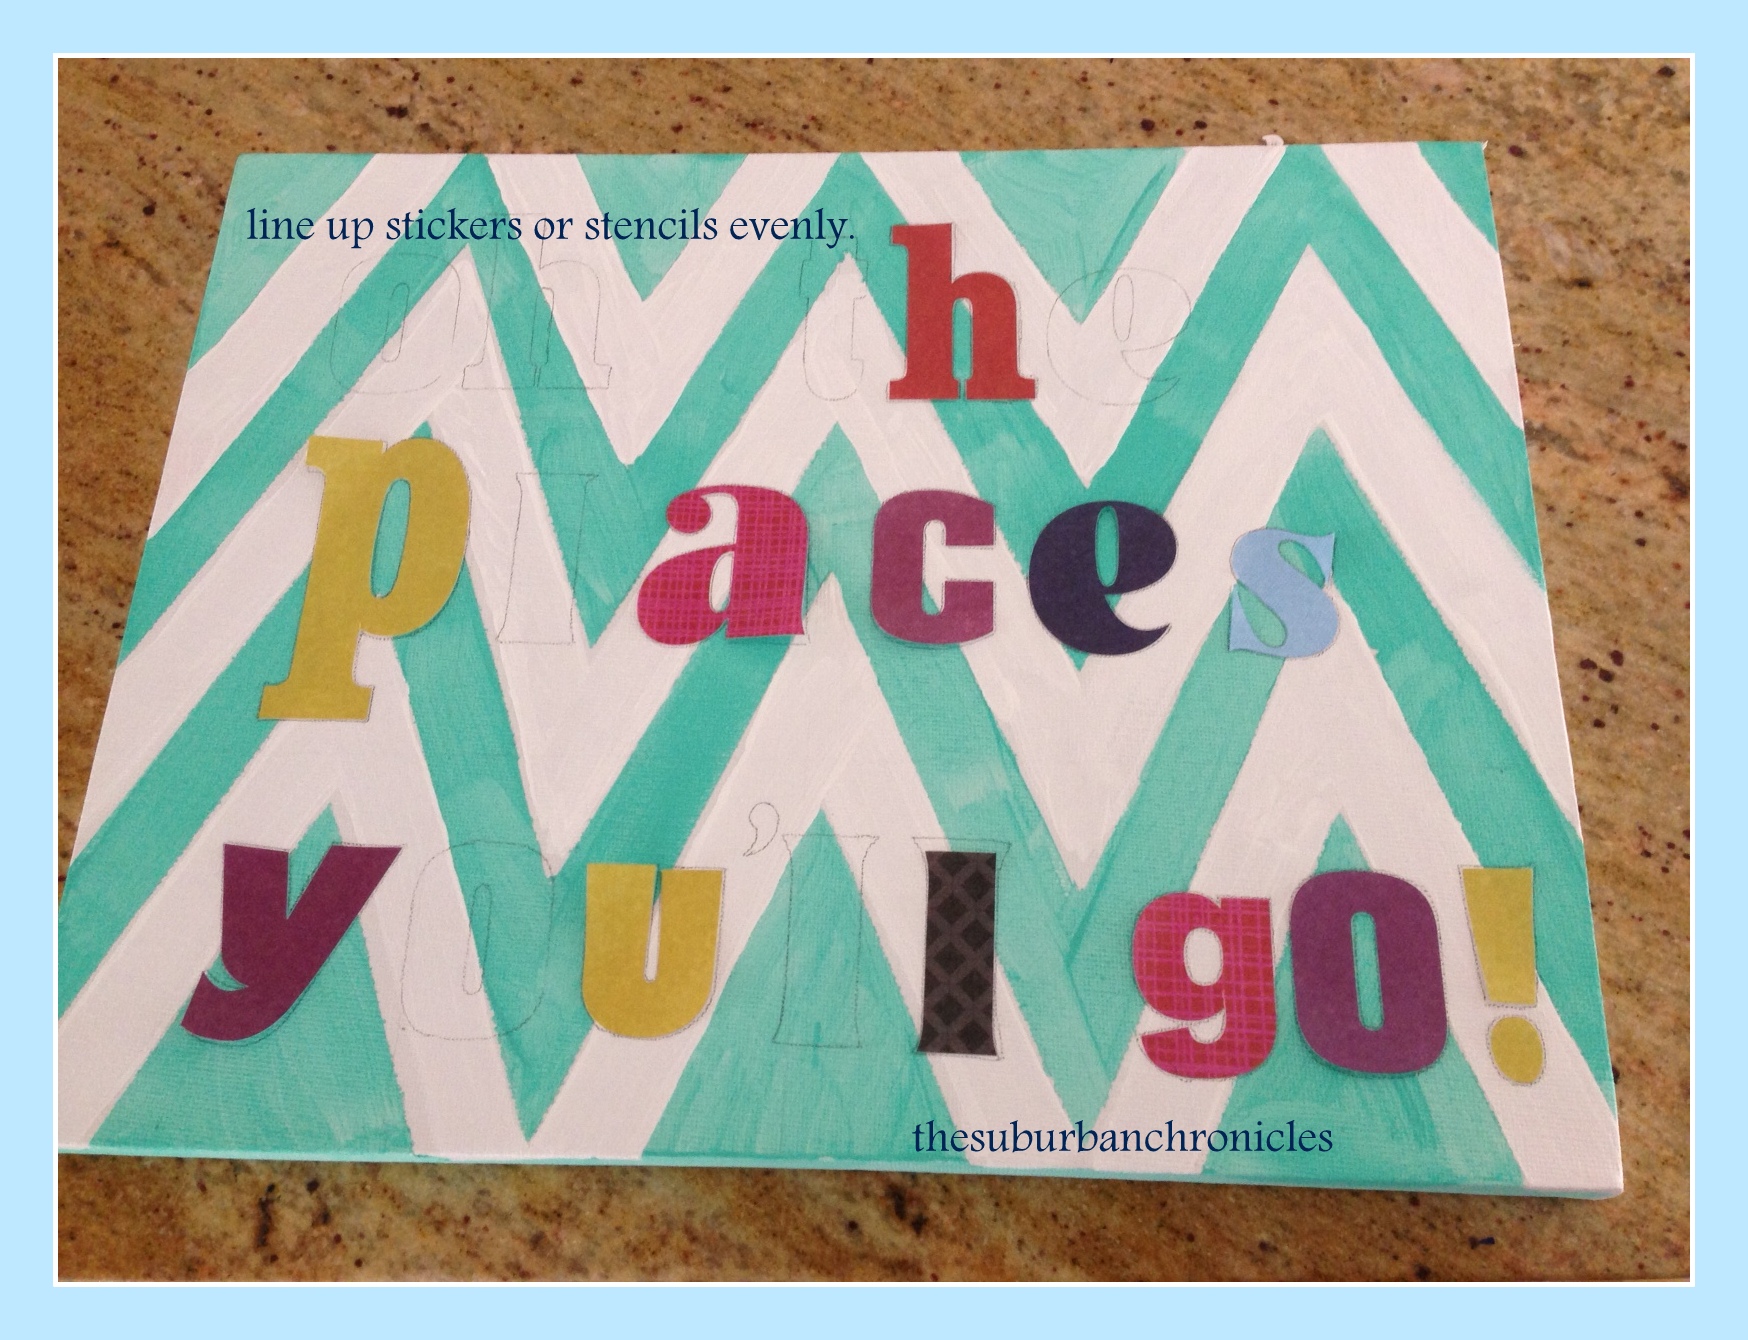
Here’s where the fun begins: the lettering. I had a message in mind. I wanted to use a favorite Dr. Suess quote. I happened to have some vinyl letters hanging around the house so I used them. If you visit amazon.com, you can search “scrapbook letter stickers” or you can look for them at A.C. Moore or Michael’s. Alternatively, you can use stencils of any kind. Another option would be to print out letters you like from the computer, then use tracing paper to trace over them. Next, take the tracing paper and place on the canvas. Use a pencil and trace over the letters, gently pressing into the canvas. You will get an imprint that you can paint. I’ve also seen people use those foam letters some of their kids have in their arts + crafts stuff. You’re looking to outline the letters you want so you can paint them in neatly. Certainly if you’re an artist, go at it with your gorgeous free hand painting!
I played around with it, and decided on mismatched letter styles. It just felt right for a Dr. Suess quote.
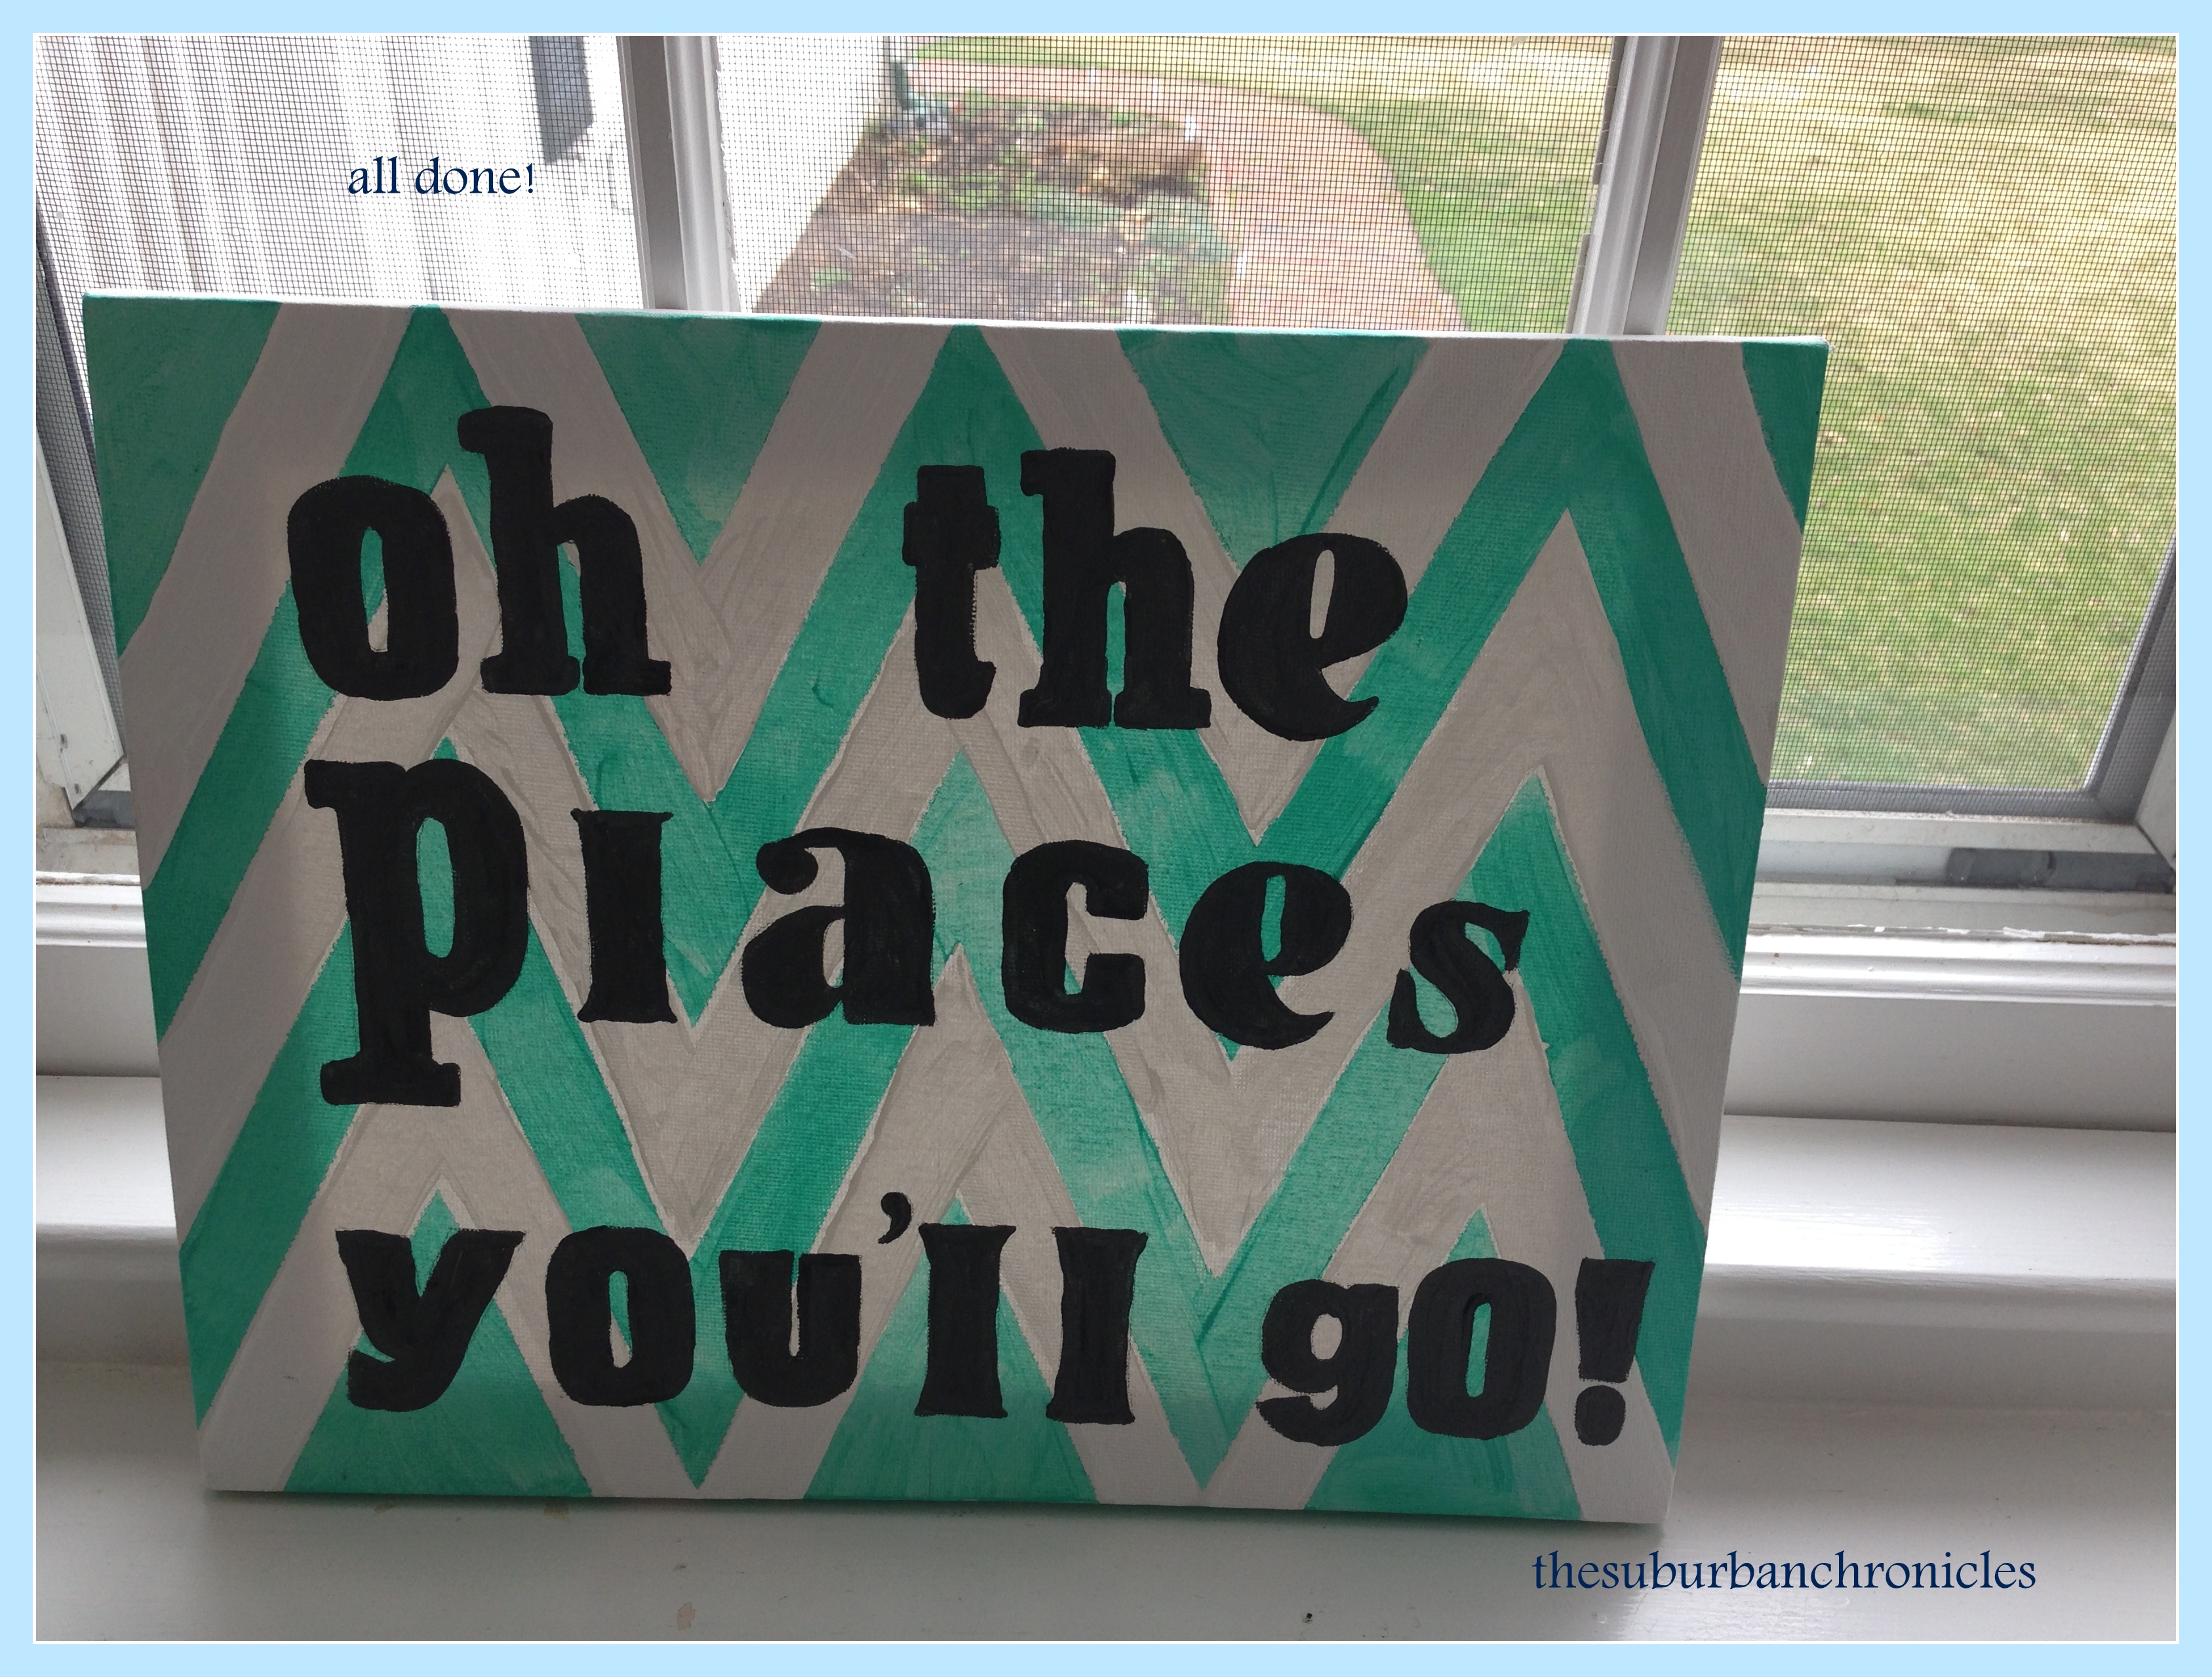
Lastly, I was ready to paint. I recommend doing this when you can concentrate! Of course my kids were running around and I almost really messed it up. I chose to paint the letters in dark gray. Gray is a HOT color right now, and since I’m so cutting edge, it seemed fitting! Here is my finished sign!
Have fun, and if I’ve forgotten something in my directions, let me know!


