


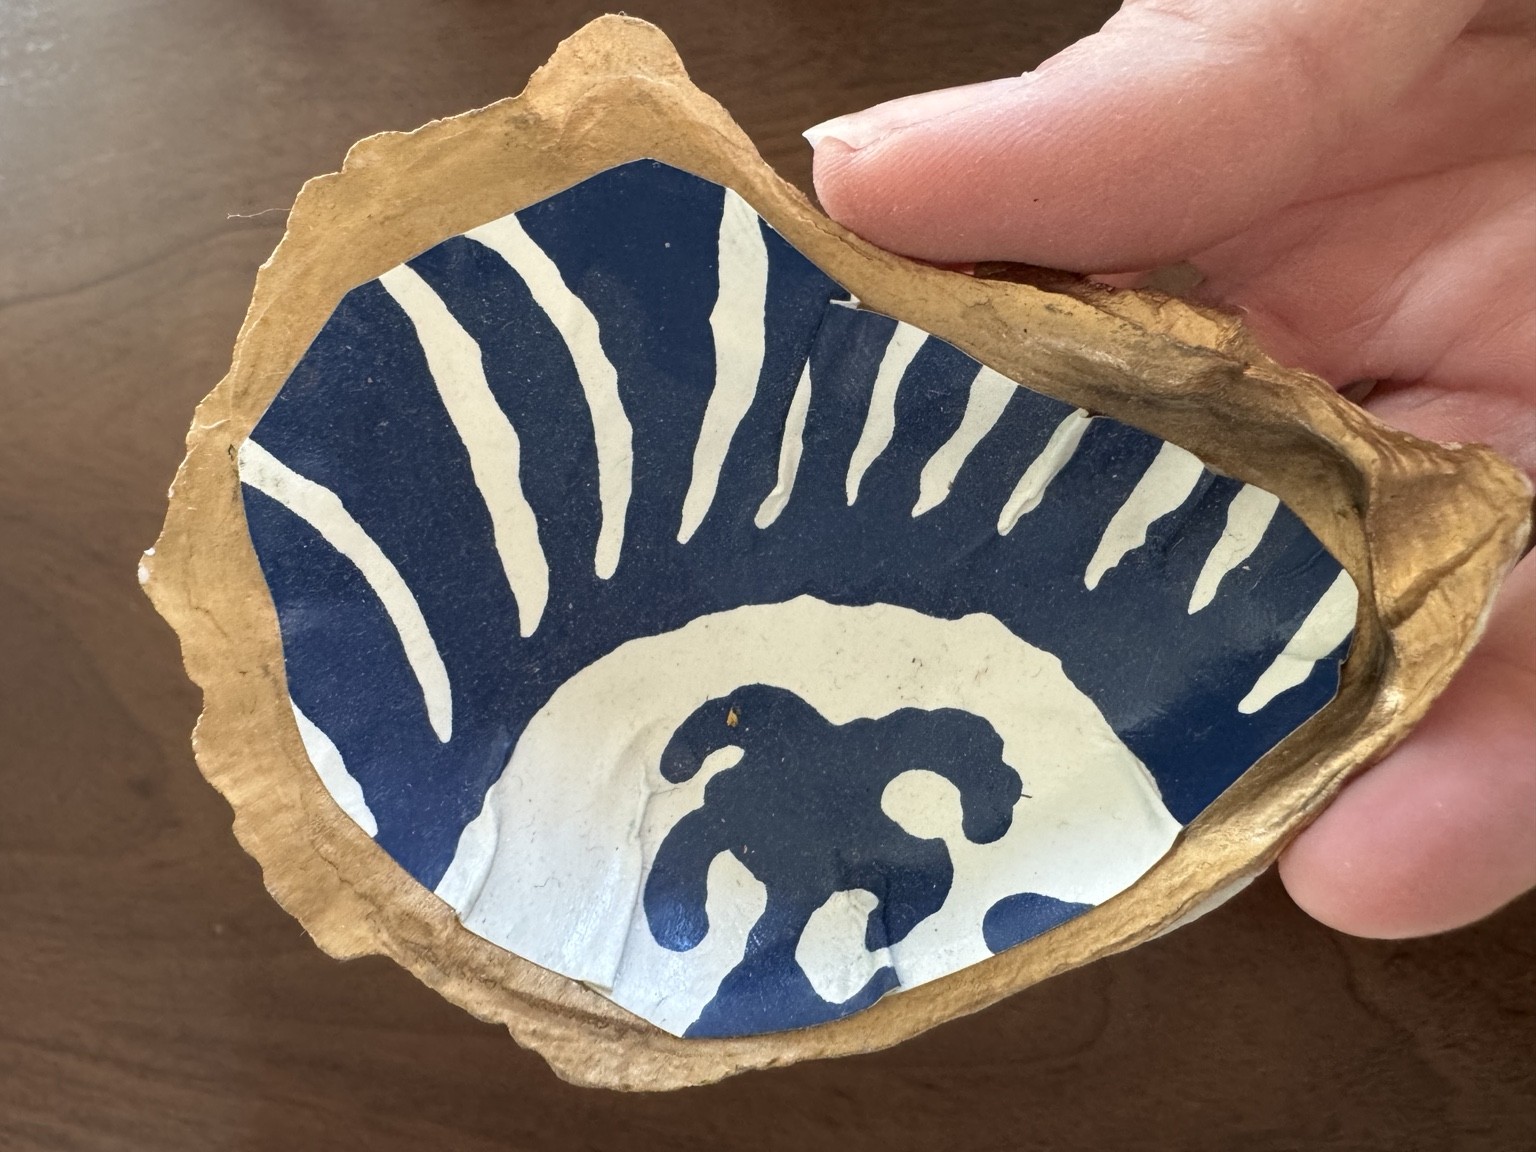
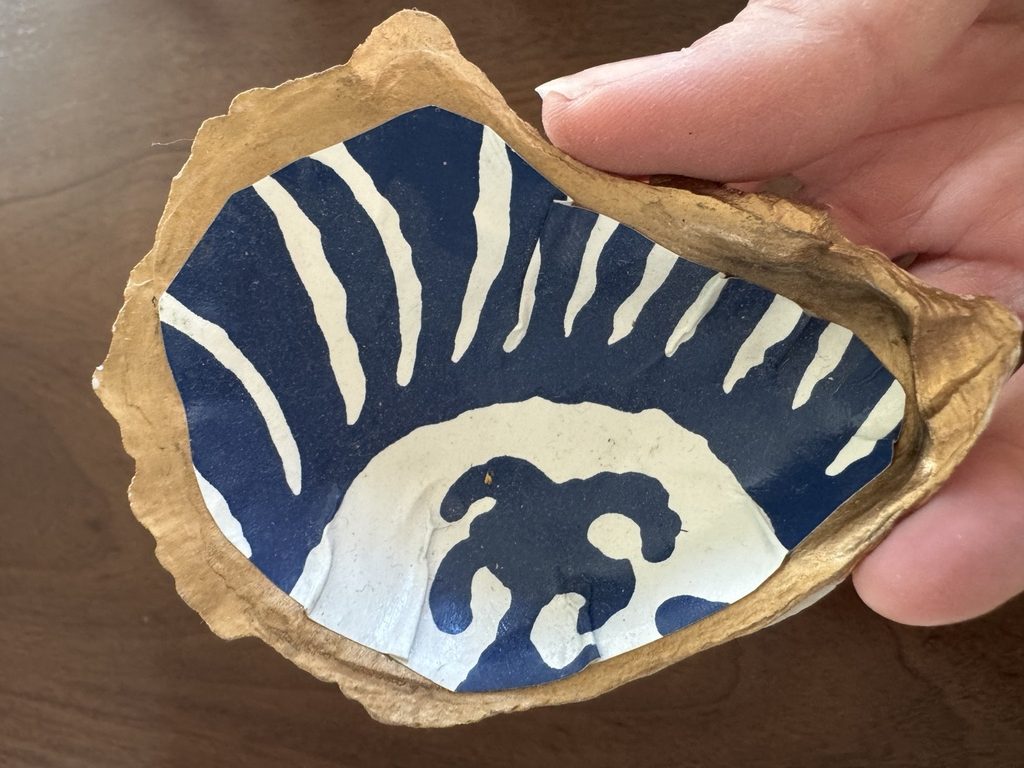
An easy DIY project using patterned napkins and a little gold to create beautiful decorative shells.
If there’s one thing I never tire of, it’s shells! And living in New England, I’ve always loved incorporating coastal touches into my home.
These DIY decoupage shells combine two of my favorite things: beautiful patterns and a little creativity. You can make them using clam shells, oyster shells, or scallop shells.
They’re surprisingly simple to make, and I love that no two shells turn out exactly alike. They make lovely little trinket dishes, thoughtful hostess gifts, or pretty accents on a bedside table.
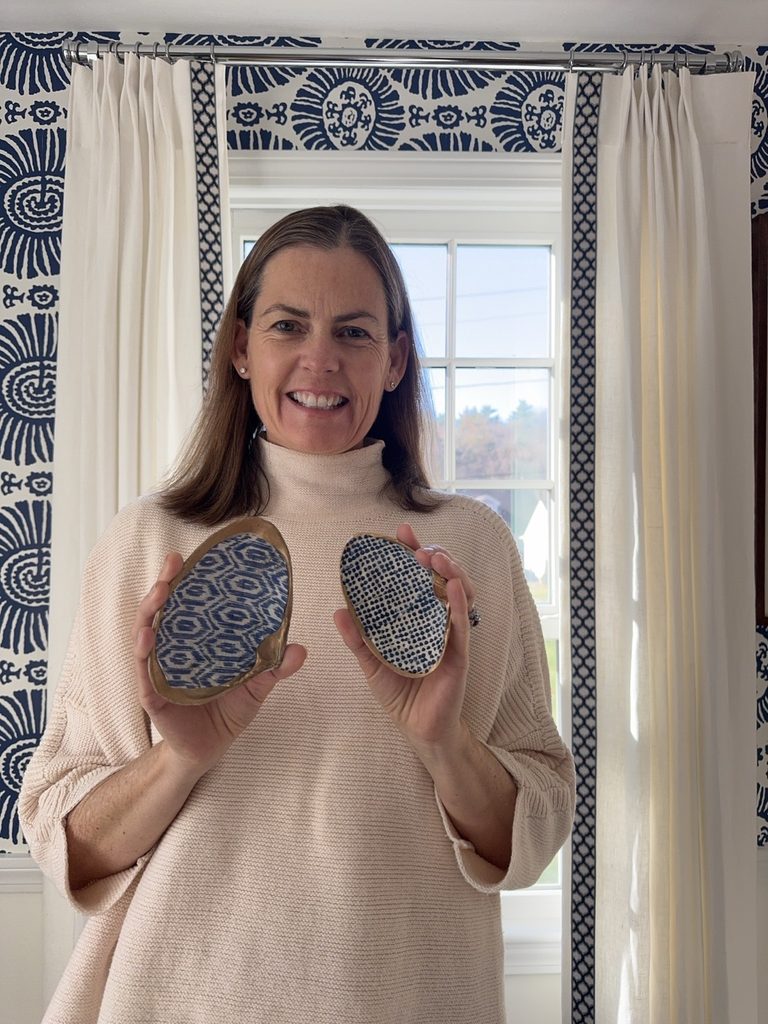
What You’ll Need
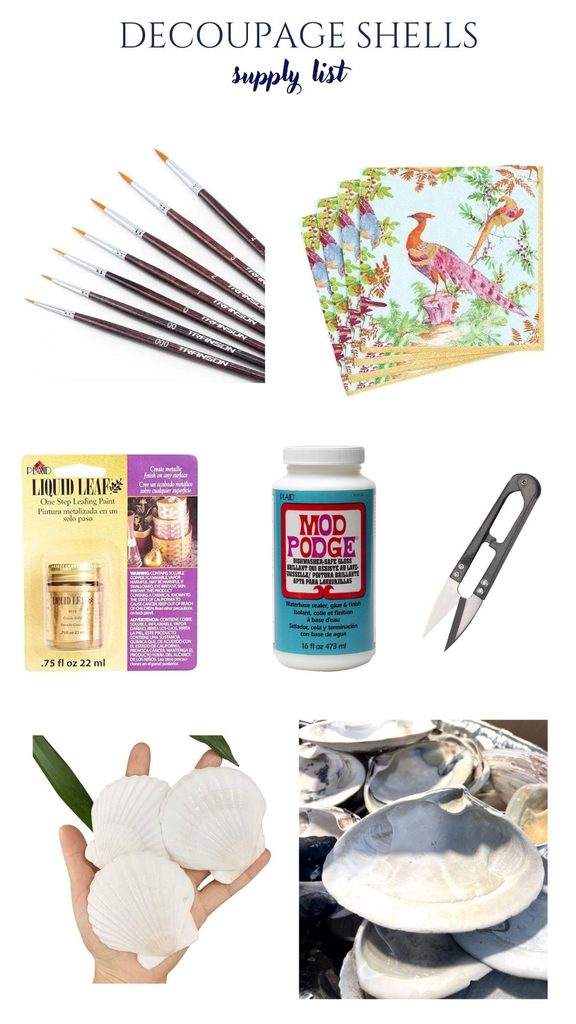
- Clean, dry shells
- White gesso, primer, or acrylic paint (I only chose gesso because I had it, and you can skip this step if you like)
- Gold liquid leaf (I have tried a few, I’ll share the best one). You can also opt to use pearlized paint instead, I’ve included one I like
- Decorative paper napkins in your favorite patterns (try Amazon or Homegoods, I have included some favorite patterns on my list)
- Mod Podge (Any sheen is fine)
- Small paintbrushes
- Scissors
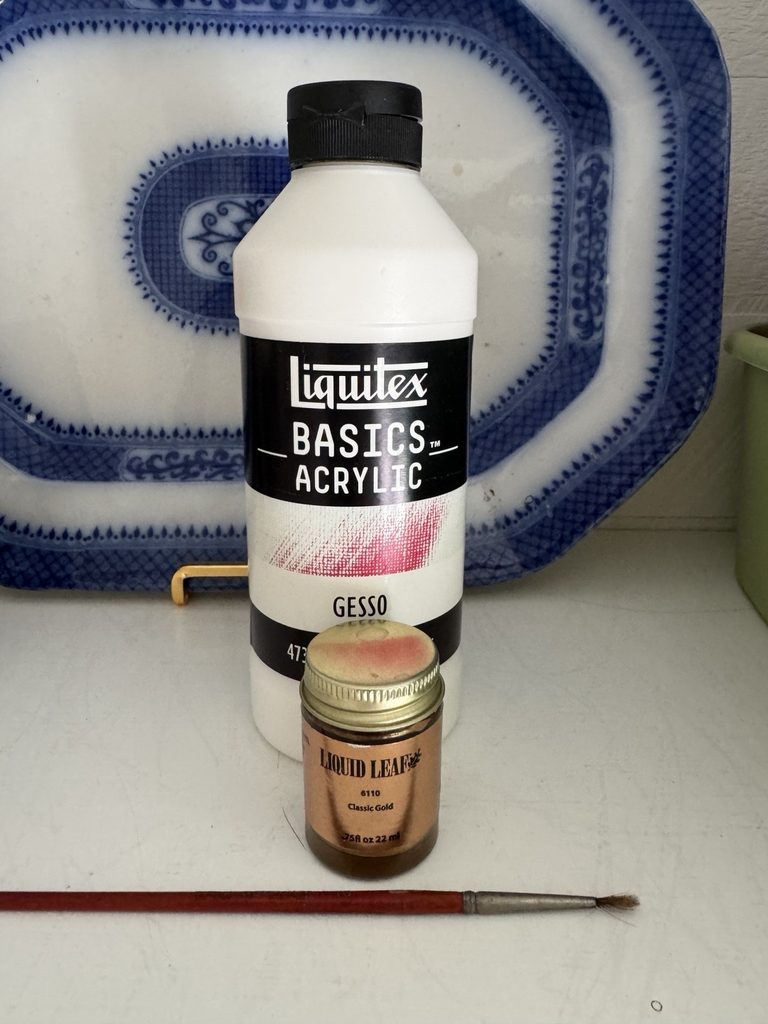
I’ll link my favorite supplies here so you can easily recreate this project at home
How to Make Decoupage Oyster Shells
Step 1: Prepare Your Shells
Start with clean, completely dry shells. Apply a coat of white gesso, white acrylic paint, or primer to the inside of each shell to create a smooth, bright base for your decorative pattern. Allow it to dry completely.
Step 2: Add the Gold
Using a small paintbrush, carefully apply gold liquid leaf or gold paint around the outer edges of each shell.
I love this step because the gold highlights the natural, irregular shape of the oyster shell and gives it a beautiful, finished look.
Let the gold dry before moving on. Note, you will need paint thinner to clean your brush after use.
Step 3: Apply Your Decorative Napkin
Choose a patterned napkin you love. I gravitate toward classic blue-and-white designs, but florals and colorful prints would be equally pretty. I have had success at Homegoods and Amazon finding great patterns.
Separate the printed top layer of the napkin from the plain backing layers and cut a piece the approximate size of the shell or a little bigger.
Apply a thin coat of Mod Podge to the inside of your shell, then gently position the patterned napkin over it.
Using your fingers, carefully smooth the napkin into the shell’s natural curves. Work slowly, as the thin paper can tear easily.
Step 4: Trim and Seal
Carefully trim away the excess napkin around the edges, keeping the gold border visible.
Once the paper is in place, apply a light coat of Mod Podge over the design to seal it. Allow everything to dry completely.
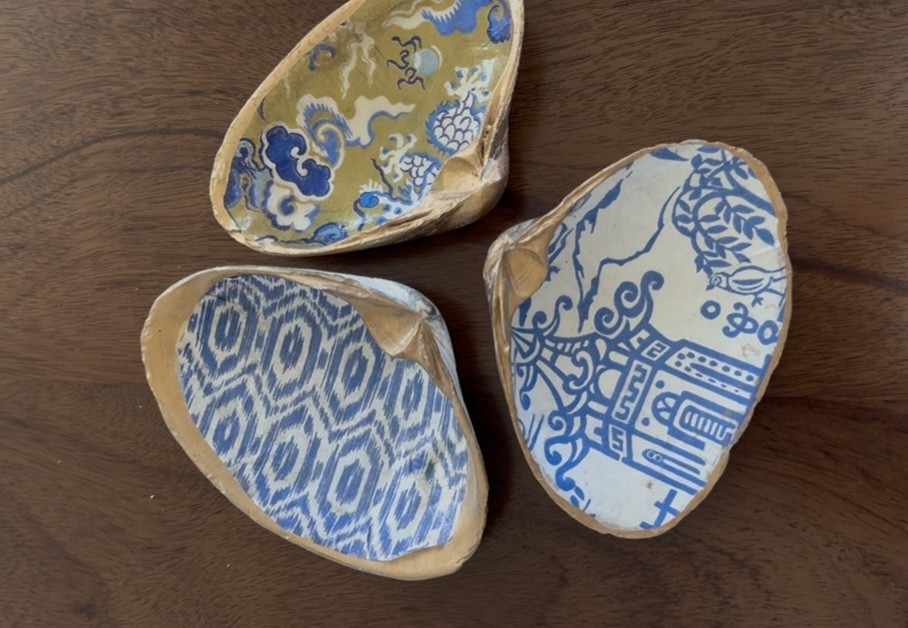
A Few Ways to Use Your Finished Shells
These little shells are as useful as they are pretty! I love the idea of placing one beside a sink to hold rings, using them as small decorative accents on a coffee table, or wrapping a few together as a thoughtful handmade gift.
They’d also make charming place-setting favors for a coastal-inspired dinner party.
For me, the best DIY projects are the ones that feel personal, beautiful, and easy to incorporate into everyday living.
I hope you’ll give these a try!
XO, Brooke
