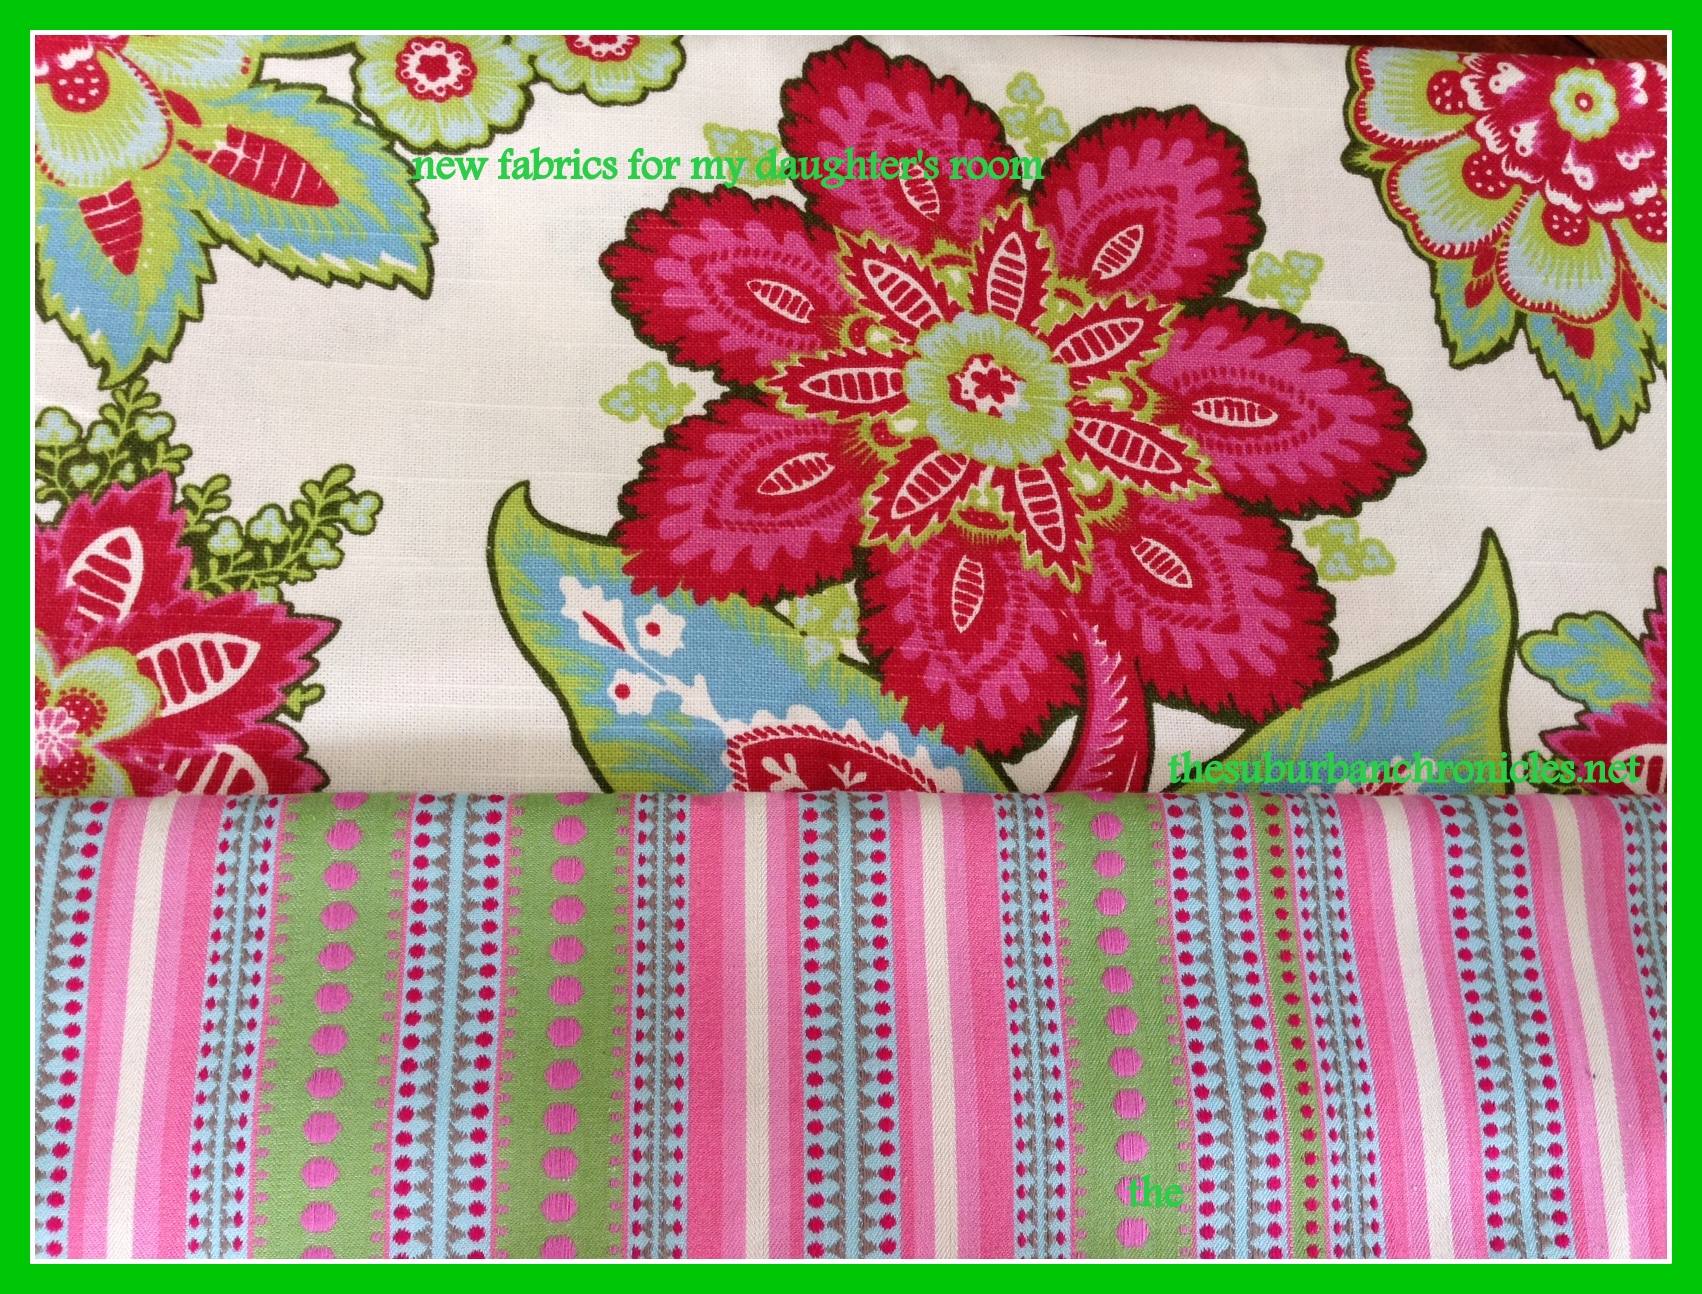
I’ve been very busy this week gearing up for some Spring projects around here. We’re going to be doing a lot of painting, refinishing hardwood floors, and eventually getting our family room renovation started. I’m also in the process of slowly updating my eleven year-old’s room. Her original pink, green, and yellow patterns are worn and dated and she is ready for something a little more sophisticated. Here is a glimpse of her new fabrics, which I love. I’ll be sure to share what I plan to turn them into with you sometime soon.
Anyhow, our limited interior design budget has highlighted one fact: for now, I AM the decorator. The truth is that I really love doing it, and find it so rewarding when I can do it well on my shoestring budget. The quick project I just finished for her room is a great example of thrifty decorating with a Pottery Barn look.
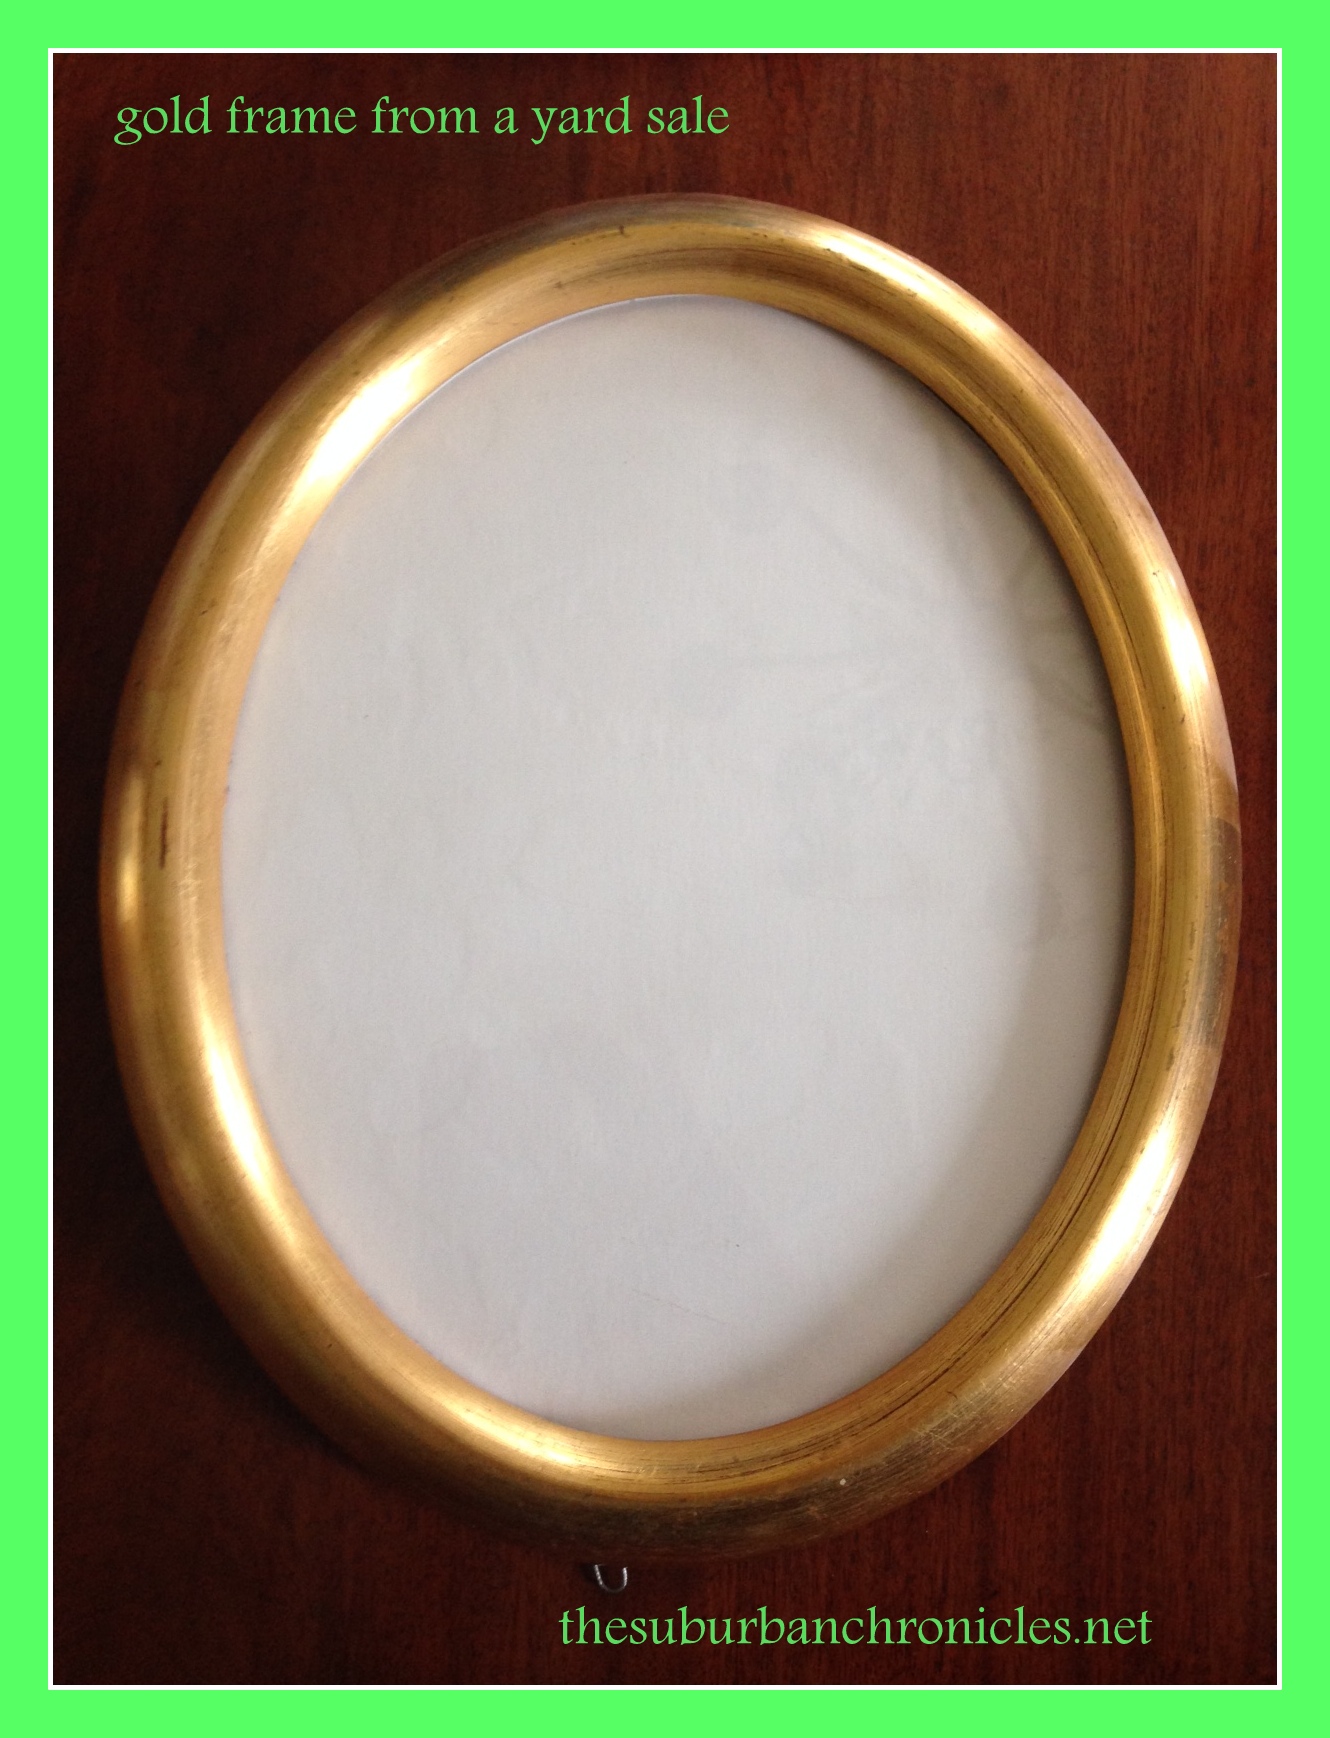
It started with this gold frame, which I bought at a yard sale last year. There were 3 taped together for $1. The wire is already on the back, so it’s ready to hang. Of course you could use any shape, and could easily buy one at somewhere like Christmas Tree Shops.
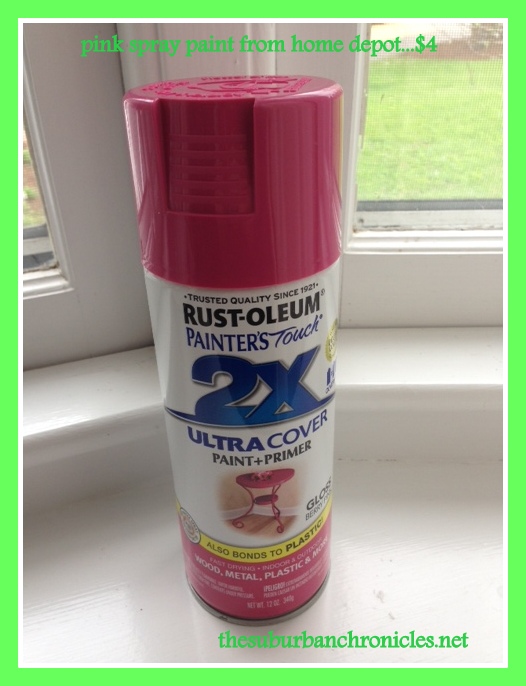
Next, I went to Home Depot and picked up a can of spray paint for $4. I’ve found this brand to be very easy to work with in the past:
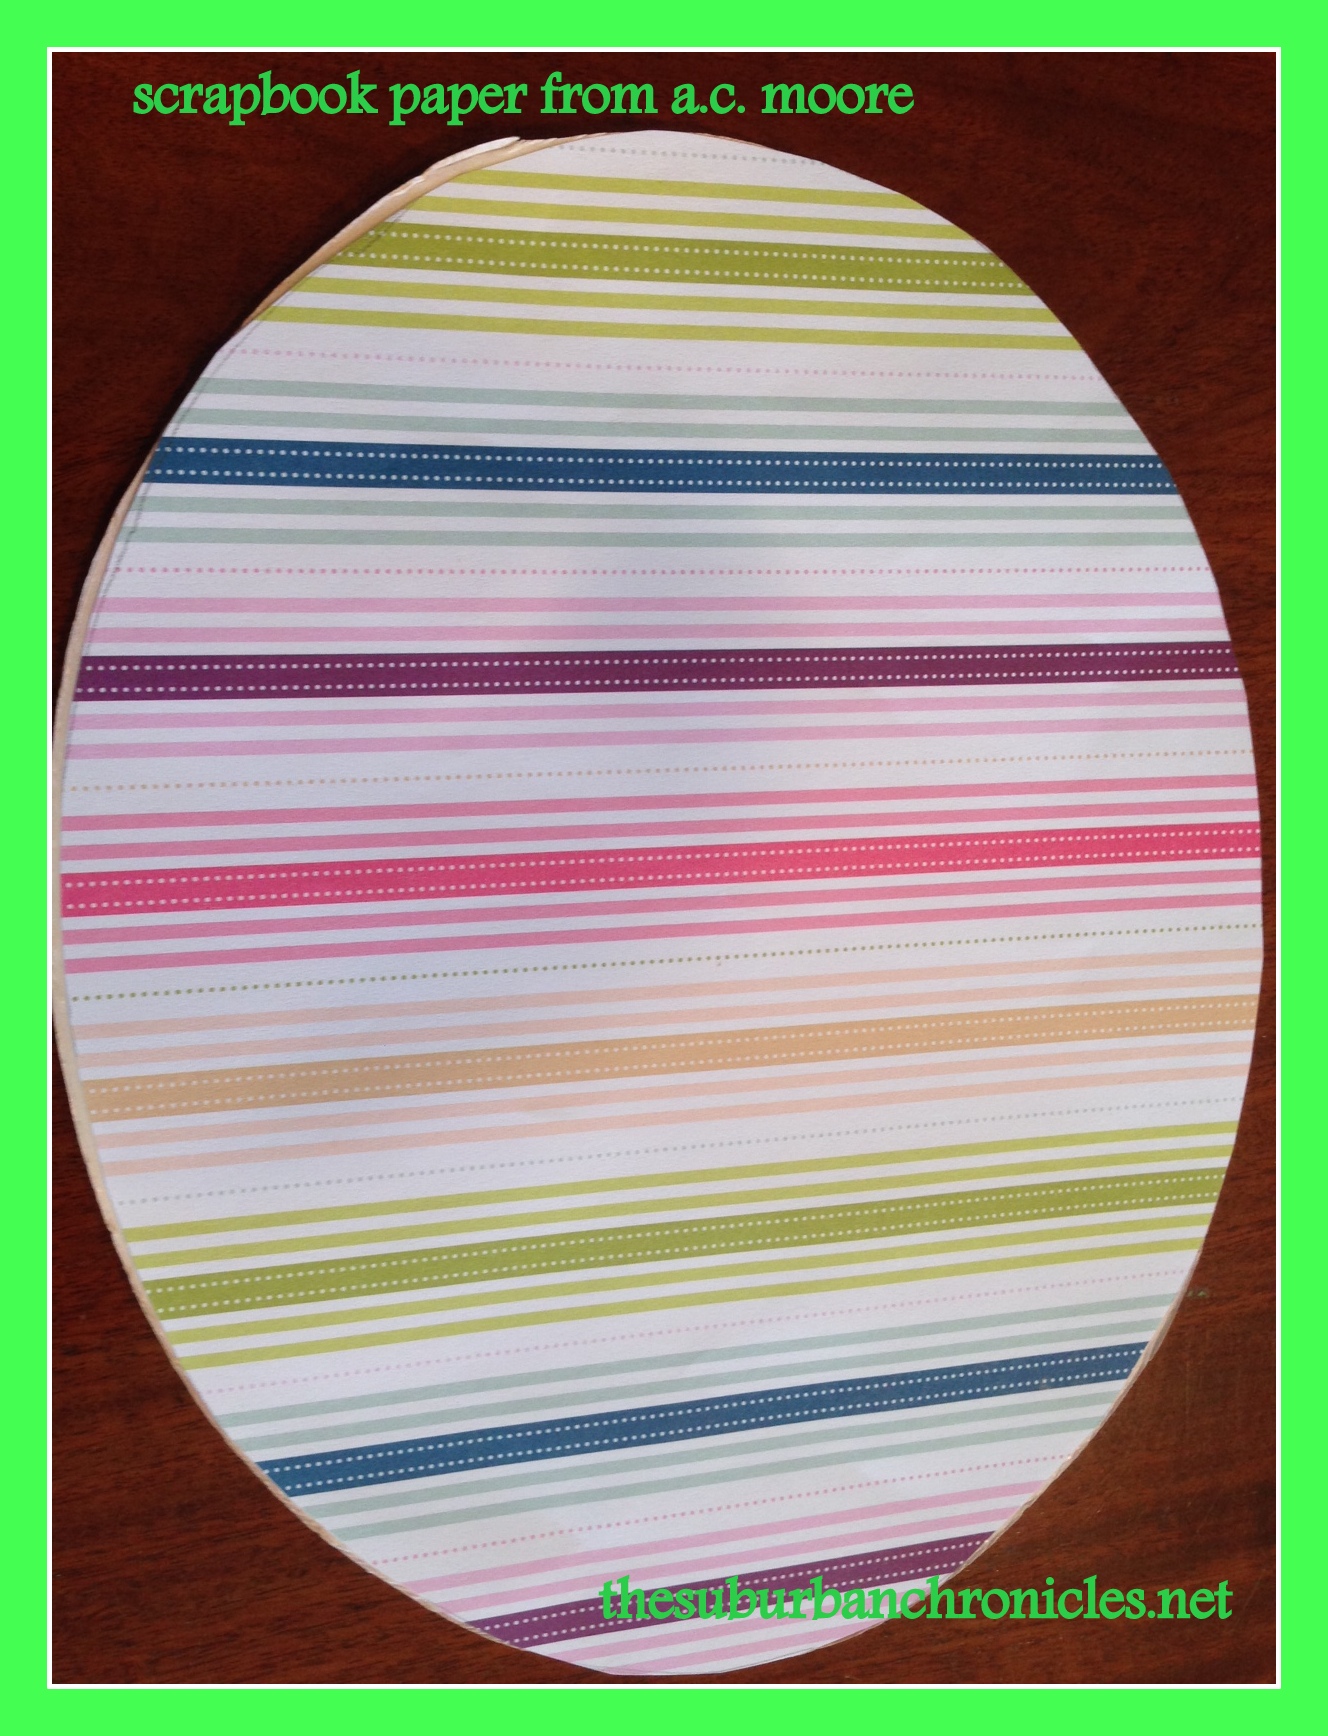
Next, I removed the inside piece and traced an oval onto some pretty paper I found at A.C. Moore:
It was at about this time that I realized the wiring in the back was set up for the frame to hang the wide way, and not the long way. You’ll see what I mean at the end. My daughter wanted just her initial, but you could add anything at this point. I thought about doing a smaller photo, a peace sign, or spelling out her entire name.
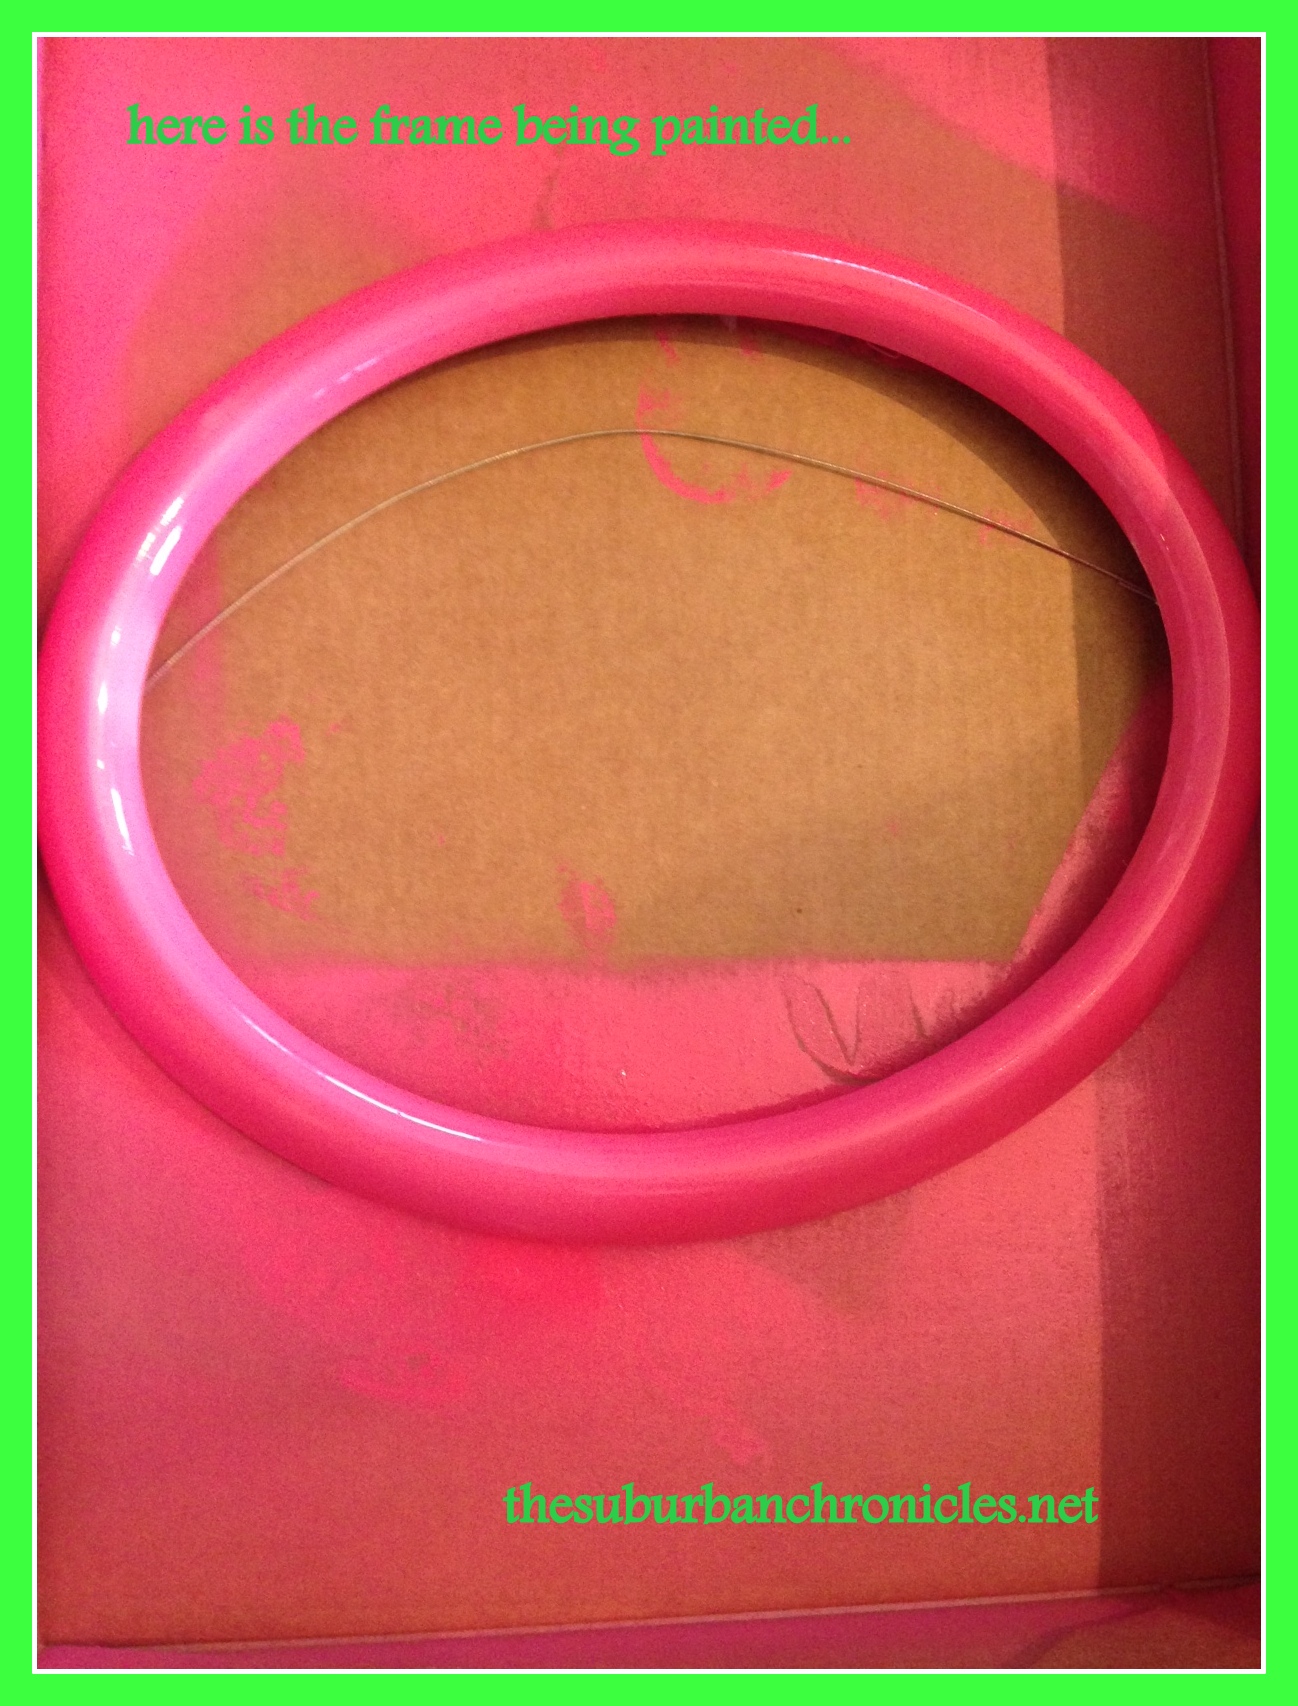
Next, I painted…
I ended up doing two coats. I don’t show it, but be sure to cover the wire with newspaper or something so it does not get coated in paint.
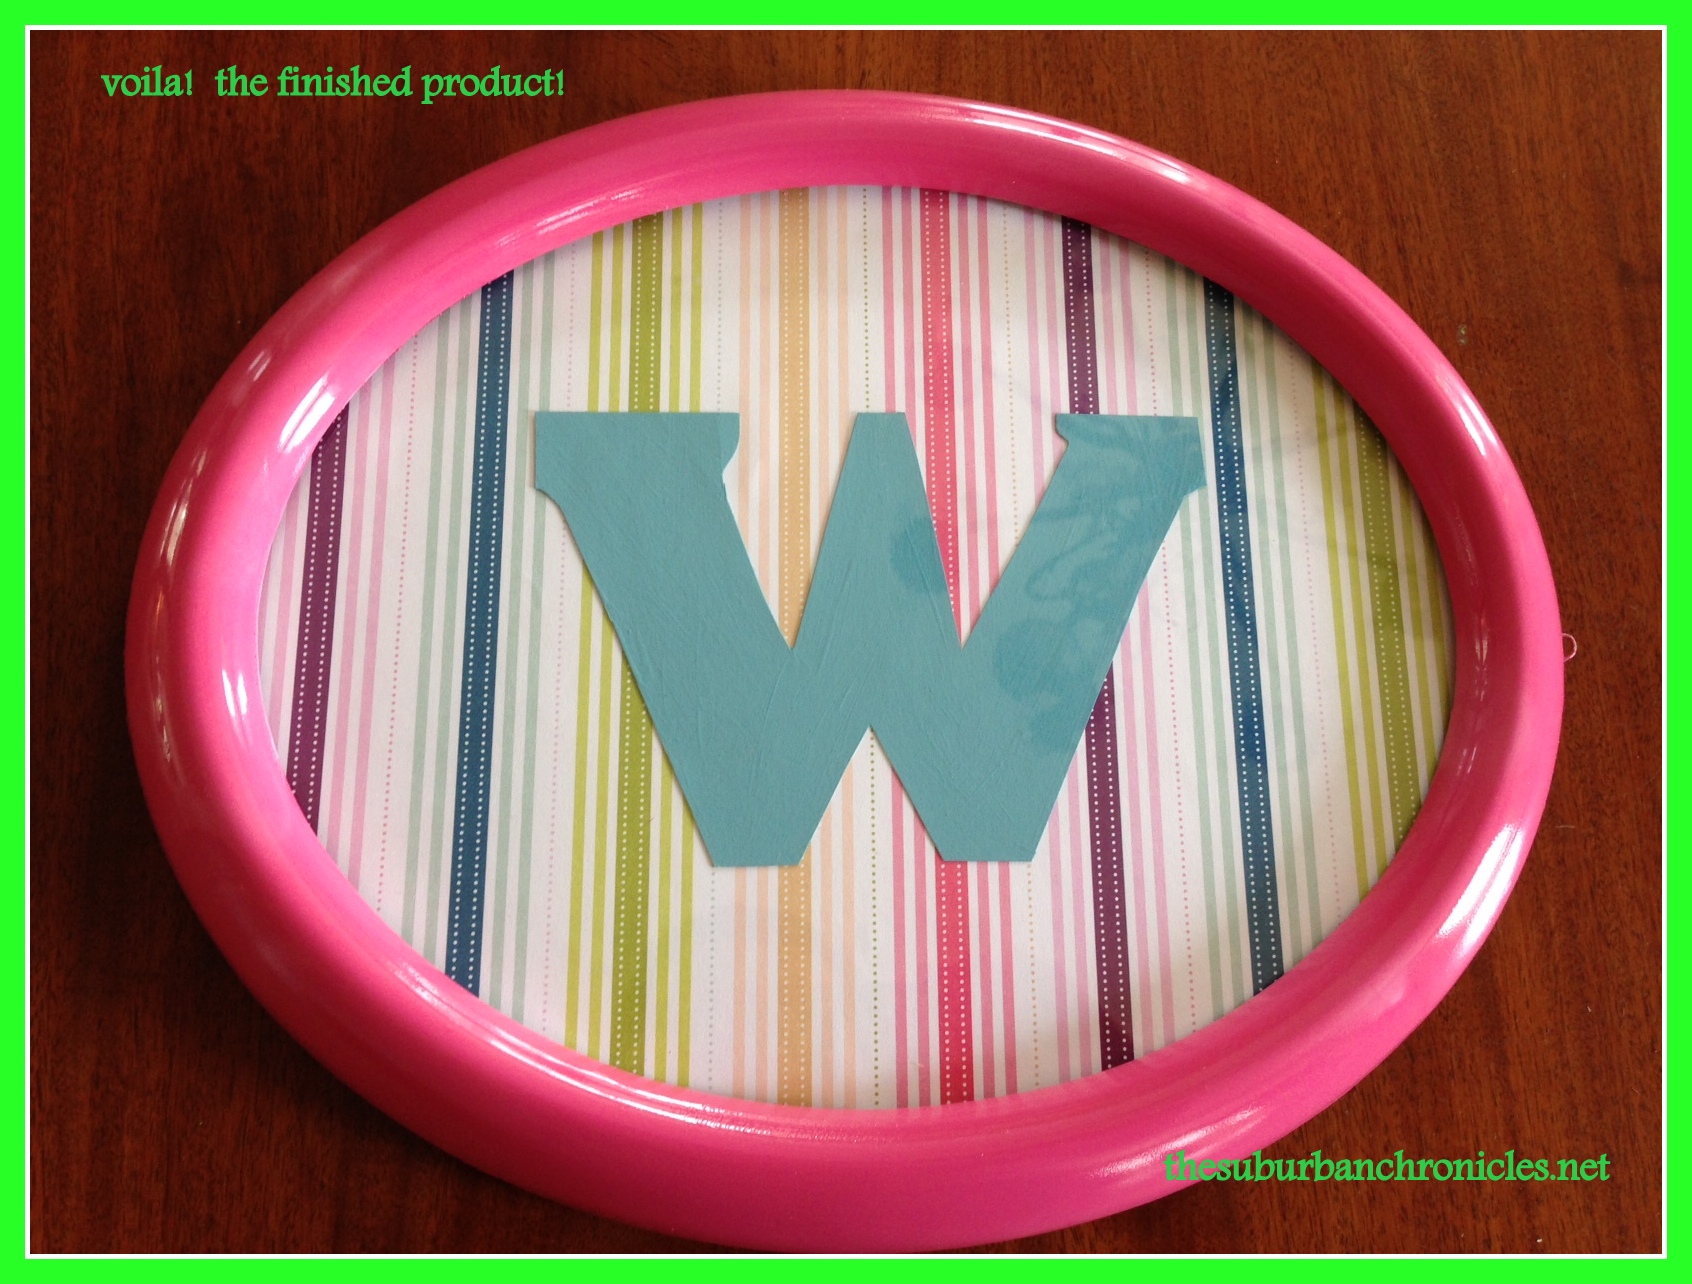
Before reassembling the frame, I cleaned up the glass with Windex as it was sort of gross. For the letter, I ended up drawing it freehand. You could just as easily print out a letter and blow it up to size. I used a thick cardstock and painted it with acrylic paint. I then attached it using a glue stick. Here is the finished frame…
I’m pretty happy with how it turned out. All in all, it took less than an hour (not counting the paint drying) and cost about $7.
Happy crafting!


