*Disclosure: this post contains affiliate links.
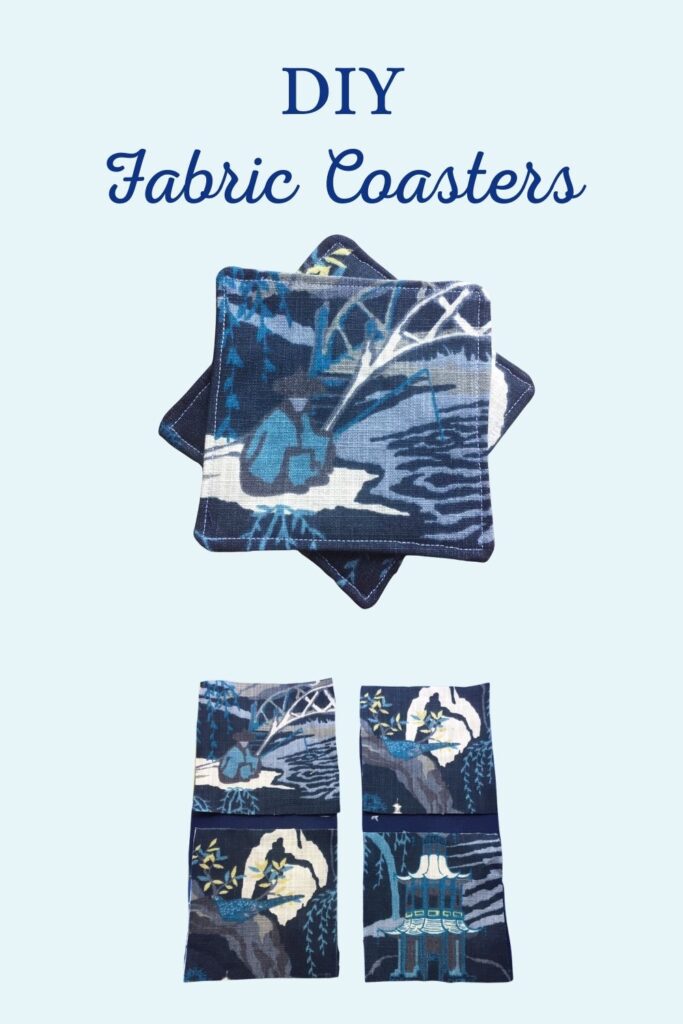
I’m going to show you how to sew a set of fabric coasters quickly and easily.
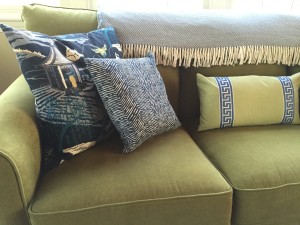
Coasters are a great beginner sewing project. You can make these as gifts or to have around your home. They are very useful and can be made with fabric you buy or even from remnants you may have on hand. Case and point: the coasters in this tutorial were made from upholstery fabric that I used to make the pillows in my family room.

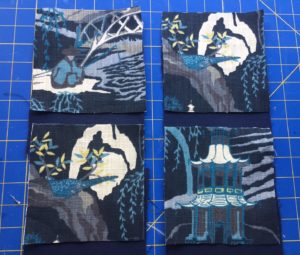
You really don’t need much fabric to make a set of four coasters.
In this case, I was pretty short, so I ended up putting navy duck canvas on the other side. You could even choose 4 different fabrics that coordinate well together. If you go with cotton fabric, you can machine wash these. I’d let them air dry, then iron if needed.
How to sew fabric coasters – here’s what you need:
- Your sewing machine (New to sewing? Here’s one I like!)
- Enough fabric to cut out 8 fabric squares. Each square needs to measure 5.5 inches. If you don’t have any fabric on hand, consider buying a bunch of fat quarters.
- Thread
- Ruler or yard stick. A metal yard stick is better than a wooden one in my opinion
- Tailor’s chalk (great for making lines on fabric)
- Sharp scissors. I love these classic Fiskars seamstress shears! A rotary cutter is great too.
- A cutting mat
- Fusible interfacing– enough to cut 4 squares to line each coaster (1/2 yard is more than enough)
Here’s what you need to do:
- Always begin by ironing your fabric before you cut it.
- Carefully measure your squares before cutting them. Taking the time to measure and cut neatly is the most important part of ensuring these come out evenly. Once this is done well, the rest of the project comes together easily!
- Cut out 8 squares. You can do 4 of the patterned fabric and back them with something different or you can do 8 of the same. In my case, I used a solid less expensive navy duck canvas on the back. Note that I did take the time to lay out my design to center the fabric.

- Then, cut out 4 squares of the interfacing.
- Next, iron the interfacing onto 4 squares. Be sure you have your iron on the high steam for this. Sometimes I have to put a wet rag between the interfacing and my iron to get it to really melt on. It’s worth the effort; the interfacing will give the coasters some nice bulk and padding.
- Now, pin 2 squares together (one square will have the interfacing adhered to it by now). Be sure you have the fabrics RIGHT sides together.
- Sew 3 1/2 sides of the coaster, leaving a small opening in the middle on one side. I sew them with a 1/4 seam allowance.
- Trim the sides down a bit and trim the four corners. This will give them a cleaner appearance when you turn them inside out.
- Now comes the fun part! Turn them inside out. I use the end of a watercolor paintbrush to gently poke out the corners.
- Press with a hot iron, being sure to tuck in the fabric from your opening.
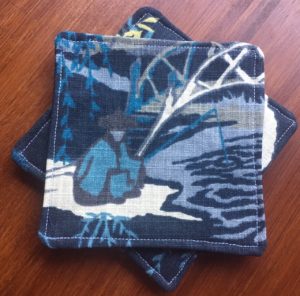
- Top stitch around the coasters, using a 1/8 seam allowance. You can see that I used white thread so you could see my work. Normally, I would have used blue in this case.

Let me know if you have any questions about my instructions. You can always DM me on Instagram @brooke.spater


