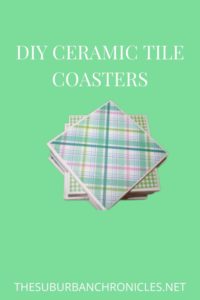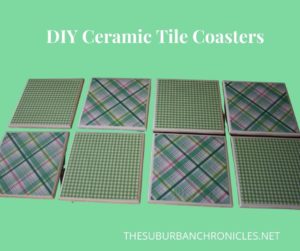
Ever wonder what you are going to do with the extra square tiles you have sitting in your basement from that bathroom renovation 7 years ago? You can make coasters! Don’t have any? They are SUPER affordable and easy to find. I have made many sets of these over the years, with both decorative papers and photos. These are great for holiday or birthday gifts, or to give a hostess. They couldn’t be easier to make, and you can even involve young kids in the project because they are truly hard to mess up. You could also buy bigger tiles and make trivets for the chefs in your life.
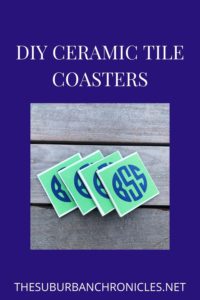
If you have a Cricut, you can also take it one step further and add a vinyl monogram to your coasters. (I just bought myself this one and am totally in love!)
I am providing a supply list below.The white ceramic tiles I used are 4.25 x 4.25 inches. I bought this giant pad of colorful scrapbook paper from Michael’s as well as dishwasher safe Mod Podge .

Here is what you will need:
+Several ceramic tiles measuring 4.25 x 4.25 inches
+Decorative paper of some kind. Again, I bought this pad. You may have some paper around the house you can use or some favorite photos.
+A good pair of scissors, a ruler, and a pencil
+White felt (for the backs)
Here’s what you need to do:
+Start by wiping the tiles to remove any dirt or dust.
+Select the paper you want to use.
+Using your pencil and ruler, measure out squares of paper to go on top of the coaster. I recommend making the squares a bit smaller than the coaster. So in this case, the tile measured 4.25 x 4.25 inches and I cut my paper squares to be 4 x 4 inches.
+Spread a thin layer of the Mod Podge onto the tile. Carefully line up your paper square evenly and press gently into place on the tile. Let dry 20-30 minutes. A thin layer is key to your success. I learned the hard way that the paper will bubble up and wrinkle if there is too much Modge Podge on the tile. Also, don’t try to lift up your paper if it’s not lined up totally even because it will rip.
+Next, brush a thin layer of Mod Podge over the top of the paper square and let dry 20-30 minutes. Do not worry if you haven’t worked with Mod Podge, it dries clear! Repeat once or twice more. In order to use these for drinks, be SURE to use the dishwasher safe Mod Podge. If you do decided to add the Cricut vinyl monograms, this is where you’d do that. Once applied, add a final layer of Mod Podge over the monogram.
+The last step is to apply felt to be sure these won’t scratch up your counters and tables. Measure and cut white felt squares the same dimensions as your tiles to glue onto the back. I’ll just use the Mod Podge again, but any craft glue would be fine. I bought the felt at Michaels.
Here’s a photo of a set I did with my Cricut!

Let me know if you have any questions! Have fun making these.


