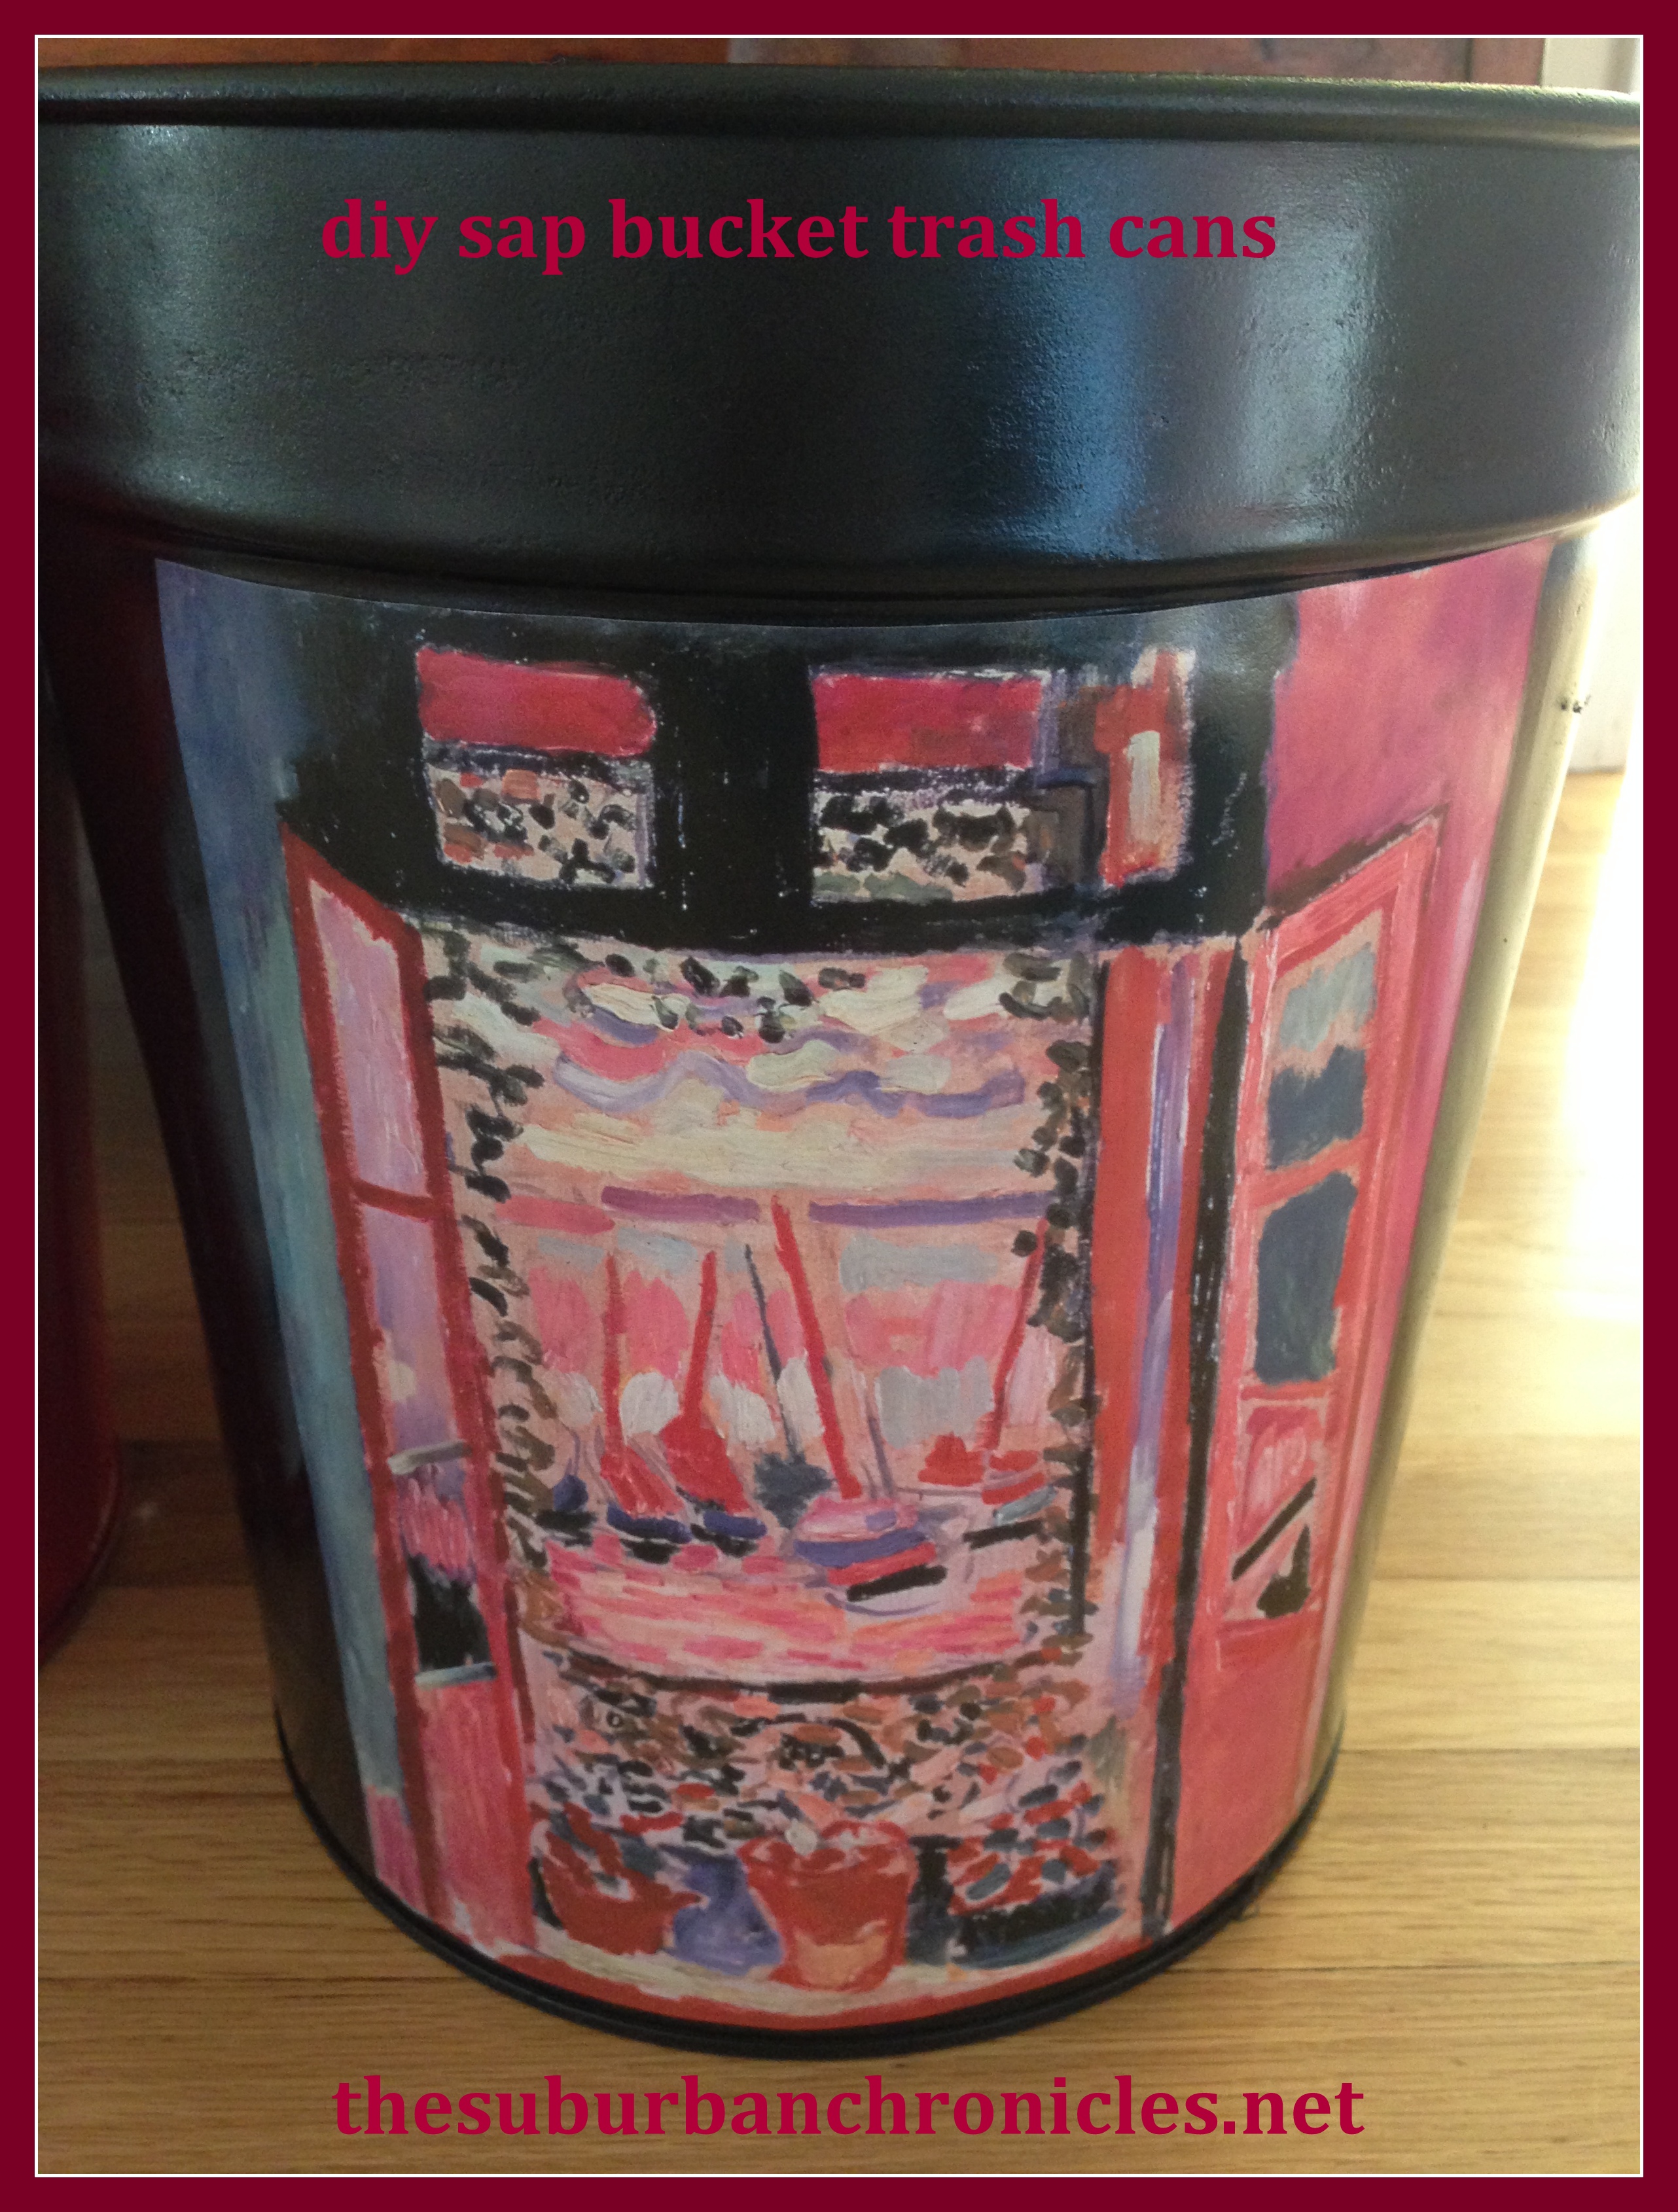
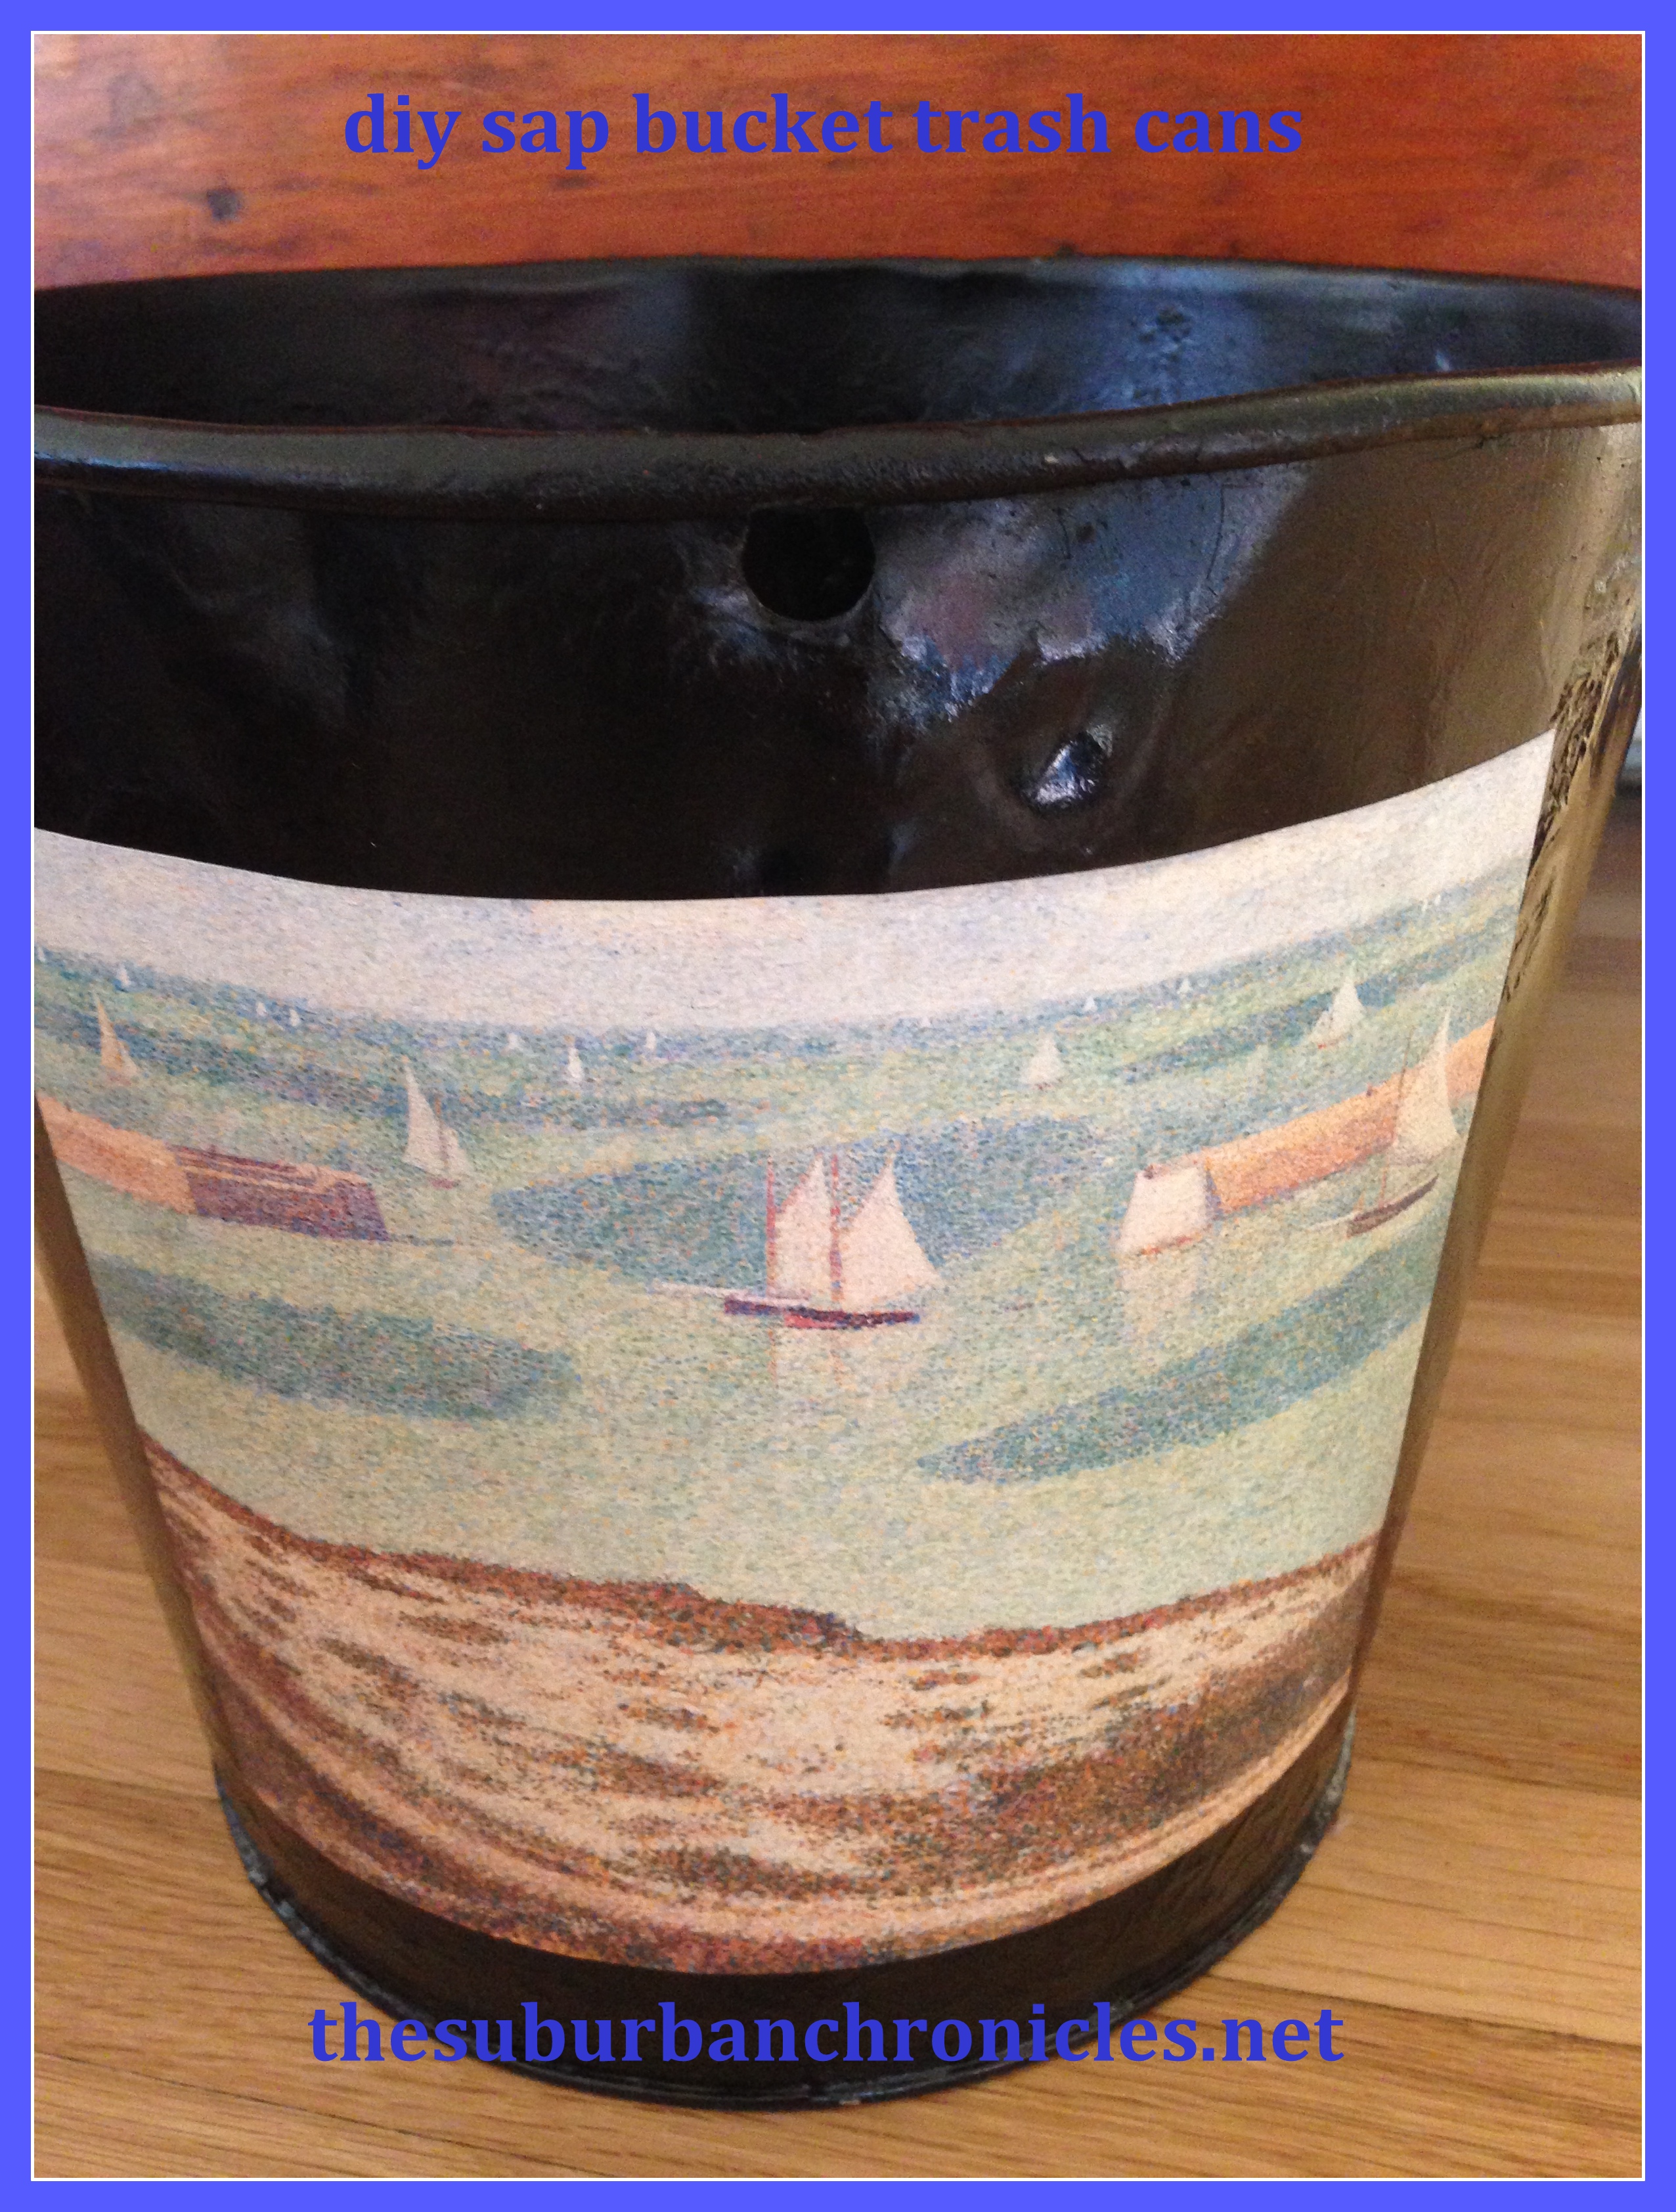
My mother-in-law deserves all the credit for this project. Even though we’re going to talk about trash cans, it’s a very creative and a fun way to decorate. It’s also easy and quick, and something you can involve your kids in. My husband’s grandmother made these as well, so it’s a pass-it-down sort of project. Of course you could use any sort of metal can for this, but the sap buckets really add character. You can find them on Ebay or sometimes at antique shops, depending on where you live.
Here’s what you will need:
+Sap bucket or other metal trash can
+Some kind of artwork, photo, or magazine pages to decorate your can. You could really do anything, so be creative! We haven’t finished my daughter’s pink can, but we may do a big photo collage.
+Spray paint in your color of choice. Some types of spray paint are meant for metal, so be sure to read the labels.
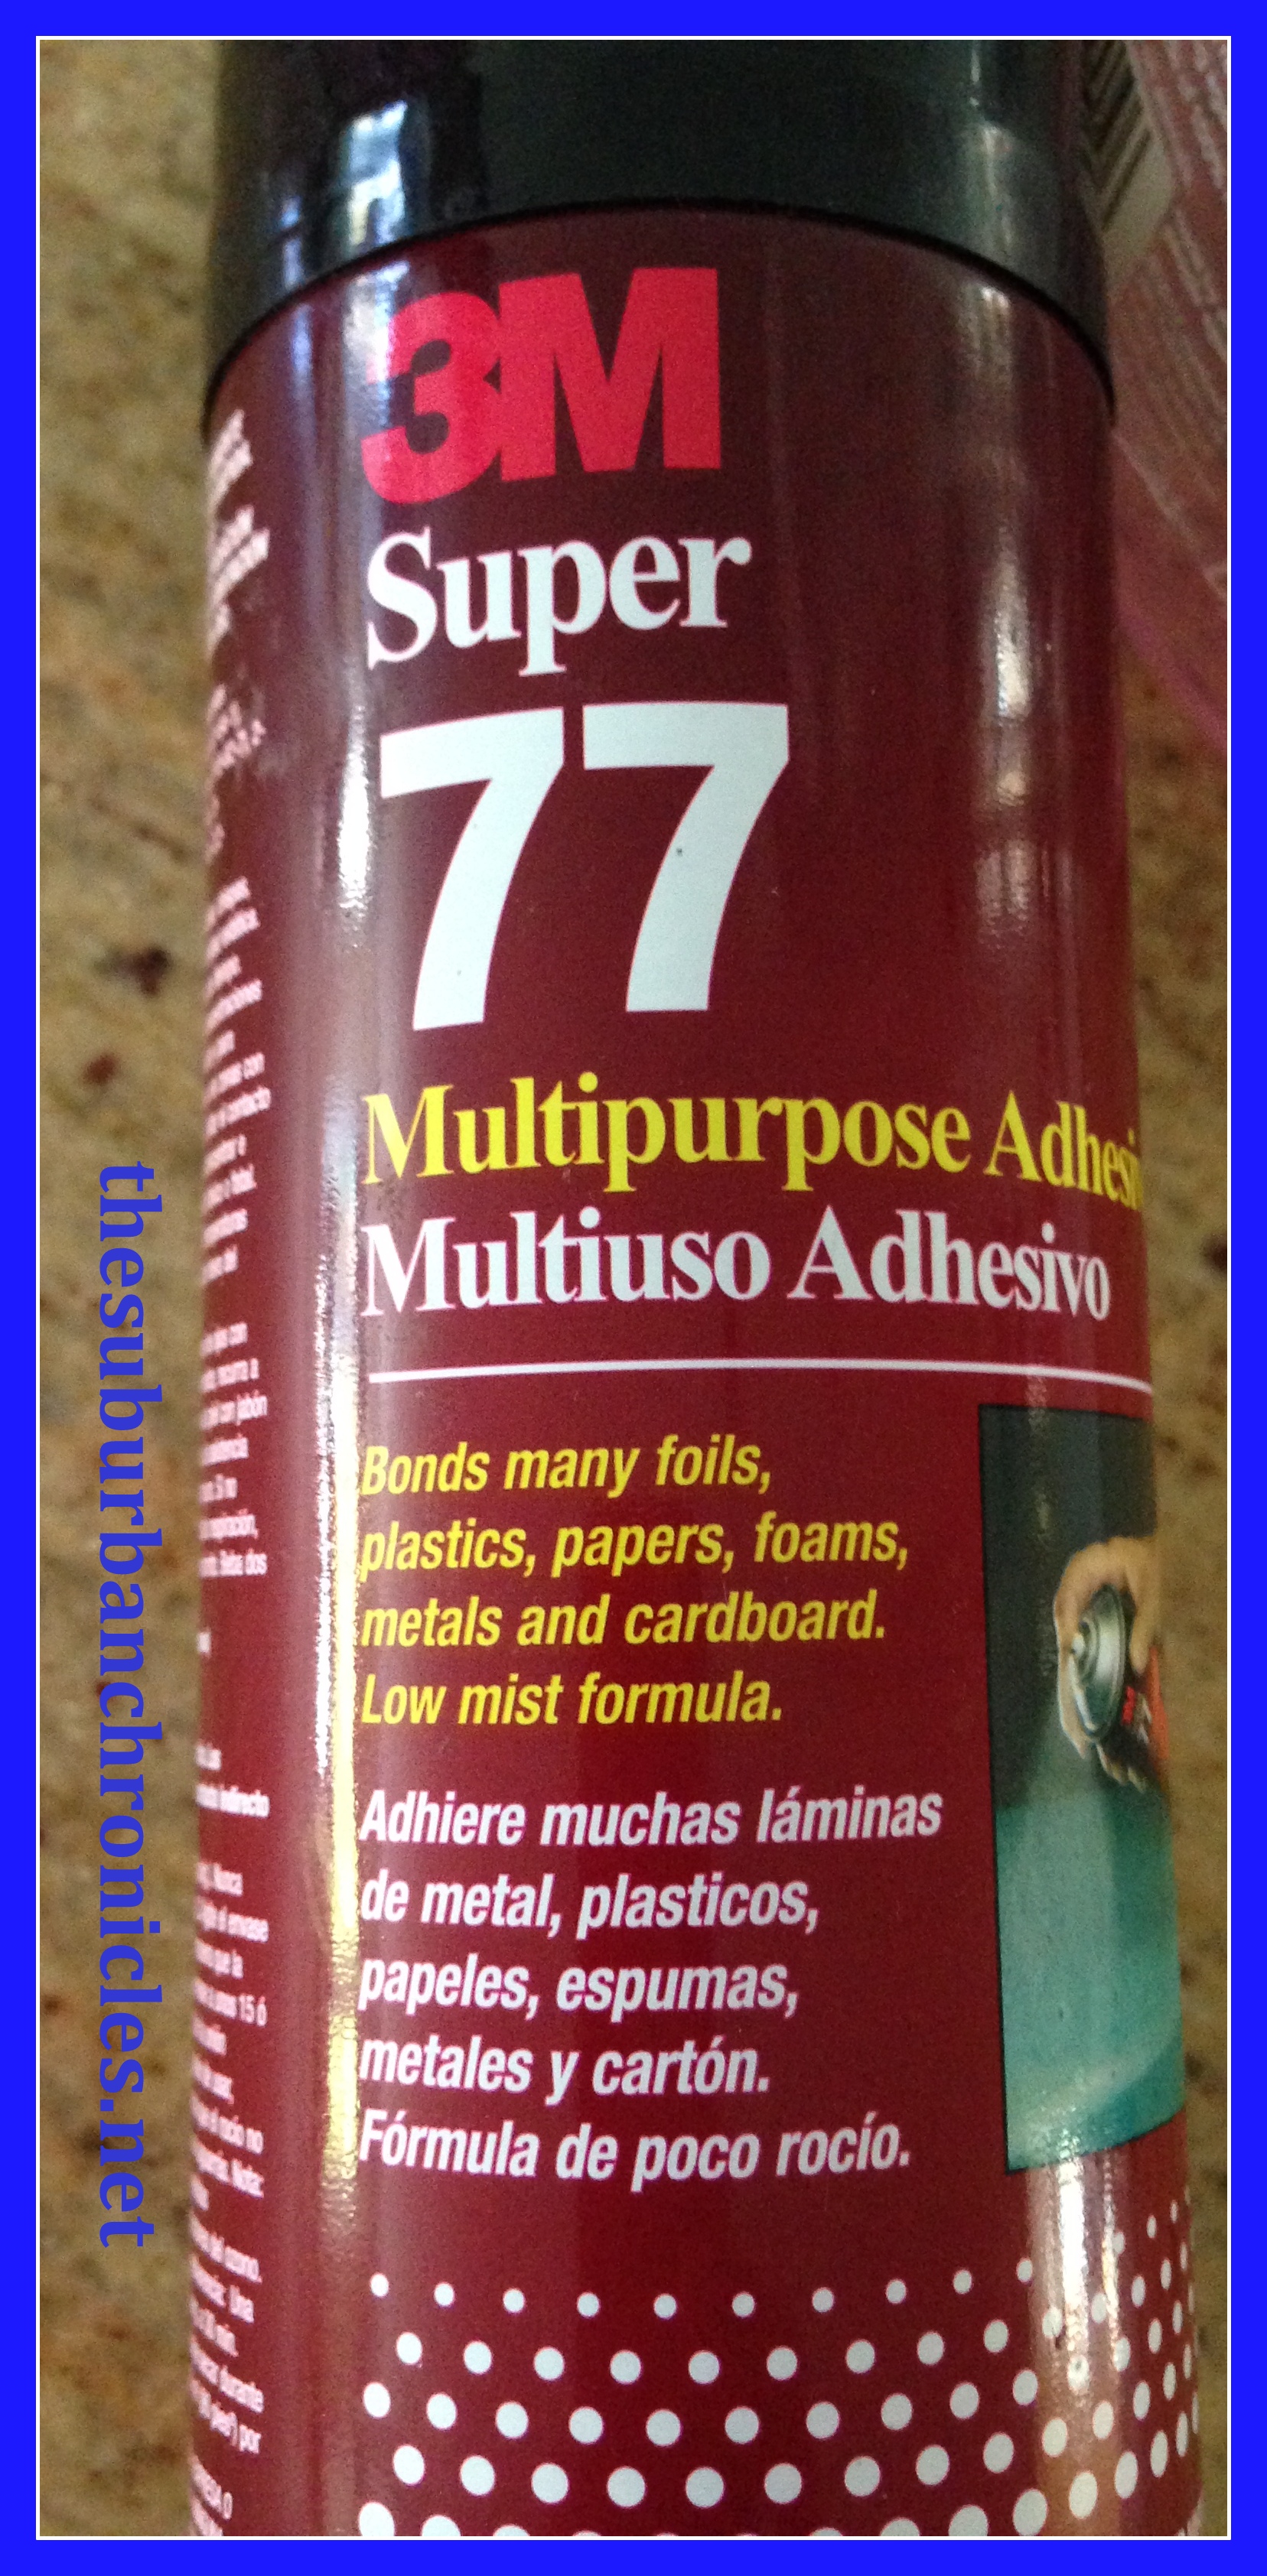
+Spray adhesive like this to adhere your images:
+Spray polyurethane (clear)
Here’s what you need to do:
+Choose your spray paint and paint the can in a well ventilated area. Apply at least two coats and let it dry thoroughly.
+Figure out what image(s) you will use. My mother-in-law bought an inexpensive coffee table art book to tear the pages out of. You can put a big image on each side of the can.
+Adhere the images to the can with the 3M Super 77 (image above) and let dry.
+Finish off with polyurethane over the images.
+Voila! You are done. Here are a few more of the completed sap bucket trash cans:
These would make great Christmas gifts. Don’t want to give someone just a trash can? Use it as a gift basket with smaller wrapped gifts. Fill the bucket, then wrap the whole thing in clear cellophane and tie with a ribbon.
Enjoy!


