I have three children, so the amount of snacks we go through every week is astounding. Multiply that by nine-plus months of school, and we’ve used a lot of plastic bags through the years. It is great to see my kids driving change here at home, and that is really how this project came to be. They’ve been pushing me for a while to cut back on the plastic bags. My oldest is ten, and even pointed out that it would be more cost-effective to purchase bulk bags of Pirate Booty and Goldfish at COSTCO to fill our snack sacks with. I mentioned baby carrots, or maybe raw broccoli You should have seen her face. We’ll keep working on that part!
Don’t fret if you aren’t into sewing! You can scroll to the bottom for my resources on where you can BUY these bags. The important takeaway is to think about implementing this change in your home. It’s a small step, but every little bit helps to reduce on waste. Plus, you will save money along the way! With a few scraps of fabric and half a yard of nylon (available at Jo-Ann or other fabric stores), I whipped up my first few of these in less than thirty minutes. If you are new to sewing, this is a great beginner project!
If you are going to make your own, you will need:
Construction paper and a ruler if you make your own pattern.
Fabric of choice (I recommend a fun cotton print, you will need a piece approximately 8 x 10).
Nylon lining (I chose gray, Jo-Ann had a few other colors, again a piece approximately 8 x 10).
Velcro (sew-in kind, be sure it’s not adhesive). I prefer to use white, but for today, I only had black.
So, here is what I did:
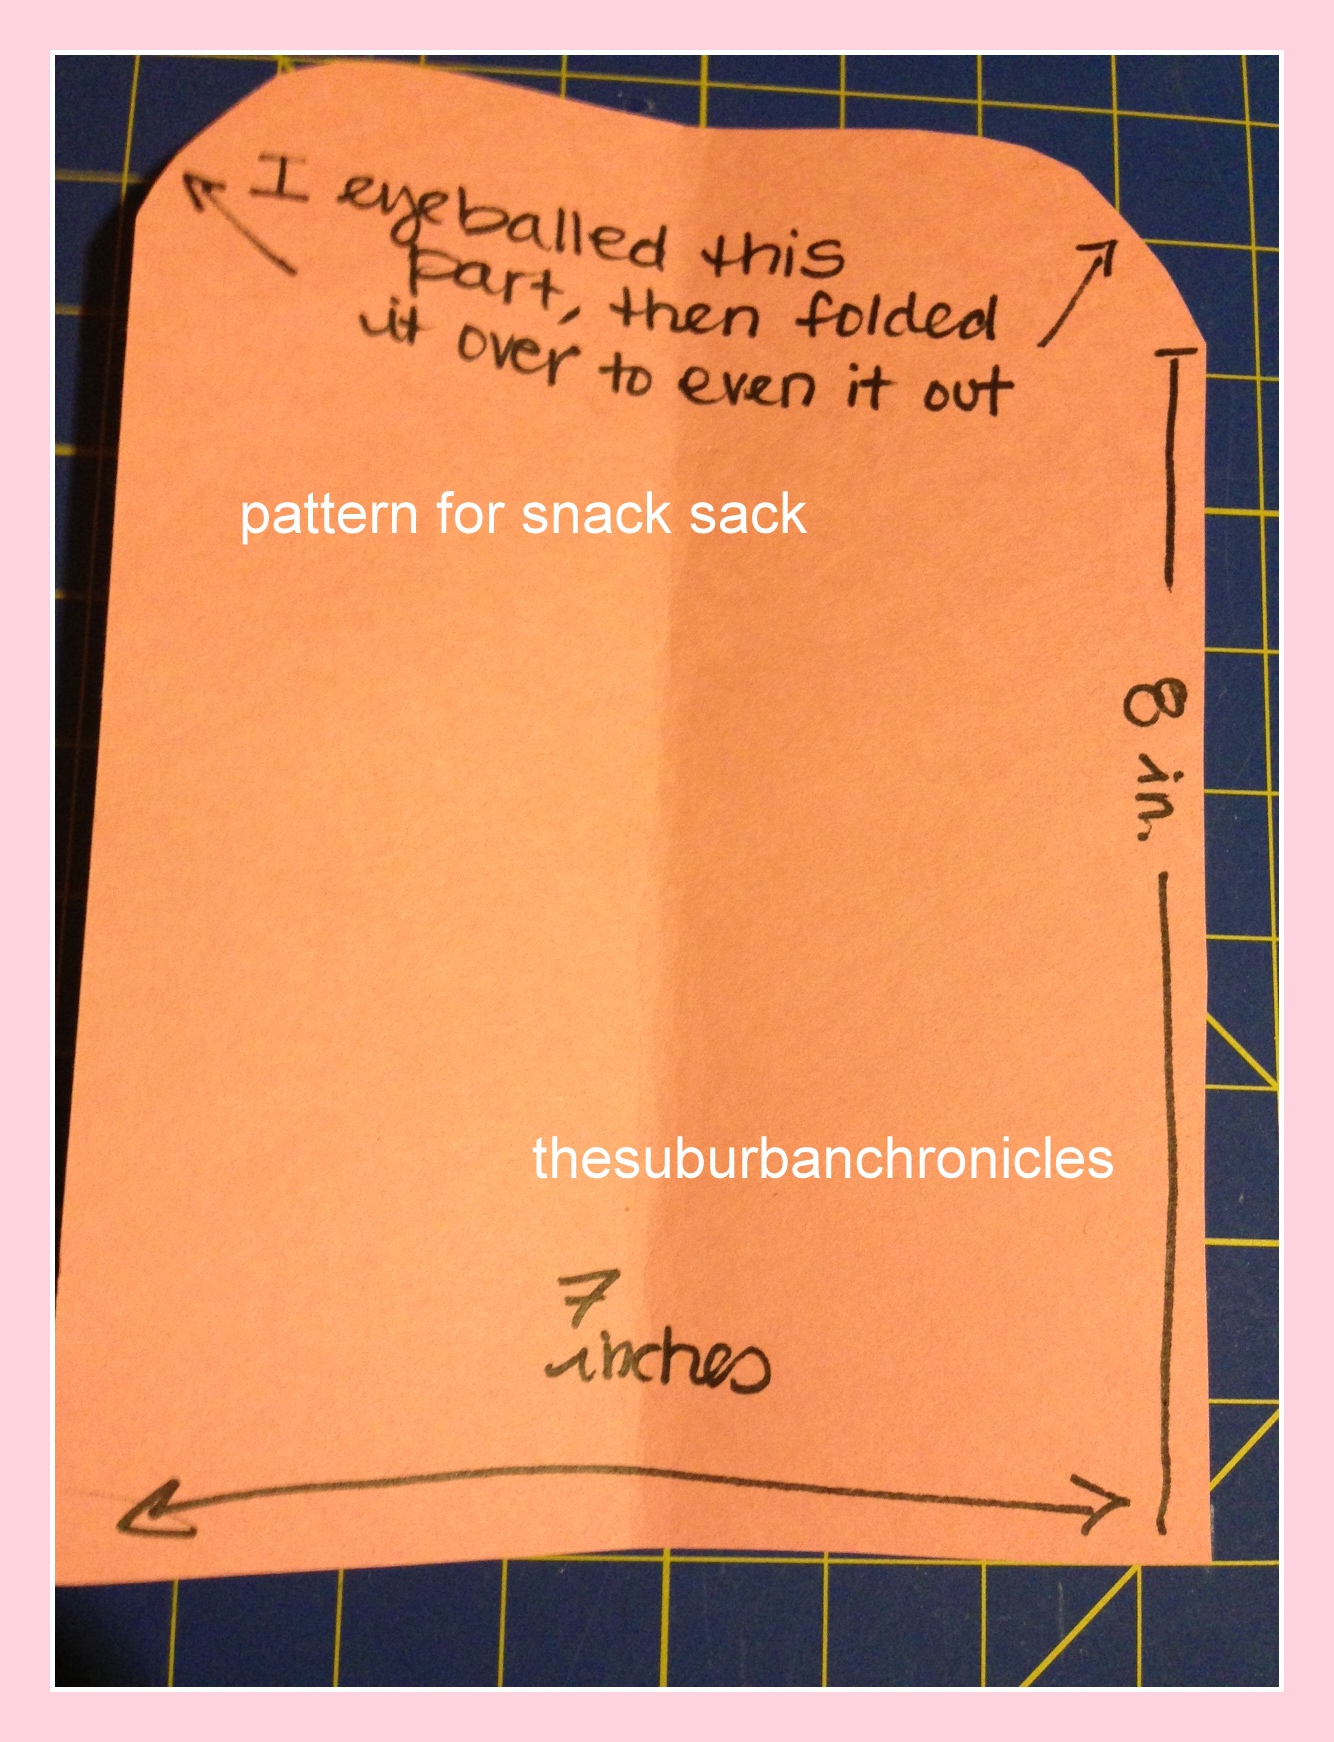
First, I searched the internet looking for a pattern I wanted to use. I didn’t find exactly what I wanted, so I made one using construction paper…
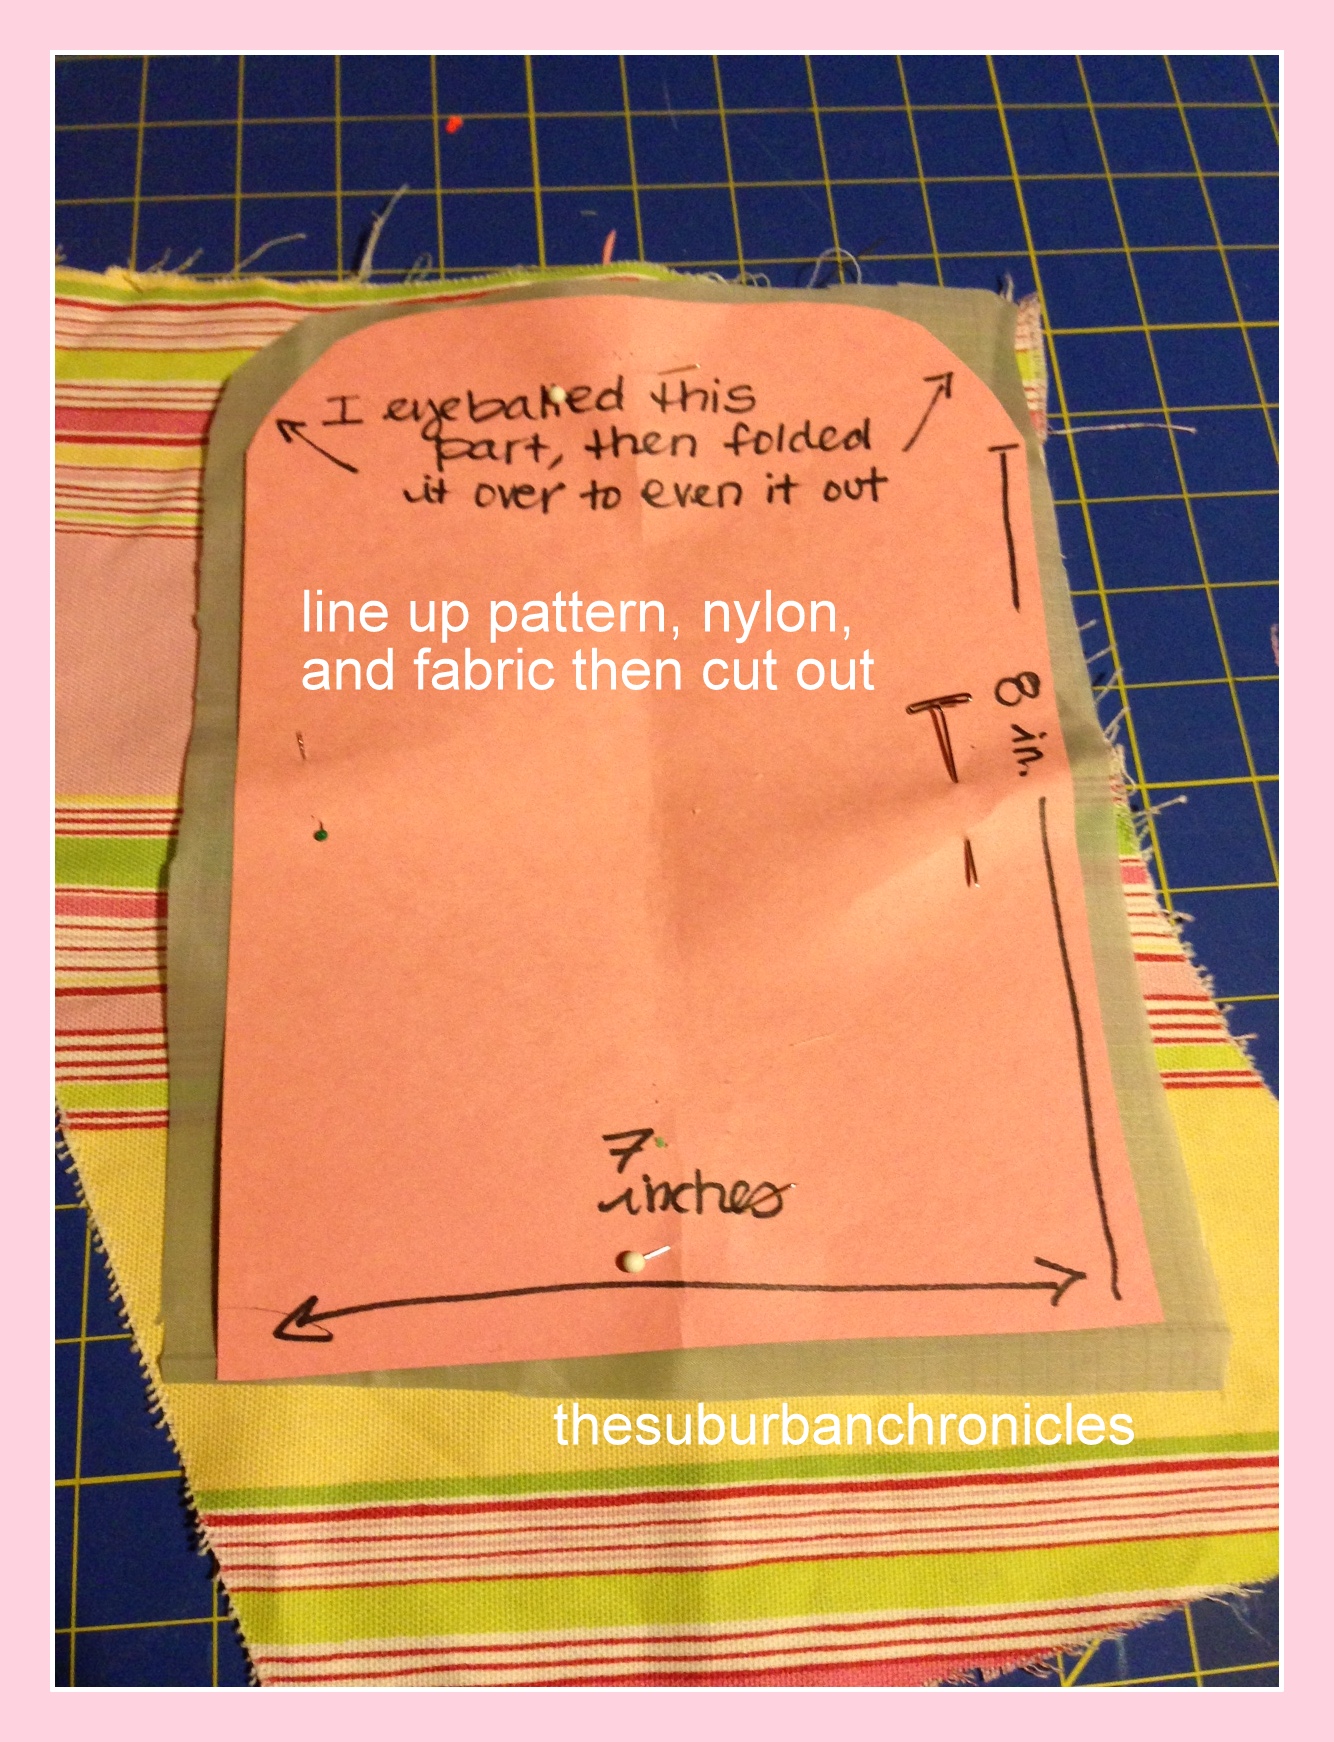
Next, I lined everything up and cut out the fabric…
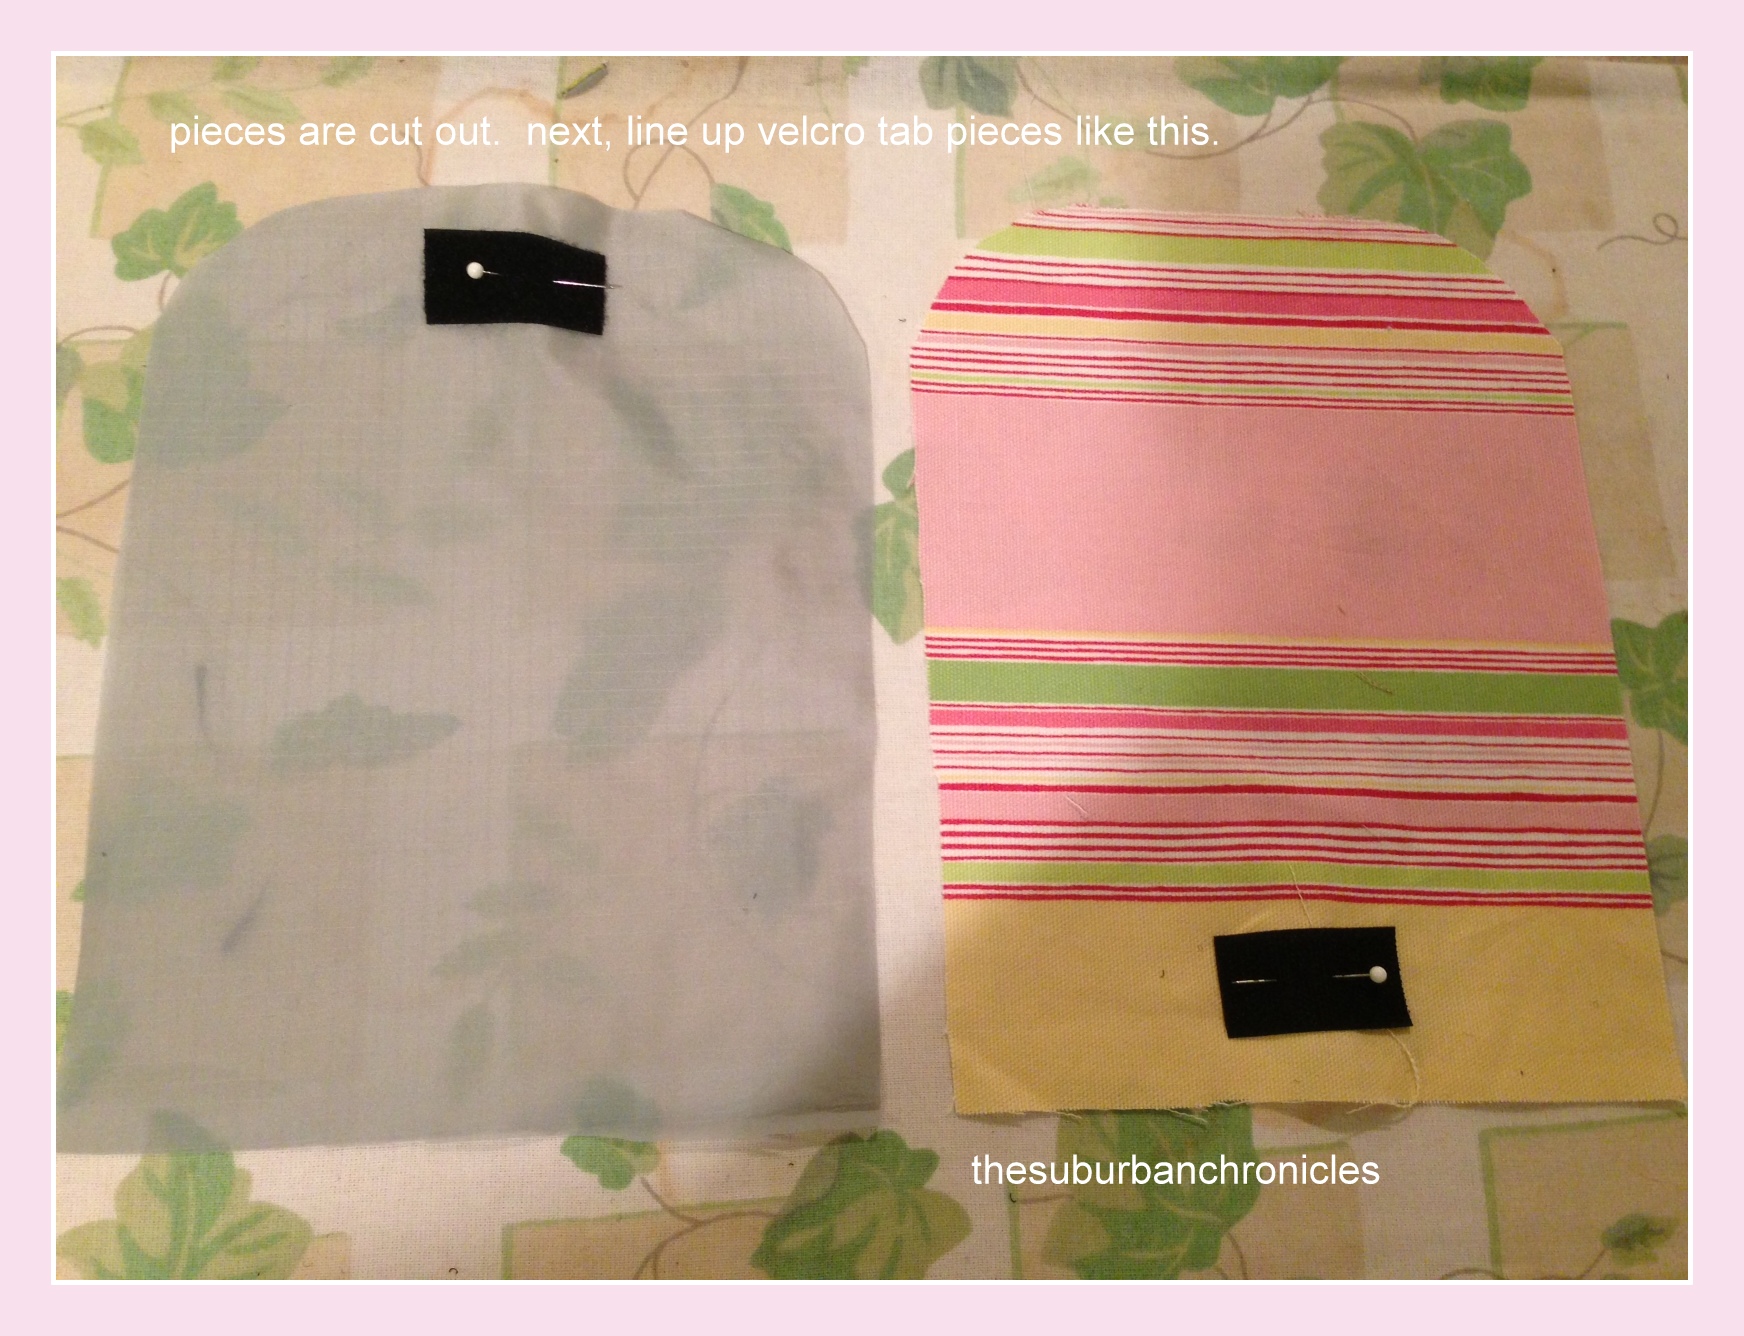
Now, I was ready to line up the velcro tabs and sew everything together. This is how it should look…
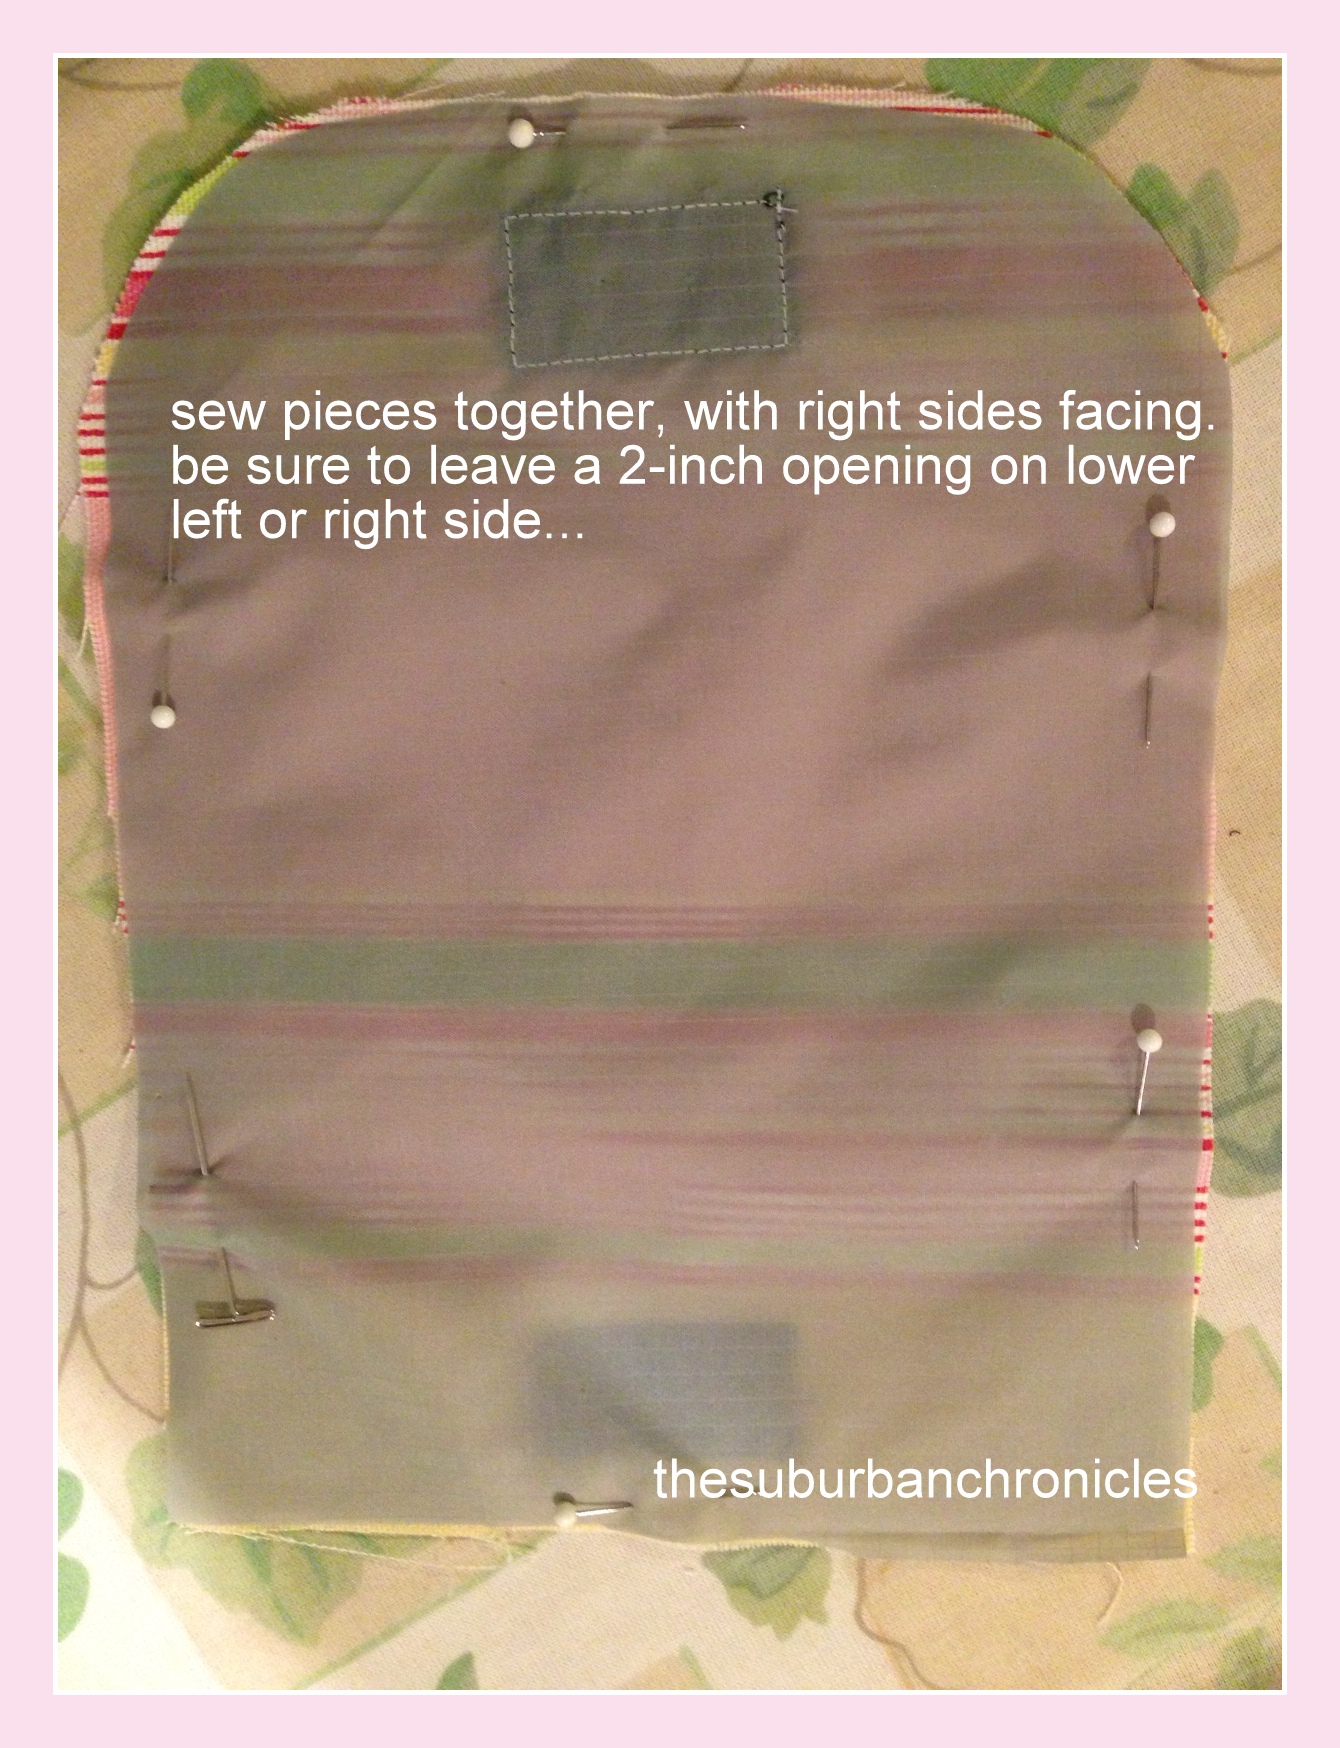
Next, pin pieces RIGHT sides together and sew them around using a 1/8 inch seam…
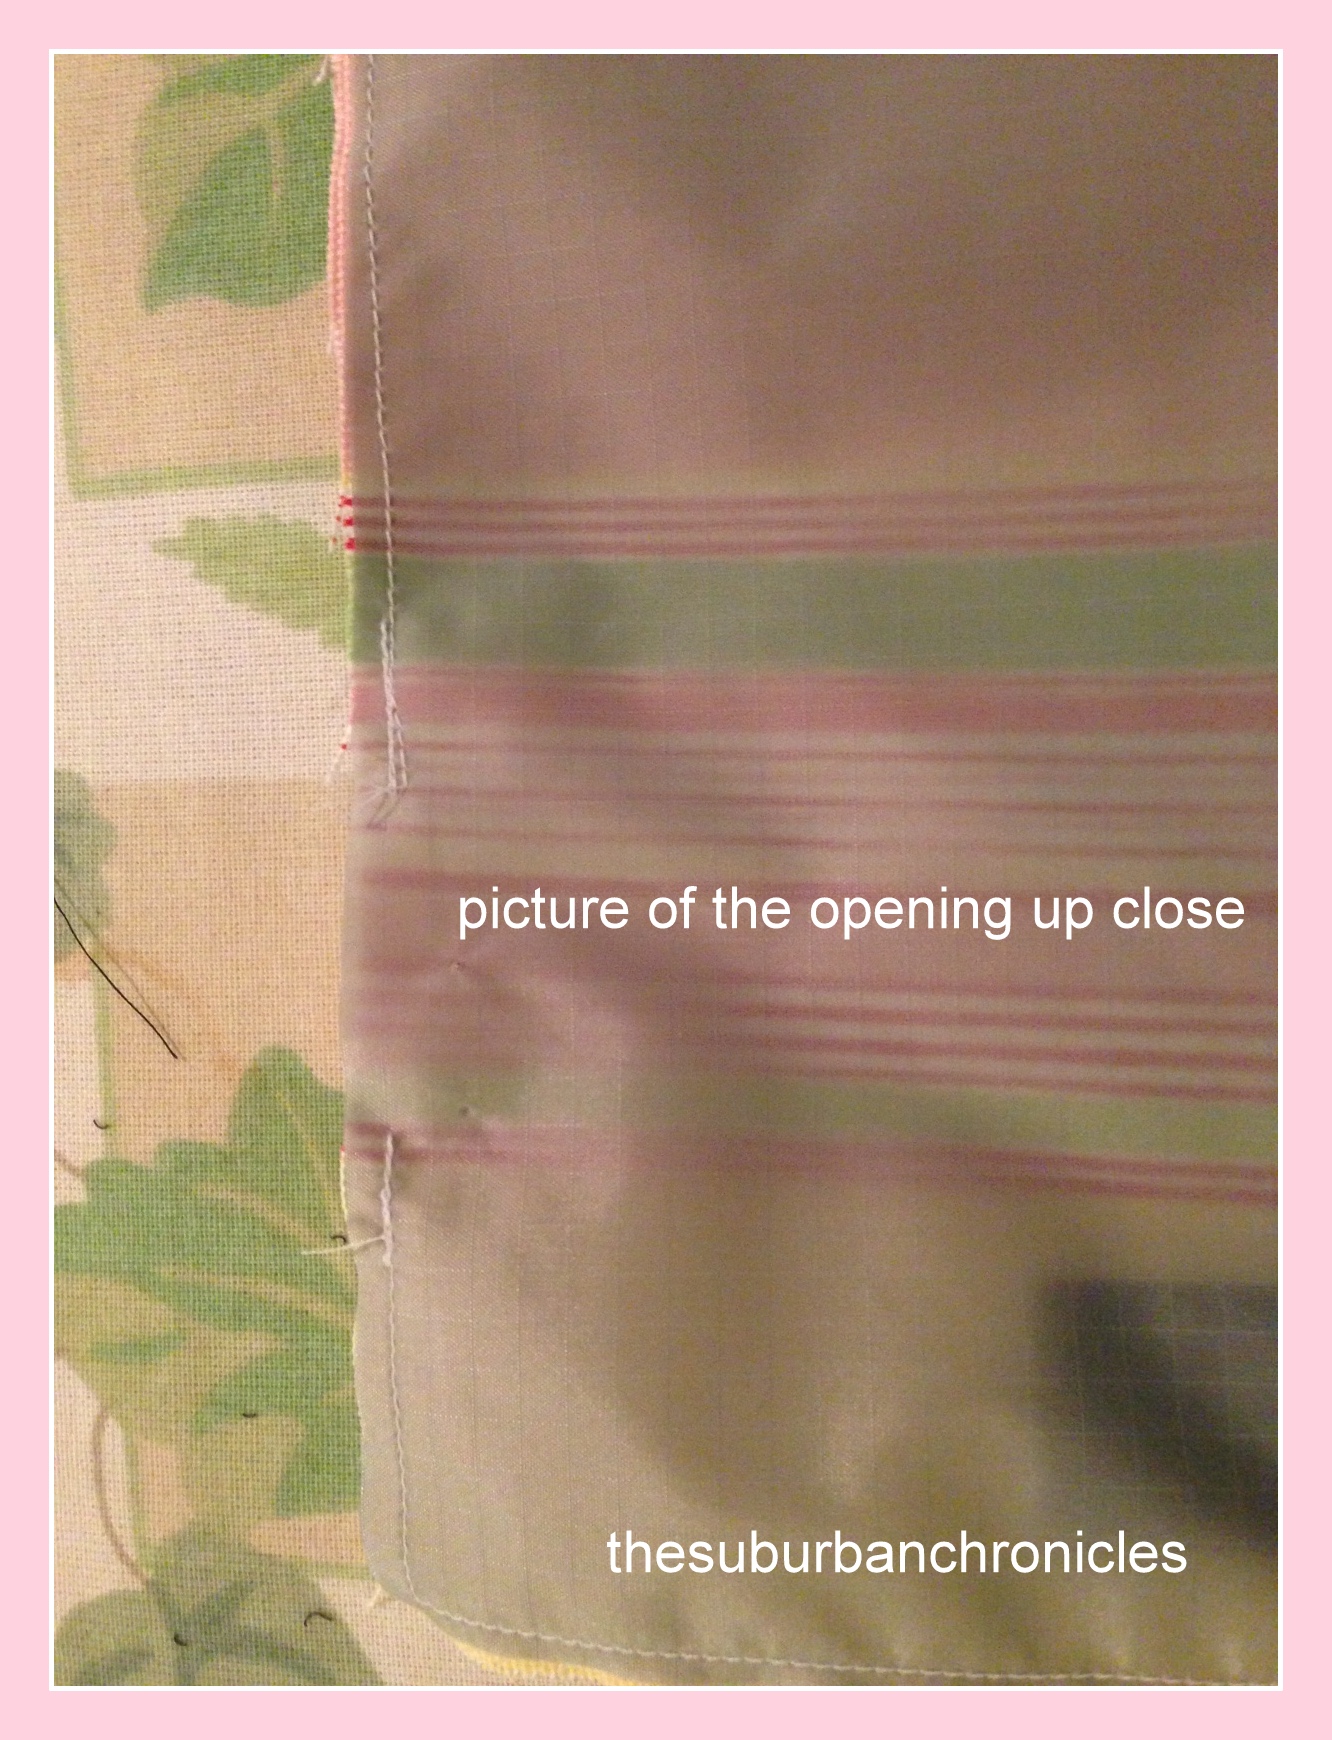
Here is a close-up of what the opening should look like…
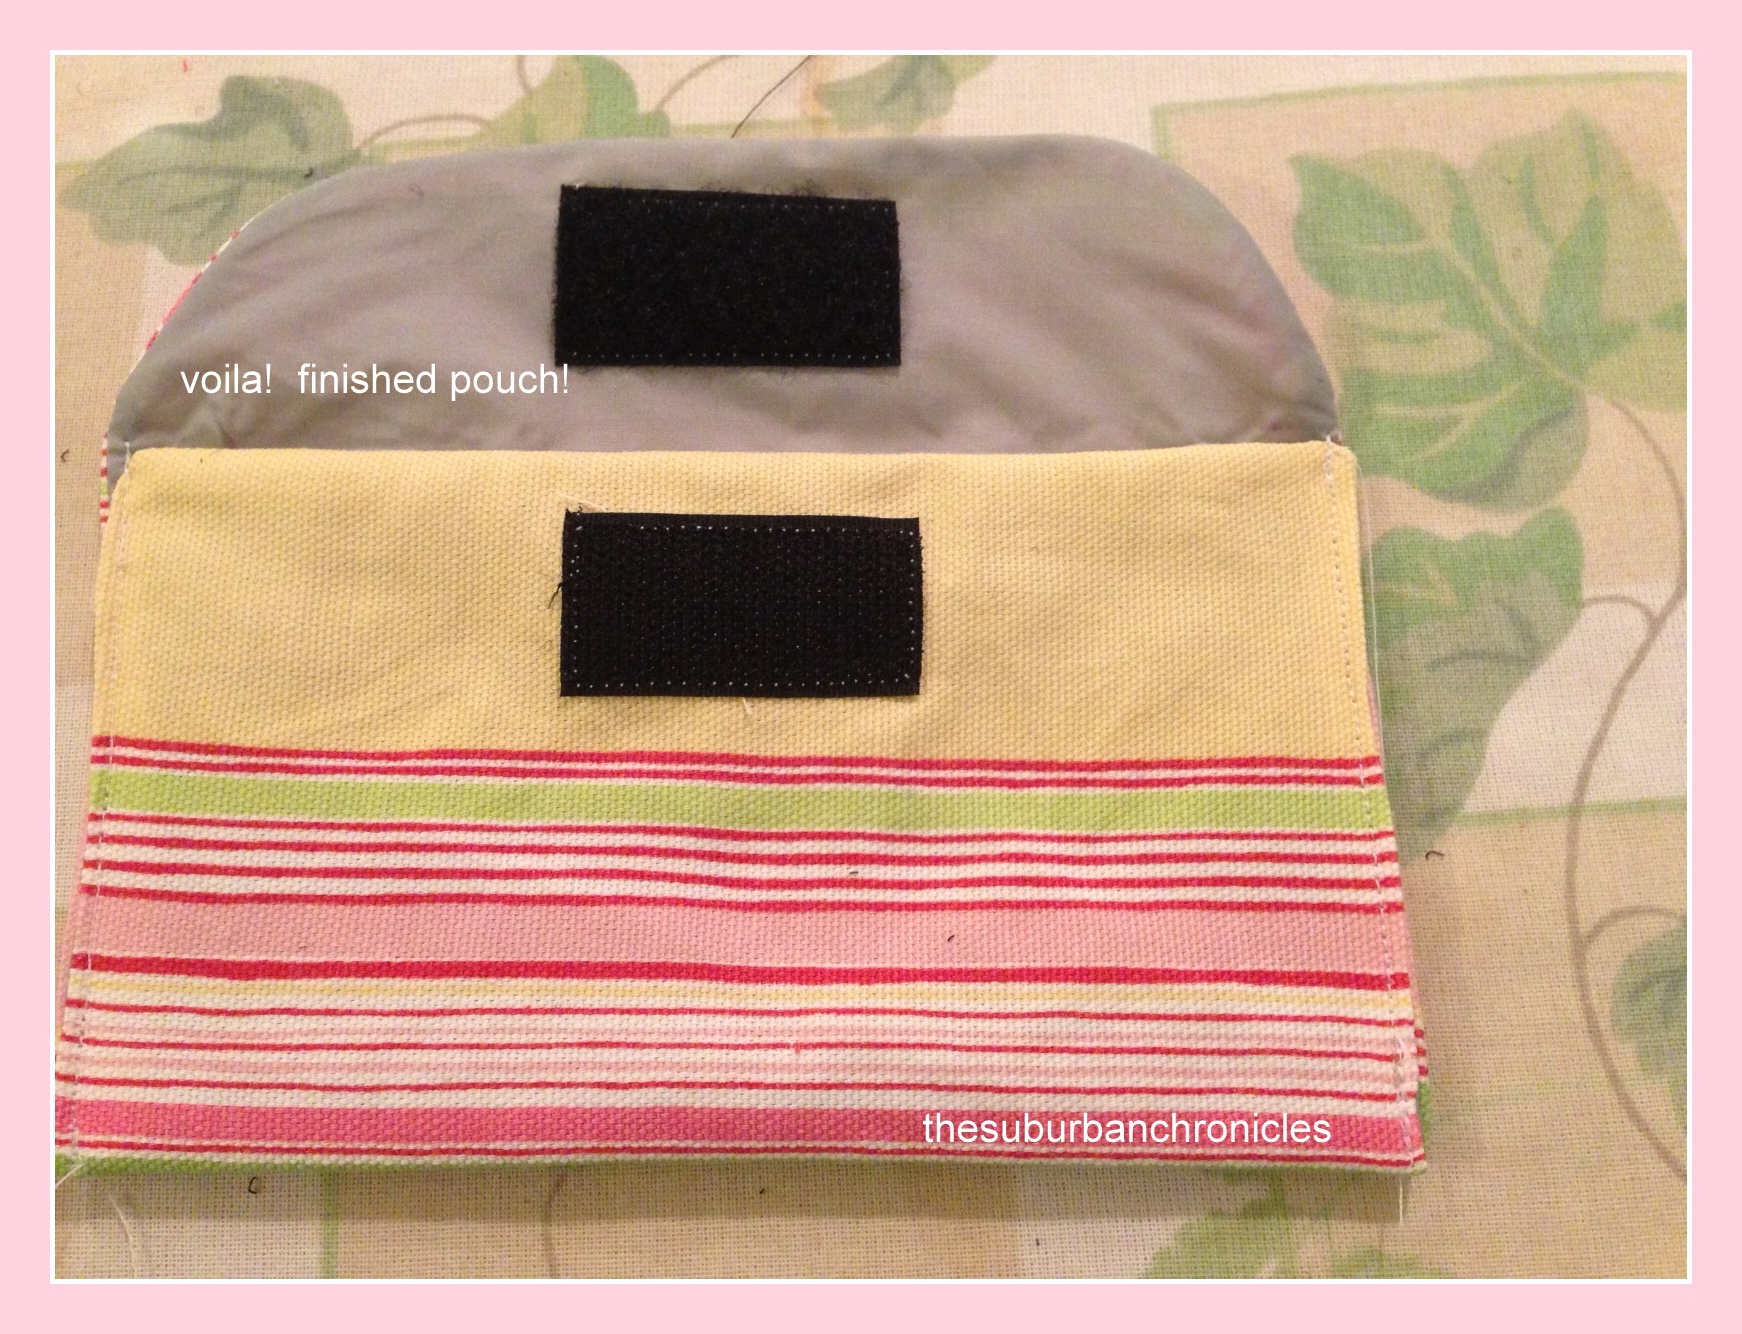
Now you should trim the corners, then turn the pouch inside out and press it neatly. Fold the bottom up, and sew a 1/8 inch seam down both the left and right sides. Your pouch will then look like this…
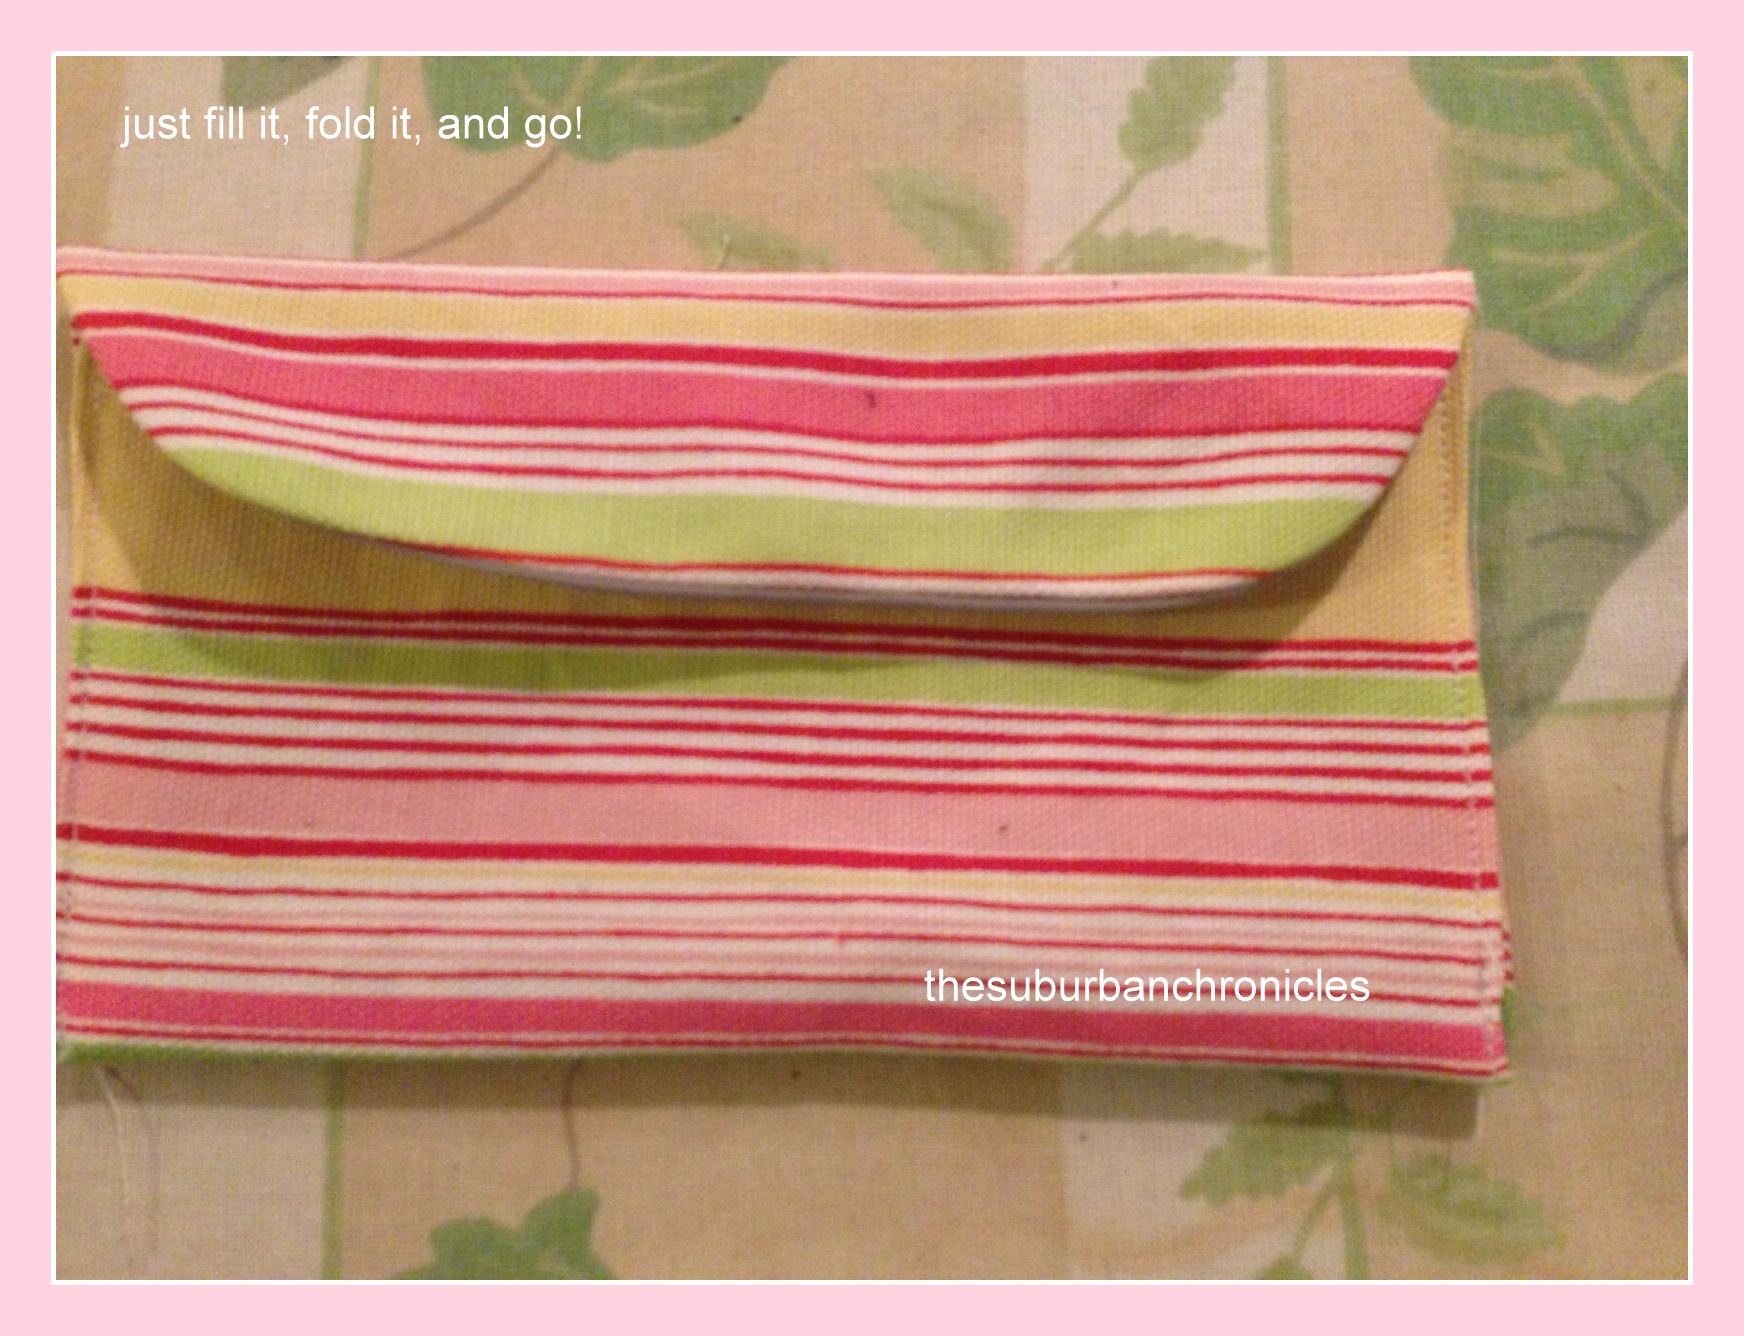
Here it is, closed…
To keep these clean, I recommend turning them inside out after use and gently wiping them down with a damp cloth. Just let them air dry overnight, then use again the next day. I do think they would be fine to wash on delicate after several uses, then line-dry them.
Here are some sites you can check out if you want some other styles, tutorials, and patterns:
http://craftingagreenworld.com/2011/12/07/how-to-sew-a-reusable-snack-bag/
http://www.sewingsupport.com/sewing-how-to/free-patterns-and-projects/bags/lunch-bags.html
Where you can BUY fabric snack bags:
Pepper Jack Home: http://www.etsy.com/shop/PepperjackHome
Snack Taxi: http://www.snacktaxi.com
Itzy Ritzy: http://itzyritzy.com/snack-bags
Lunch Skins: http://www.lunchskins.com/
Pink Tree Bags: http://www.etsy.com/shop/pinktreebags
Here’s to a cleaner environment for our children and grandchildren!
Happy Snacking!


